How to make an origami owl face
Origami Owl Face: try all 6 steps in the 3D player. Turn and replay every move. Print the complete diagram sheet or save it as PDF.
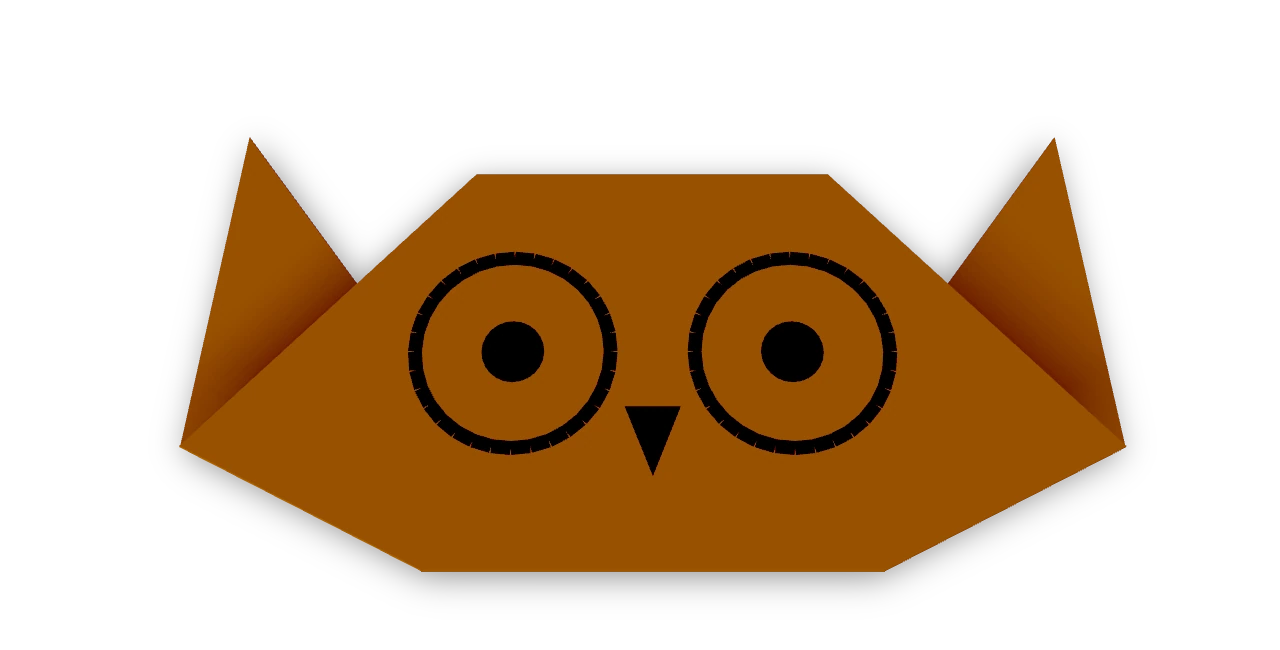
An Origami Tutor owl face with a deeper, broad head, short pointed tufts and two big round eyes drawn with a pen, folded from one square.
- You need
- One square of brown or grey origami paper and a pen for the eyes. No glue or scissors.
- Start
- Start white side up, with one corner pointing up. Brown or grey paper makes a good owl.
- Tips
- Fold both tufts at the same angle so the owl looks straight at you.
- Draw big round eyes with a dark centre; the bigger the eyes, the more owl-like the face.
Your model is ready
Press the folds flat. Draw two large eye rings, side by side, with a dark pupil in each. Add a small pointed beak between them. The finished owl face, with its broad head, round eyes, small beak and two short ear tufts.

Step-by-step diagrams
- 1
Make a triangle
Fold the bottom corner up to the top corner.
- 2
Flatten the forehead
Fold both top points down on the horizontal line to leave a wide, flat forehead. This fold will sit behind the finished face.
- 3
Fold the left ear tuft
Fold the left corner up along the slanted line that starts at the middle of the bottom edge. Its tip stands up at the outer edge of the head.
- 4
Fold the right ear tuft
Fold the right corner up the same way to match.
- 5
Round the chin
Fold the bottom point up a little, through all the layers.
- 6
Show the smooth face
Turn the head over so its folds sit behind the face and the short tufts point up.
- ✓
Finish
Press the folds flat. Draw two large eye rings, side by side, with a dark pupil in each. Add a small pointed beak between them. The finished owl face, with its broad head, round eyes, small beak and two short ear tufts.
Fold next
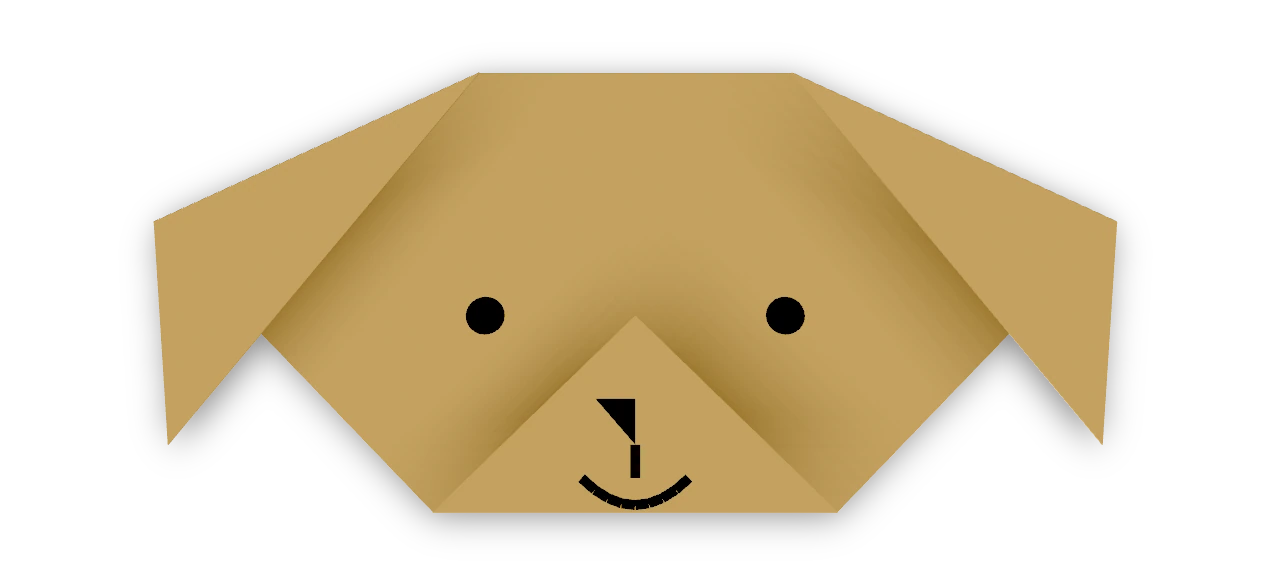
Dog face ↗
Fold floppy ears and a little muzzle, then give your paper dog a face.
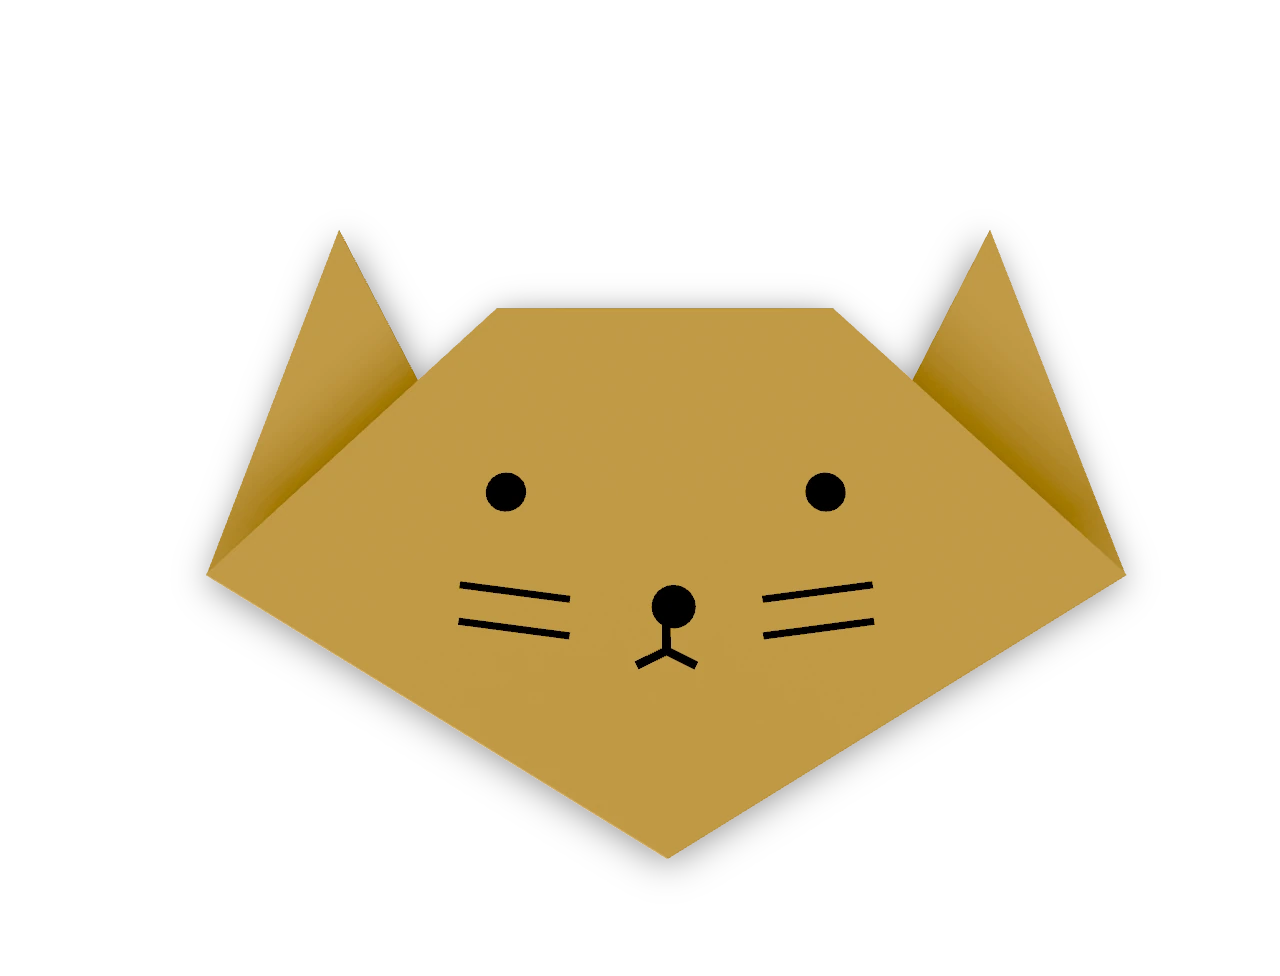
Cat face ↗
A traditional triangle cat head with two pointed ears and a straight forehead.
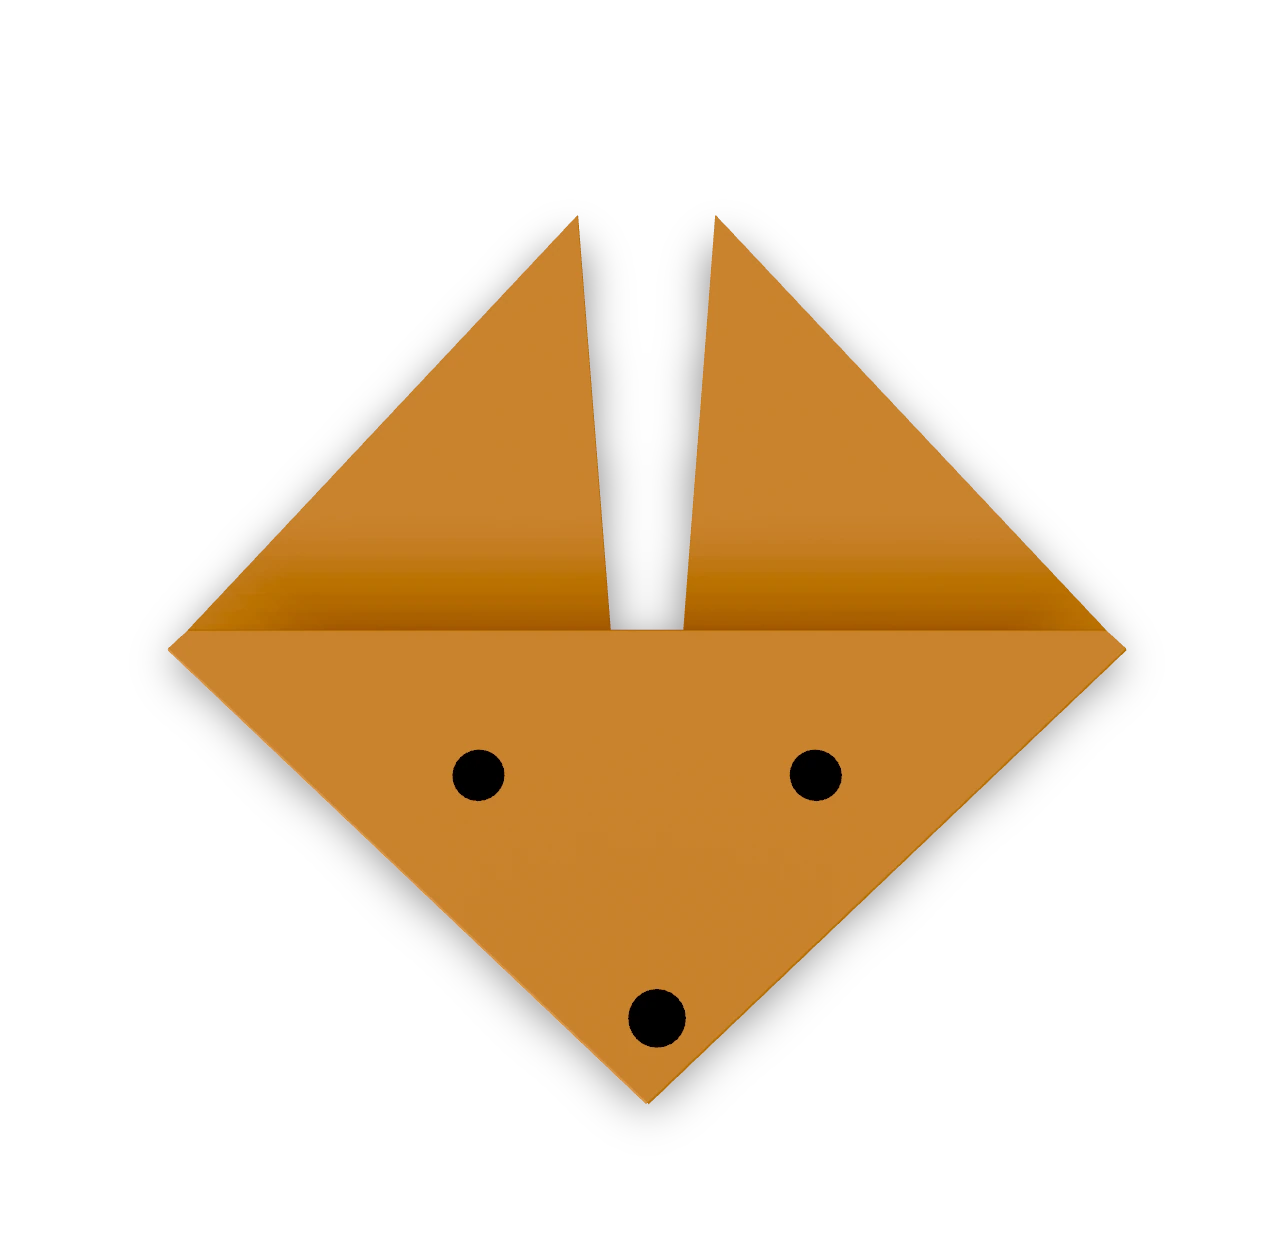
Fox face ↗
The traditional pointed fox face, recorded in Japan in 1878, with two tall ears.
Turtle ↗
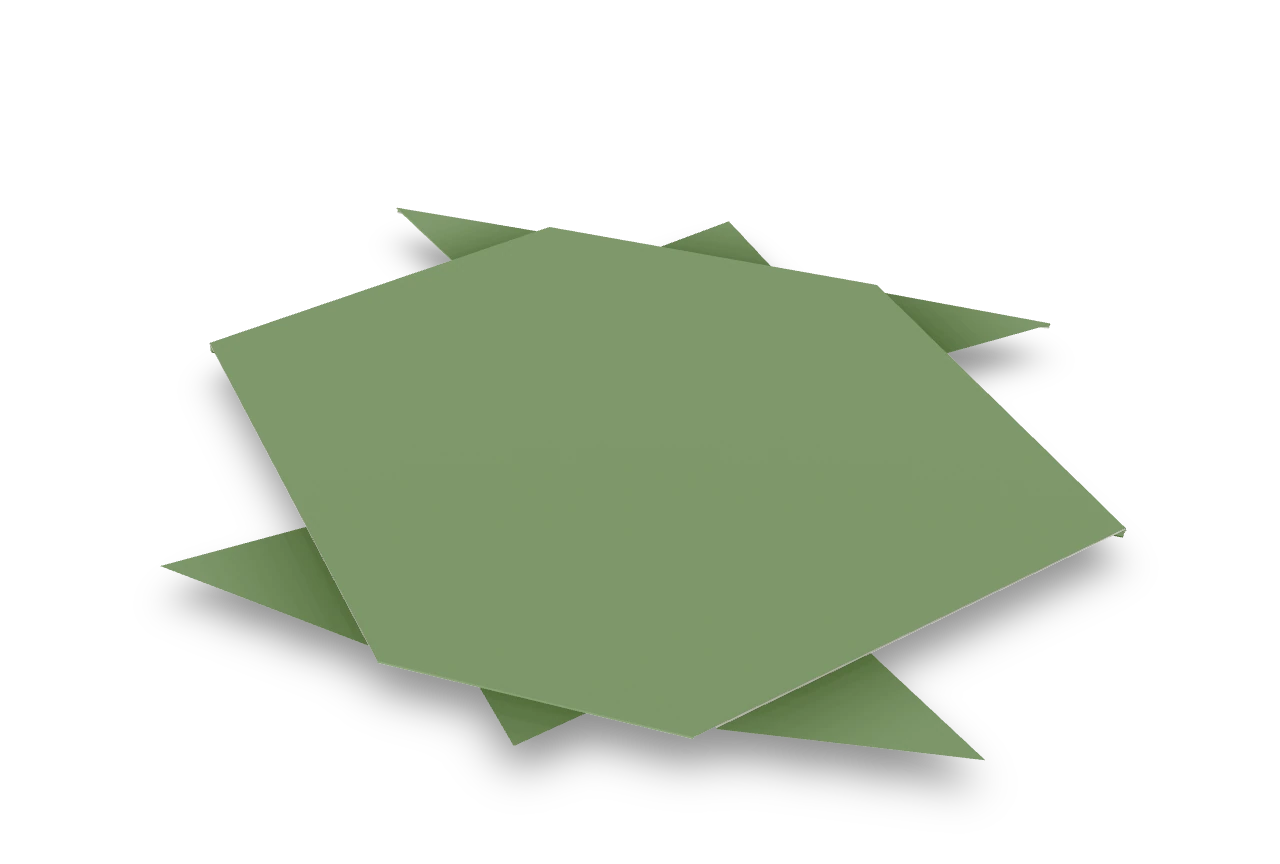
The common cut turtle with four pointed feet, a small head and tail, and a colored shell. One slit divides the rear feet while leaving the shell underneath whole.