How to make paper claws
Paper Claws: try all 7 steps in the 3D player. Turn and replay every move. Print the complete diagram sheet or save it as PDF.
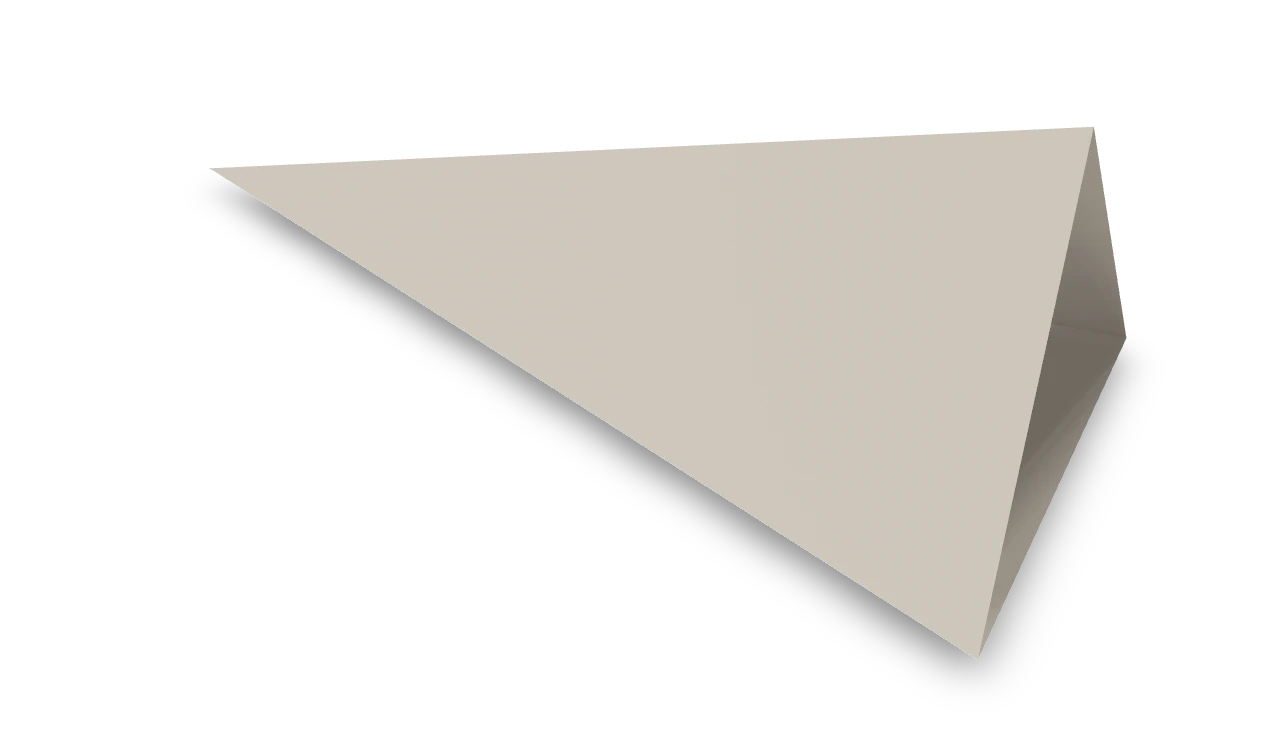
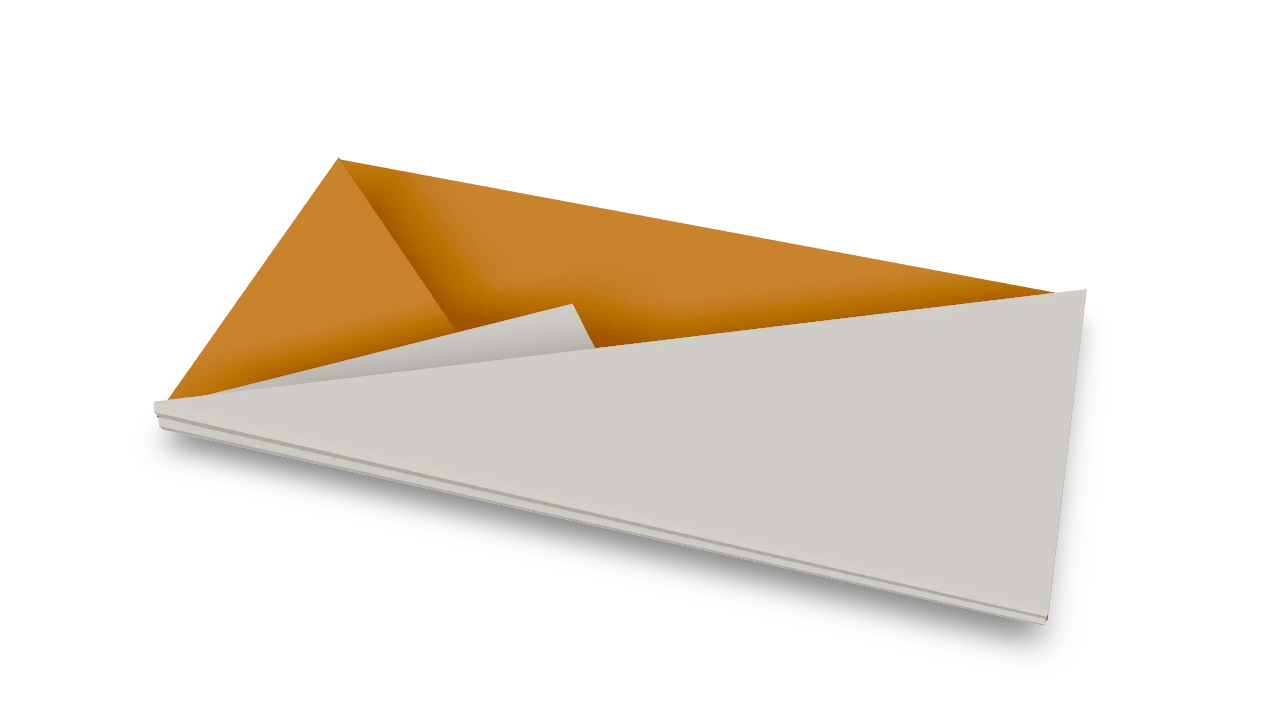
An Origami Tutor paper claw with three pointed sides and an open triangular finger pocket. Cut and crease one square, bring the sides together, then glue the narrow tab over the outside. Repeat with another square for each claw.
- You need
- One 10 × 10 cm square of thin paper per claw, a ruler, pencil, protractor, scissors and a little paper glue.
- Start
- Start with a 10 cm square of thin paper. Keep the top-left corner as the claw's point. From that corner, mark rays at 25°, 50° and 75°, measured clockwise from the top edge. Mark 9 cm along each ray and the top edge, and about 8.8 cm down the left edge. Join the five outer marks with straight lines.
- Tips
- Use thin paper so the small tab folds neatly around the side.
- Keep the three wide panels the same size so the opening is even.
- Keep the points away from faces and eyes.
Your model is ready
Let the glue dry. Slip the open end gently over a fingertip, with the long point extending beyond it. Make another claw from a fresh square for each finger.

Step-by-step diagrams
- 1
Cut the claw outline
Cut from the 9 cm mark on the top edge through the three ray marks to the mark on the left edge. Keep the paper next to the top-left corner and lift the offcut away.
- 2
Crease panel line 1
Fold along the 25° ray from the pointed corner to the cut edge. Press the crease, then open the paper flat again.
- 3
Crease panel line 2
Fold along the 50° ray from the pointed corner to the cut edge. Press the crease, then open the paper flat again.
- 4
Crease panel line 3
Fold along the 75° ray from the pointed corner to the cut edge. Press the crease, then open the paper flat again.
- 5
Bring the three sides together
Keep the first wide panel still. Raise the next two wide panels along their creases until their outside edges meet, making a long triangular pocket. Leave the narrow glue tab open.
- 6
Close the narrow tab
Fold the narrow tab over the outside of the first panel. The pointed end stays closed and the large triangular end stays open.
- 7
Glue the overlap
Put a little glue beneath the overlapping tab and press it against the first panel. Keep glue out of the finger pocket.
- ✓
Finish
Let the glue dry. Slip the open end gently over a fingertip, with the long point extending beyond it. Make another claw from a fresh square for each finger.
Fold next
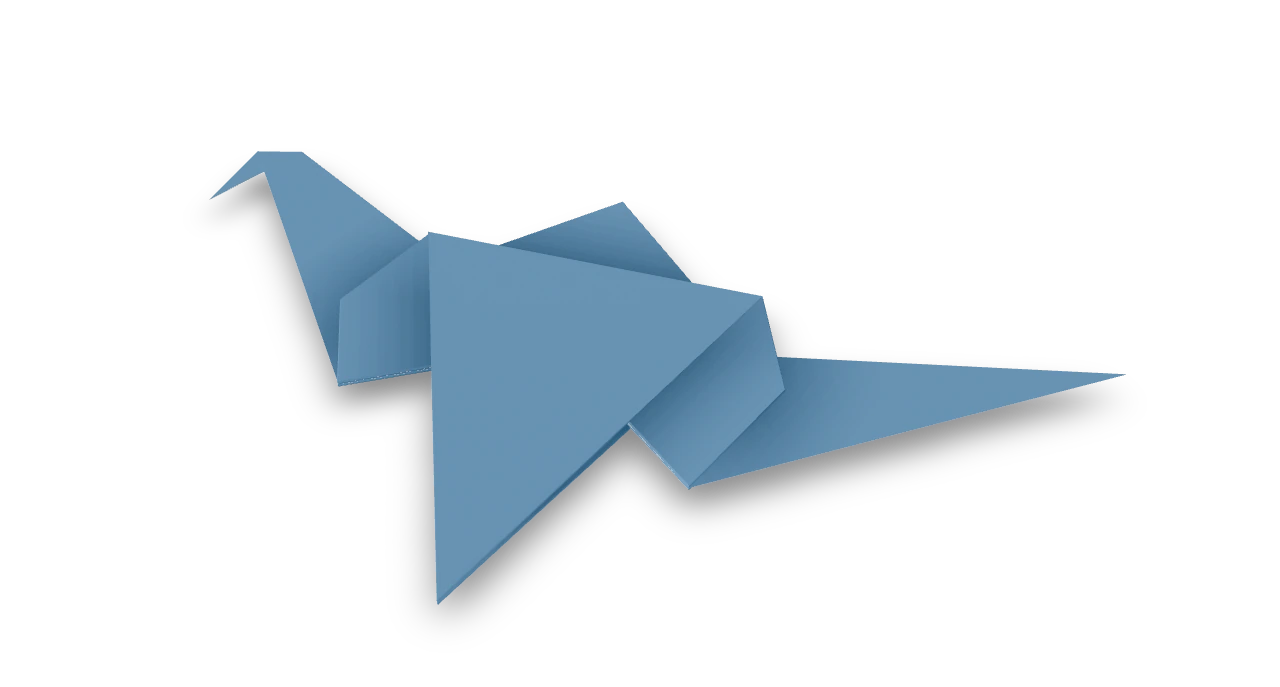
Flapping bird ↗
The traditional action bird: broad wings, a downturned beak and a pointed tail that makes the wings flap.
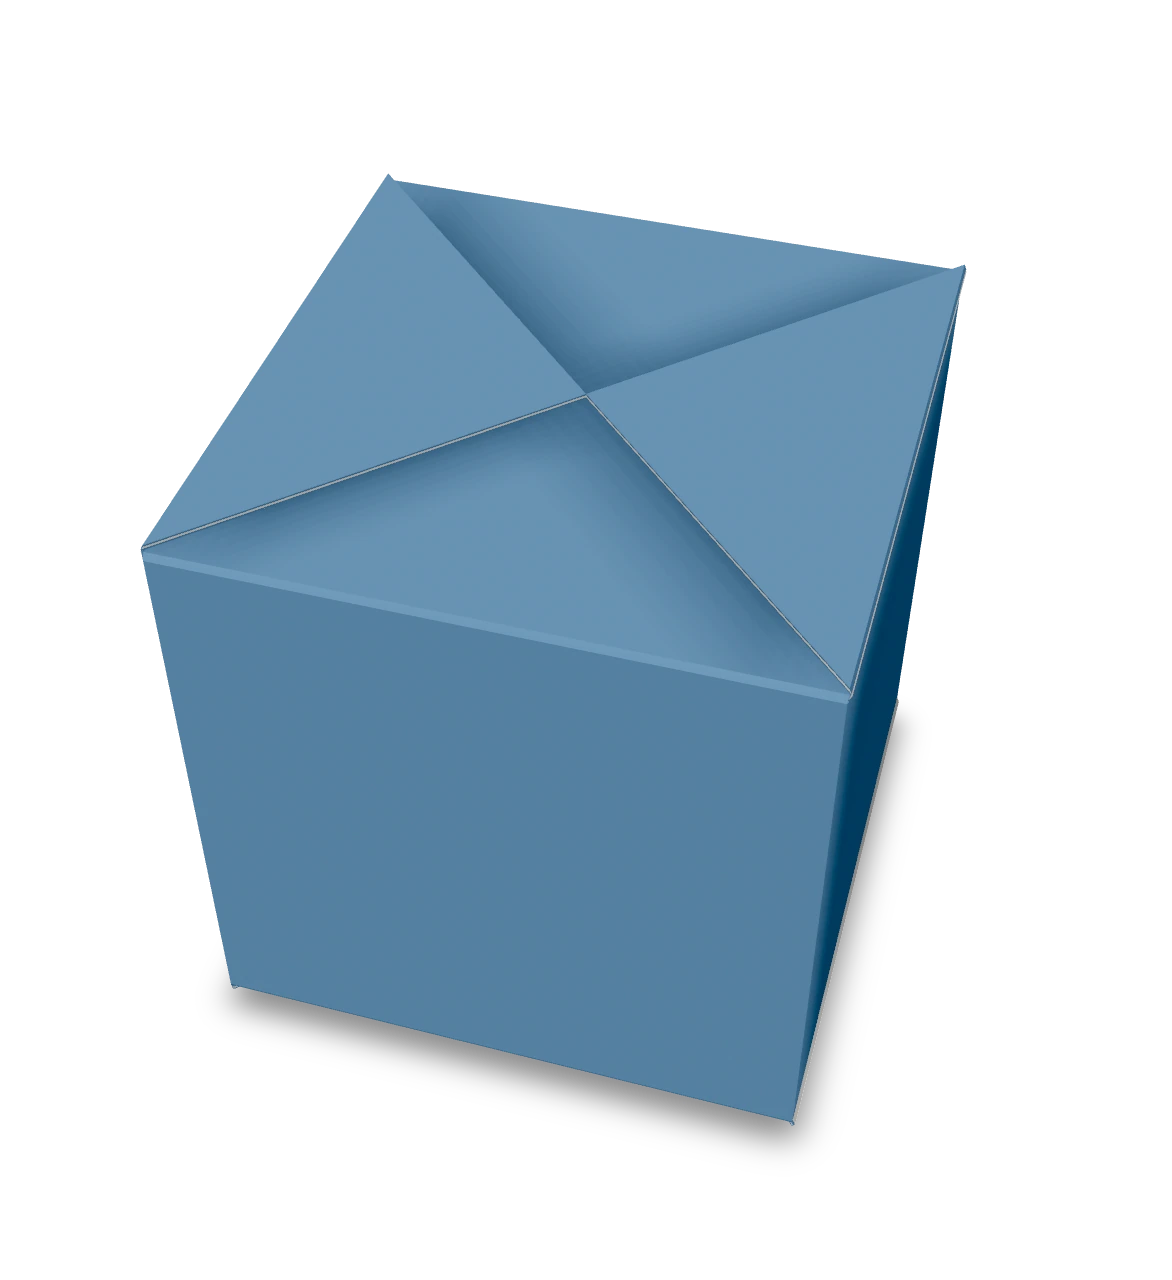
Waterbomb balloon ↗
A traditional paper balloon: fold four locking pockets, then blow it up into a hollow cube.
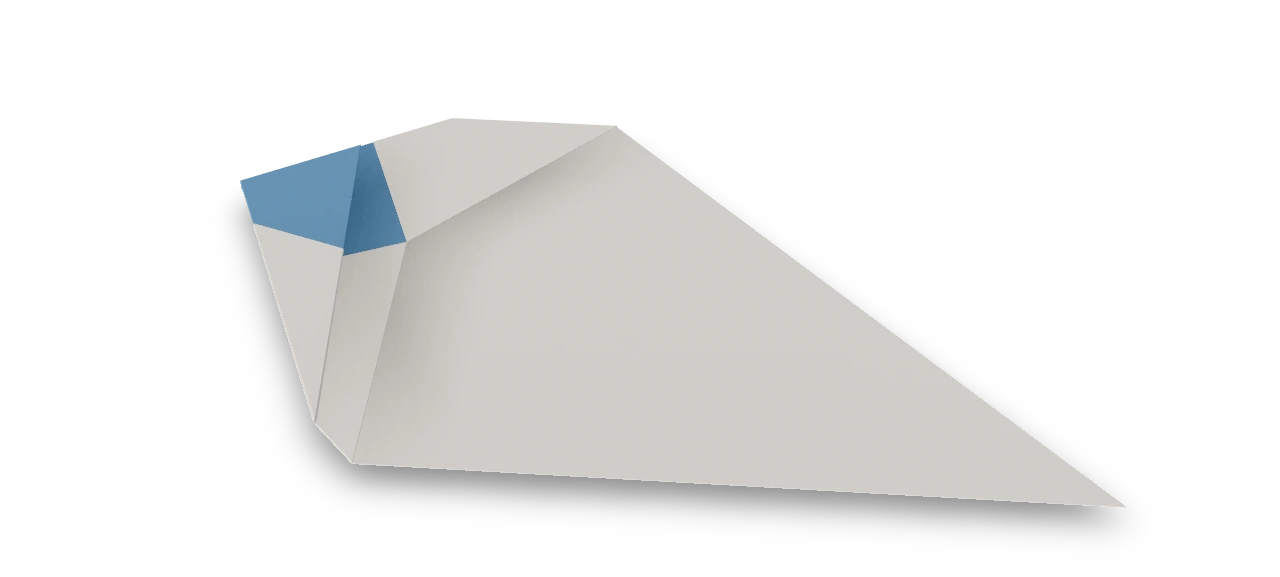
Talking fish ↗
The traditional talking fish: a folded paper fish with an extendable mouth that opens and closes when you move its tail fins.
Fox puppet ↗
The traditional House-derived fox mask, recorded in Japan in 1905, with pointed ears and a movable mouth band.