How to make a gift bag out of wrapping paper
Gift Bag Out Of Wrapping Paper: try all 11 steps in the 3D player. Turn and replay every move. Print the complete diagram sheet or save it as PDF.
A small gift bag made from one rectangle of paper with no cuts: hem the mouth, wrap the paper once round into a tube, and close the bottom the gift-wrap way, with neat pleats at its corners.
- You need
- One sheet of stiff paper about 17.5 × 31.5 cm, scissors, glue or tape. A ribbon for the handles is optional.
- Start
- Cut the paper 17.5 cm wide and 31.5 cm long, and lay it pattern side down with its long edges at the left and right. Its short edges are the bag's top and bottom; the bag's height runs across the paper's width, with the mouth at the right.
- Tips
- Crease every line against a ruler for crisp corners.
- Use stiff paper so the bag keeps its shape when it is filled.
- Make the bottom flaps half as deep as the bag, so the front and back flaps meet in the middle of the bottom.
Your model is ready
The bag is made. Stand it on its bottom and open the mouth. Punch two holes through the hem on the front and back and thread a ribbon through each for handles.

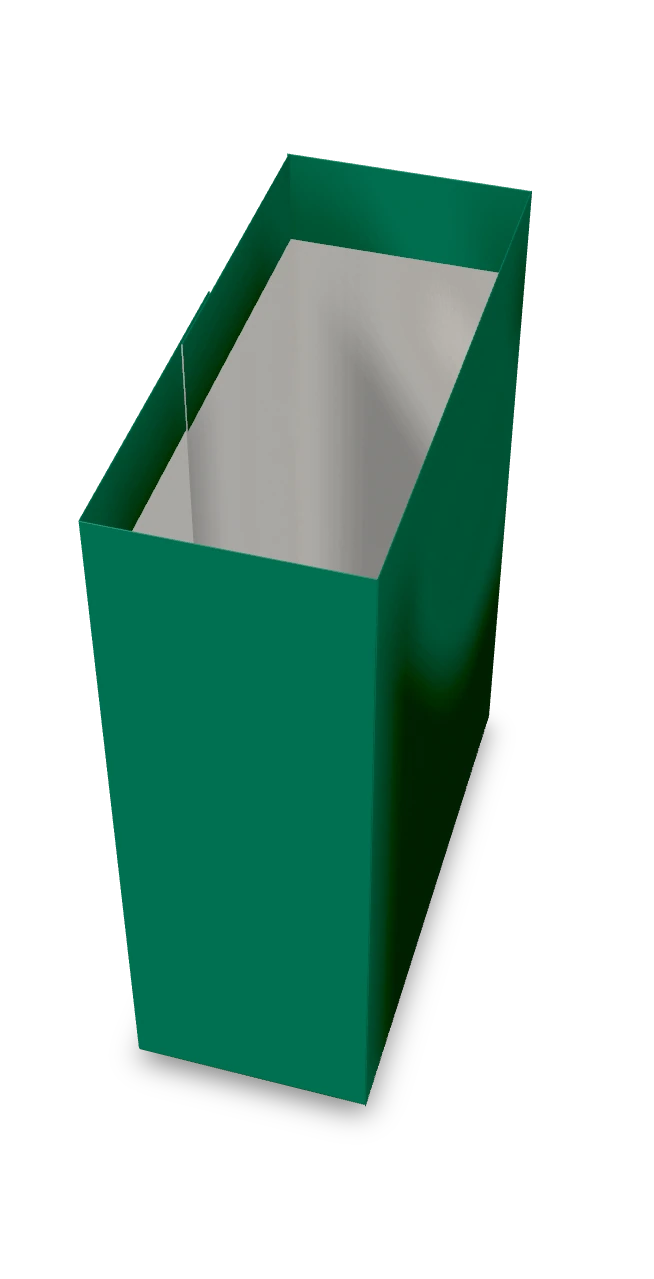
Step-by-step diagrams
Steps 1–6
- 1
Crease the first corner line
Fold the paper along the first line that will become a corner of the bag, press the crease sharp, and open it again.
- 2
Crease the second corner line
Fold the paper along the second line that will become a corner of the bag, press the crease sharp, and open it again.
- 3
Crease the third corner line
Fold the paper along the third line that will become a corner of the bag, press the crease sharp, and open it again.
- 4
Crease the fourth corner line
Fold the paper along the fourth line that will become a corner of the bag, press the crease sharp, and open it again.
- 5
Crease the bottom line
Fold the paper along the line where the bag's bottom will fall, press the crease sharp, and open it again.
- 6
Fold the hem at the mouth
Fold the right edge over by 2 cm along its whole length and press it flat. This hem gives the bag's mouth a clean, strong edge.
Steps 7–11
- 7
Wrap the paper into a tube
Stand the paper up round the bag's shape, with the hem inside: raise the front and both narrow sides, and fold the first back panel over. The second back panel stands straight up for now.
- 8
Close the back
Fold the second back panel over the first so the two loose edges overlap on the back. Glue or tape the overlap.
- 9
Fold in the narrow sides and the back flaps of the bottom
Push the flap at the bottom of each narrow side in across the bottom, and press the two back flaps over the bottom with them. At each corner the paper pinches into a small triangle that folds in under the back flaps. Let the front flap swing out of the way.
- 10
Fold the front flap over the bottom
Fold the front flap over the bottom, pressing the triangles at its corners flat inside it. Glue or tape it shut.
- 11
Stand the bag on its bottom
Turn the whole bag upright on its closed bottom, keeping the mouth open and both narrow sides apart.
- ✓
Finish
The bag is made. Stand it on its bottom and open the mouth. Punch two holes through the hem on the front and back and thread a ribbon through each for handles.
Fold next
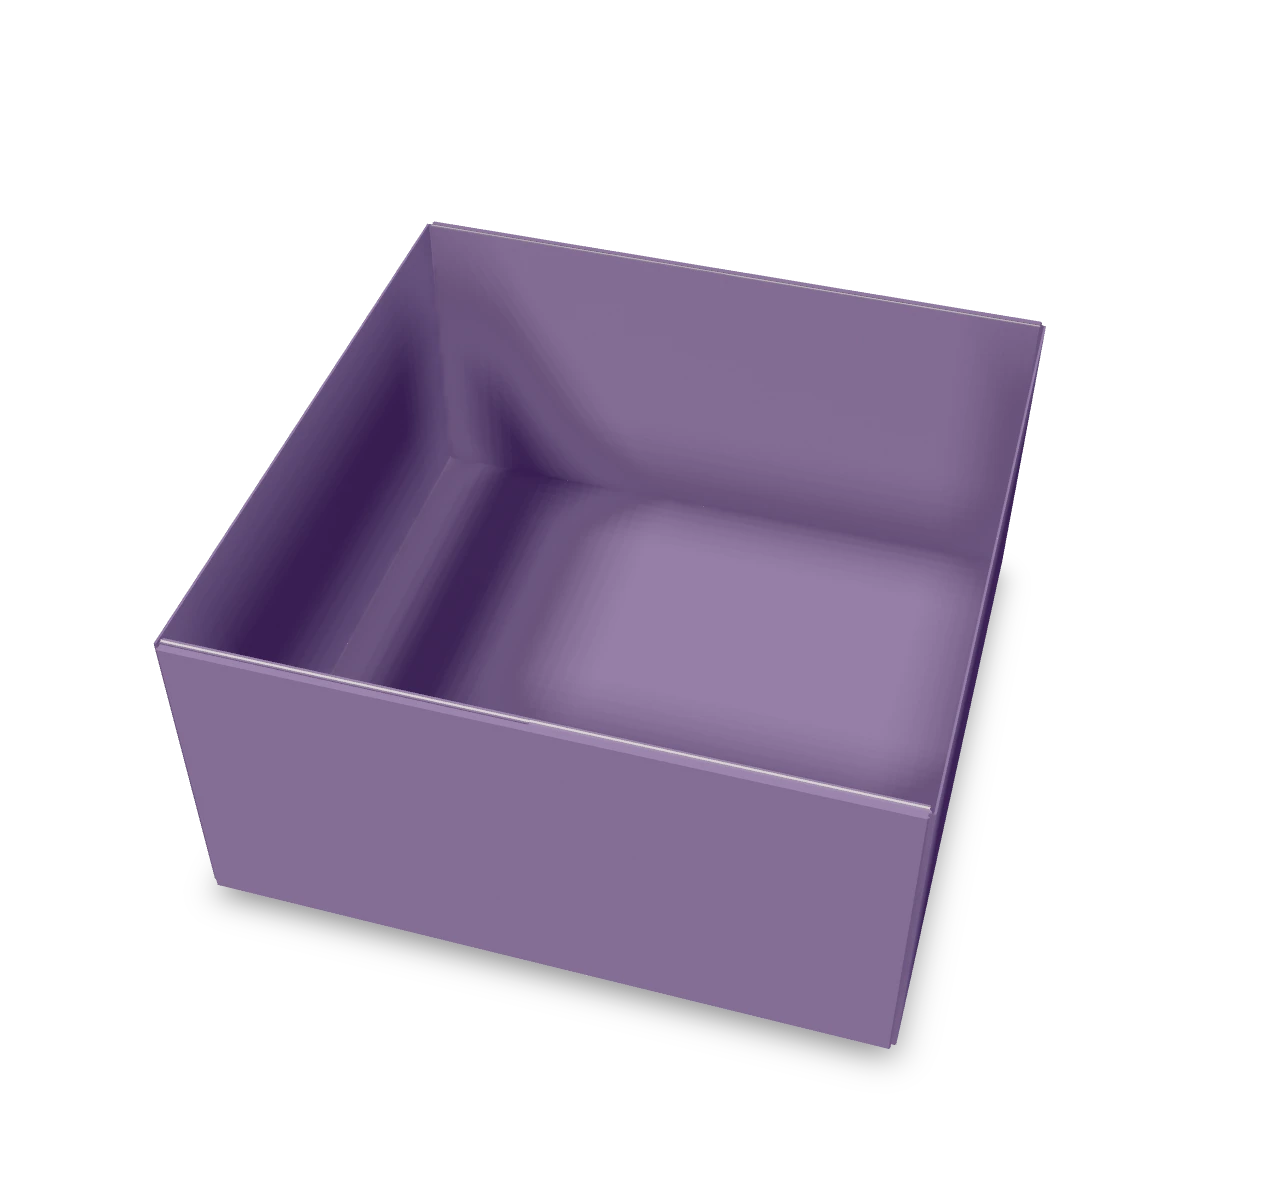
Masu box ↗
Fold the traditional square masu box, with upright walls and both end flaps locked onto the floor.
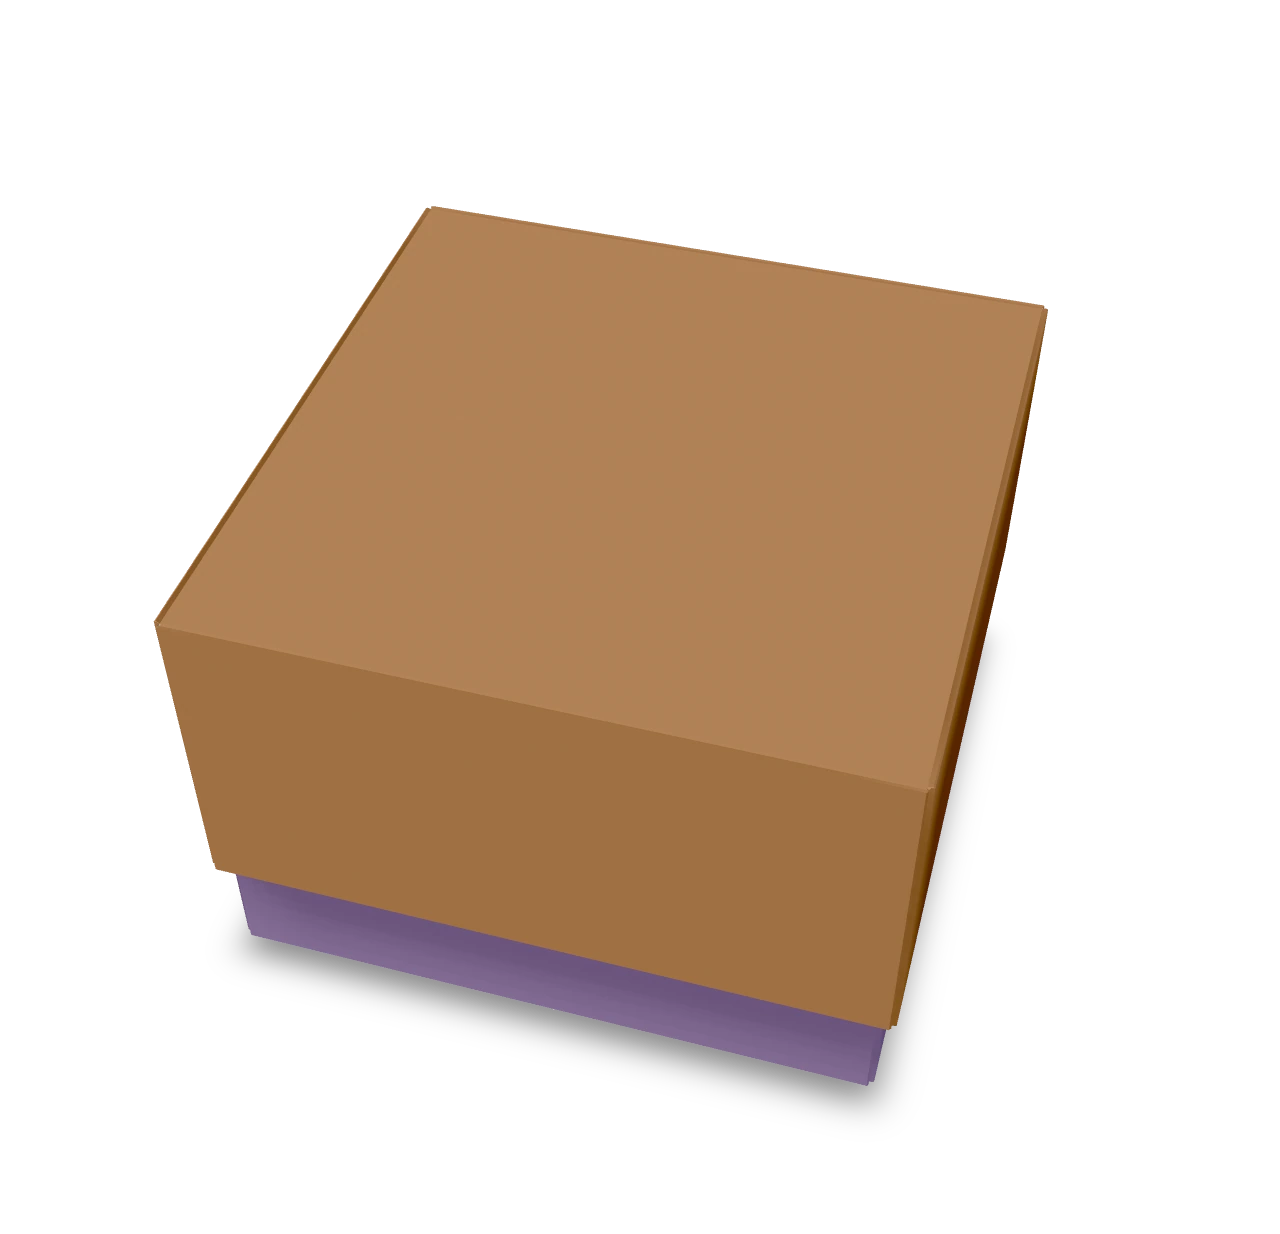
Masu lid ↗
A matching masu box and lid. Fold the same pattern from two different-sized squares, then turn the larger tray over and fit it onto the smaller box.
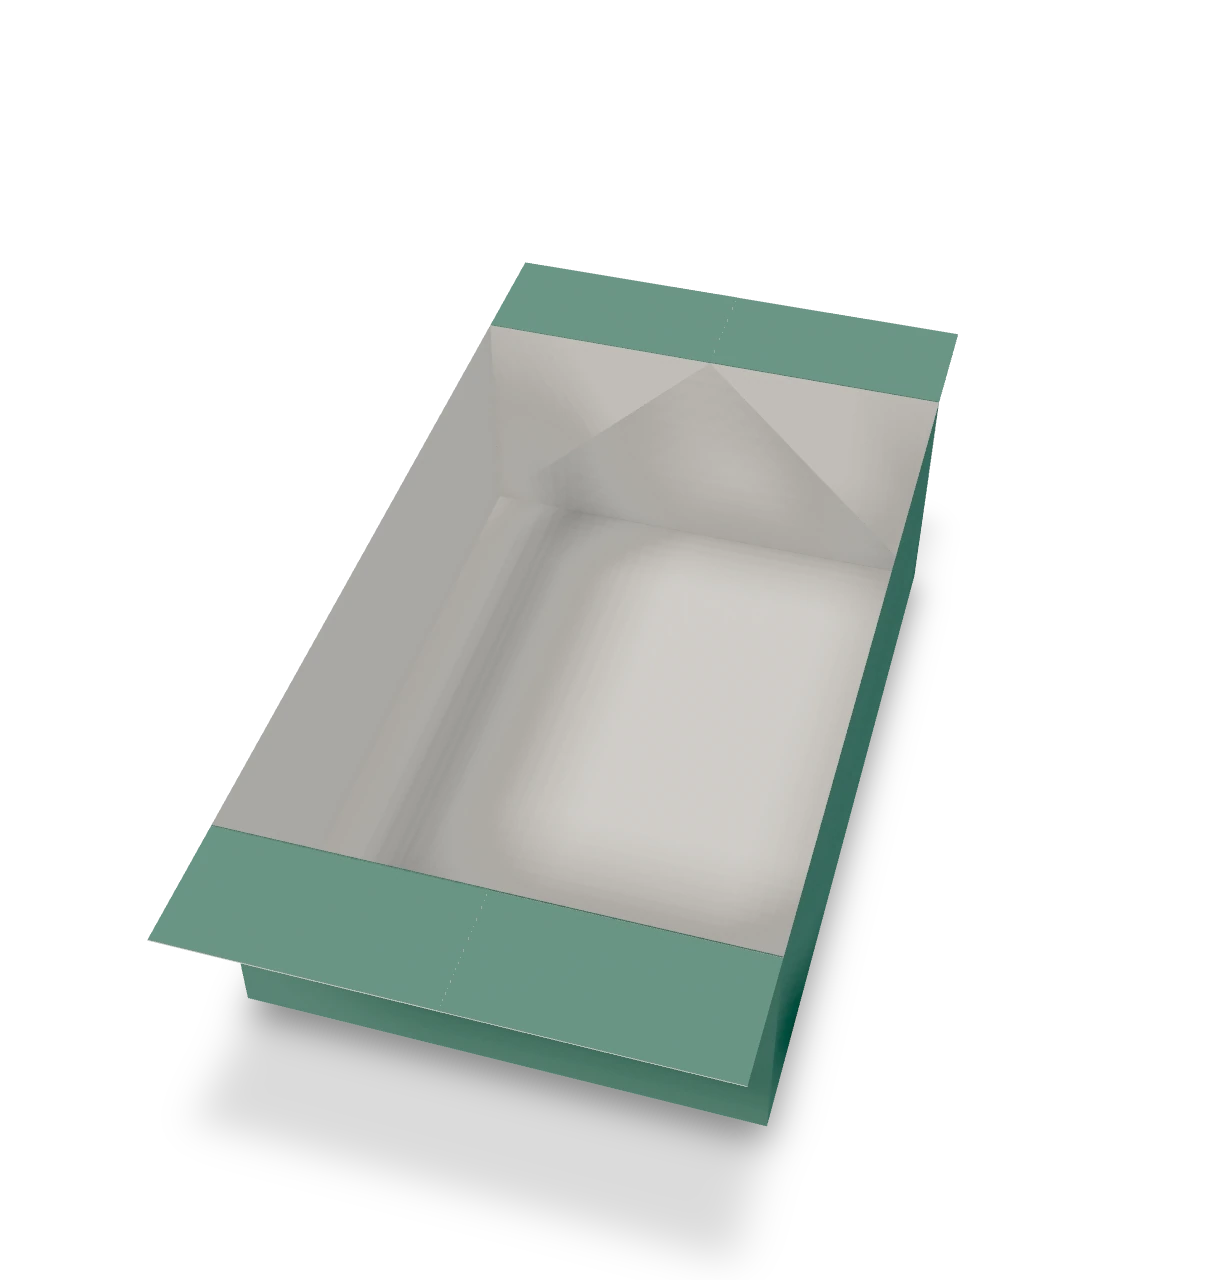
Basic box ↗
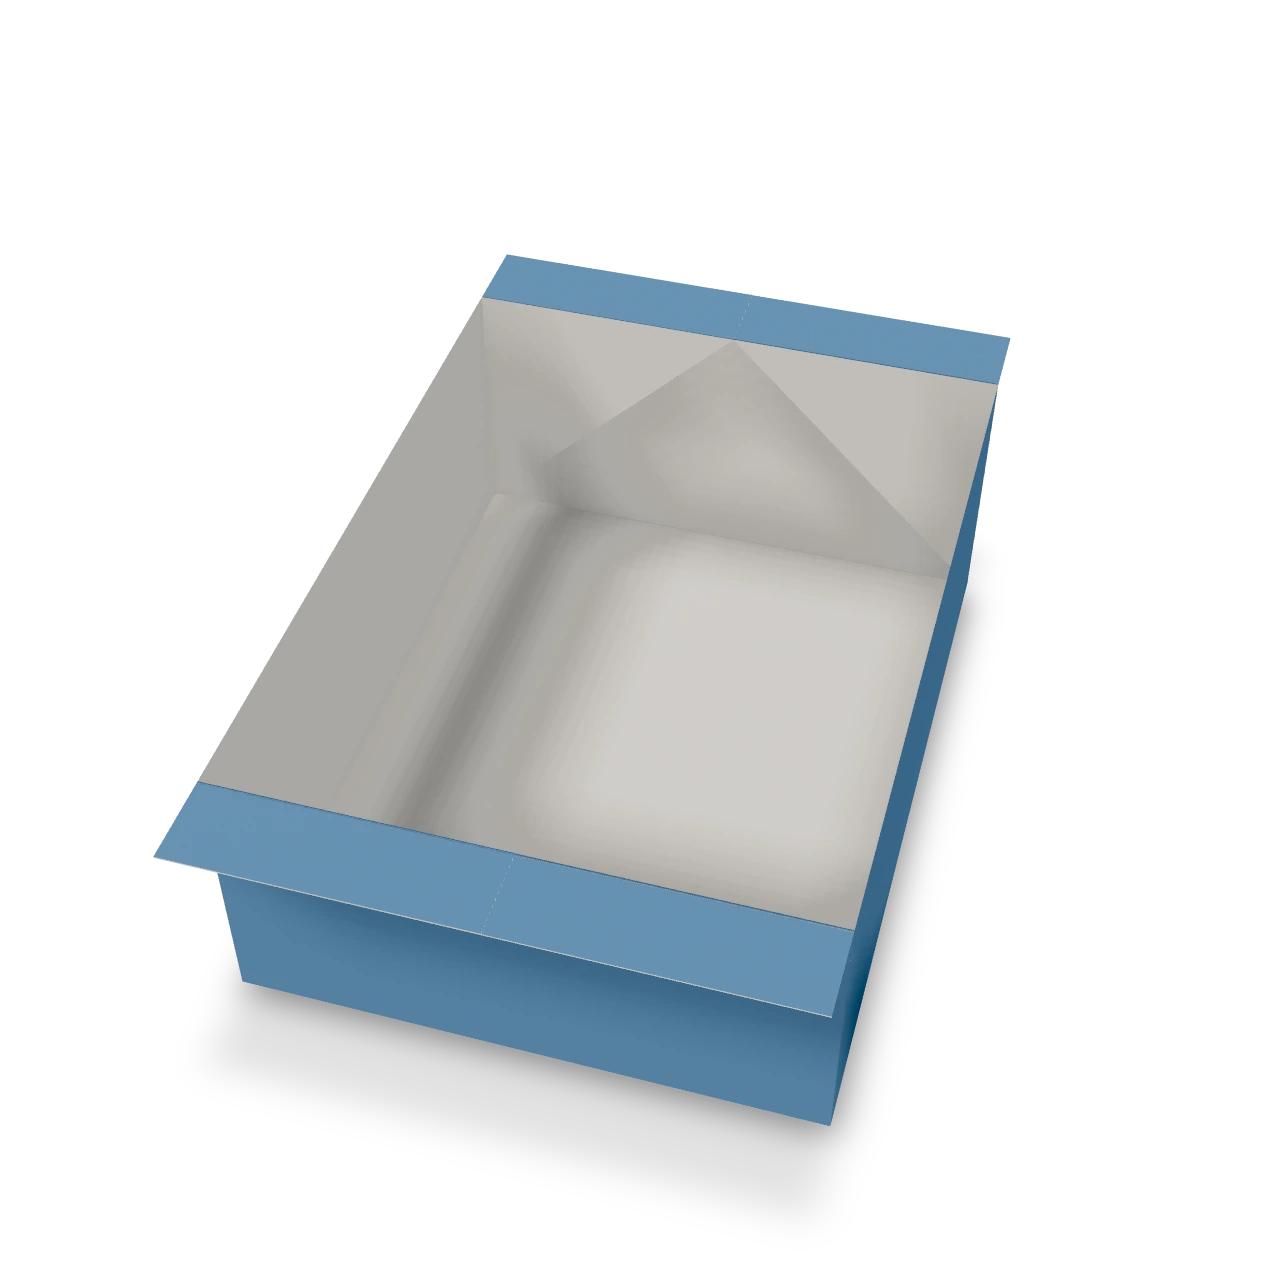
A rectangular tray with two broad folded rims. This Origami Tutor sequence opens the traditional basic-box shape while keeping its floor flat.
Letter paper box ↗
A deep rectangular box folded from one uncut sheet of letter paper, with narrow rims at both ends. This Origami Tutor sequence opens the traditional basic-box shape without cutting or glue.