How to make a paper photo frame
Paper Photo Frame: try all 13 steps in the 3D player. Turn and replay every move. Print the complete diagram sheet or save it as PDF.
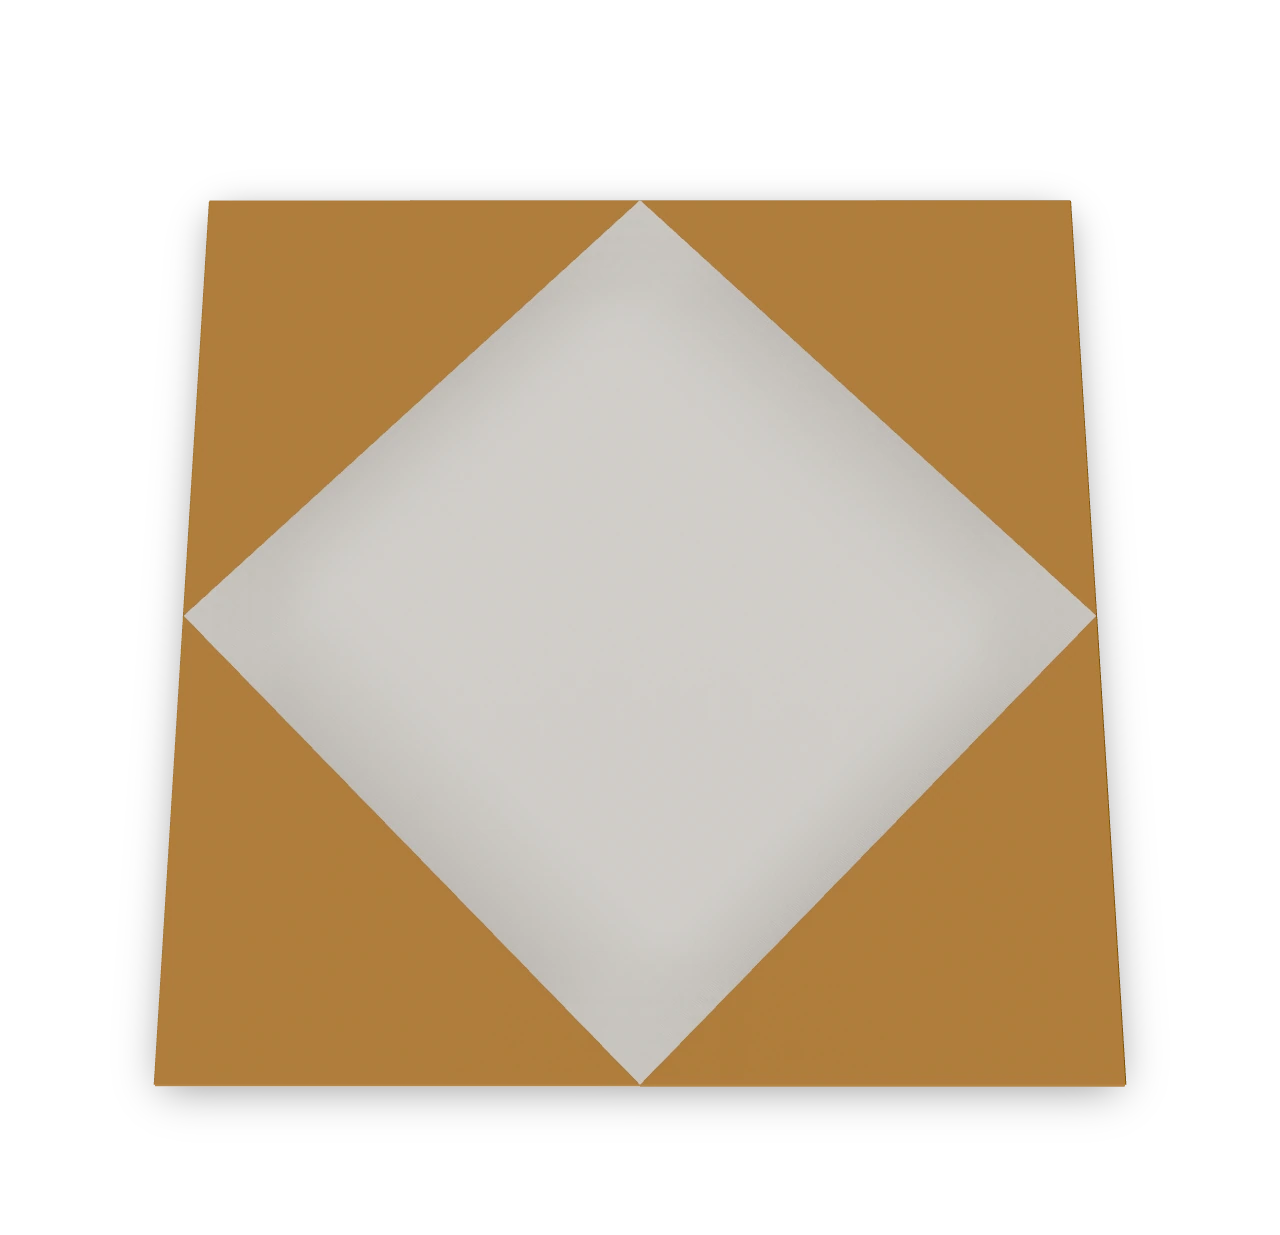
Fold a square picture frame with four colored border lips around a white picture area. The corner folds hold the border overlaps on the back, leaving the front ready for a small photo or drawing.
- You need
- One square of thin paper. Add a small photo or drawing and scissors to trim the picture; the frame itself needs no cuts or glue.
- Start
- Start white side up with an edge at the top. Use a 6 in square for a small frame; the picture area is about 2 in square, turned diagonally inside the frame.
- Tips
- Make all four bands the same width so the picture area stays centred.
- Check the picture against the opening before trimming it; tuck a little of each edge under the lips.
Your model is ready
Trim a photo or drawing to fit the white picture area. Ease its four corners under the border lips, then press the border flat again. The frame can lie in an album or hang on a card. The finished picture frame: four colored border lips around the exposed white picture area.

Step-by-step diagrams
Steps 1–7
- 1
Find the middle across
Fold the bottom edge to the top edge, press, and open.
- 2
Find the middle lengthwise
Fold the left edge to the right edge, press, and open. The two creases cross at the centre.
- 3
Fold the top border
Fold the top edge inward by one sixth of the sheet's width, about 1 in on a 6 in square. Keep the band even.
- 4
Fold the bottom border
Fold the bottom edge inward by one sixth of the sheet's width, about 1 in on a 6 in square. Keep the band even.
- 5
Fold the left border
Fold the left edge inward by one sixth of the sheet's width, about 1 in on a 6 in square. Keep the band even.
- 6
Fold the right border
Fold the right edge inward by one sixth of the sheet's width, about 1 in on a 6 in square. Keep the band even.
- 7
Turn to the back
Turn the smaller square over, keeping all four narrow bands folded.
Steps 8–13
- 8
Fold the upper left corner in
Bring the upper left corner to the centre where the two guide creases cross. Fold all the layers at that corner together.
- 9
Fold the upper right corner in
Bring the upper right corner to the centre where the two guide creases cross. Fold all the layers at that corner together.
- 10
Fold the lower right corner in
Bring the lower right corner to the centre where the two guide creases cross. Fold all the layers at that corner together.
- 11
Fold the lower left corner in
Bring the lower left corner to the centre where the two guide creases cross. Fold all the layers at that corner together.
- 12
Reveal the picture face
Turn the frame over. The colored border surrounds a white diamond-shaped picture area, with a folded lip along each side.
- 13
Set the frame square
Turn the frame in the page until its outer edges are horizontal and vertical. The white picture area is a diamond inside it.
- ✓
Finish
Trim a photo or drawing to fit the white picture area. Ease its four corners under the border lips, then press the border flat again. The frame can lie in an album or hang on a card. The finished picture frame: four colored border lips around the exposed white picture area.
Fold next
Corner bookmark ↗
Make a folded pocket that slips over the corner of your book page.

Cup ↗
The old folded paper cup: a few folds and it holds water for a quick drink.
House ↗
The traditional flat house from Froebel's paper folding, with a long roof and two gate pockets.

Piano ↗
An Origami Tutor paper piano using a house-base fold, a raised white keyboard and nine small black paper keys.