How to make an origami pigeon
Origami Pigeon: try all 11 steps in the 3D player. Turn and replay every move. Print the complete diagram sheet or save it as PDF.
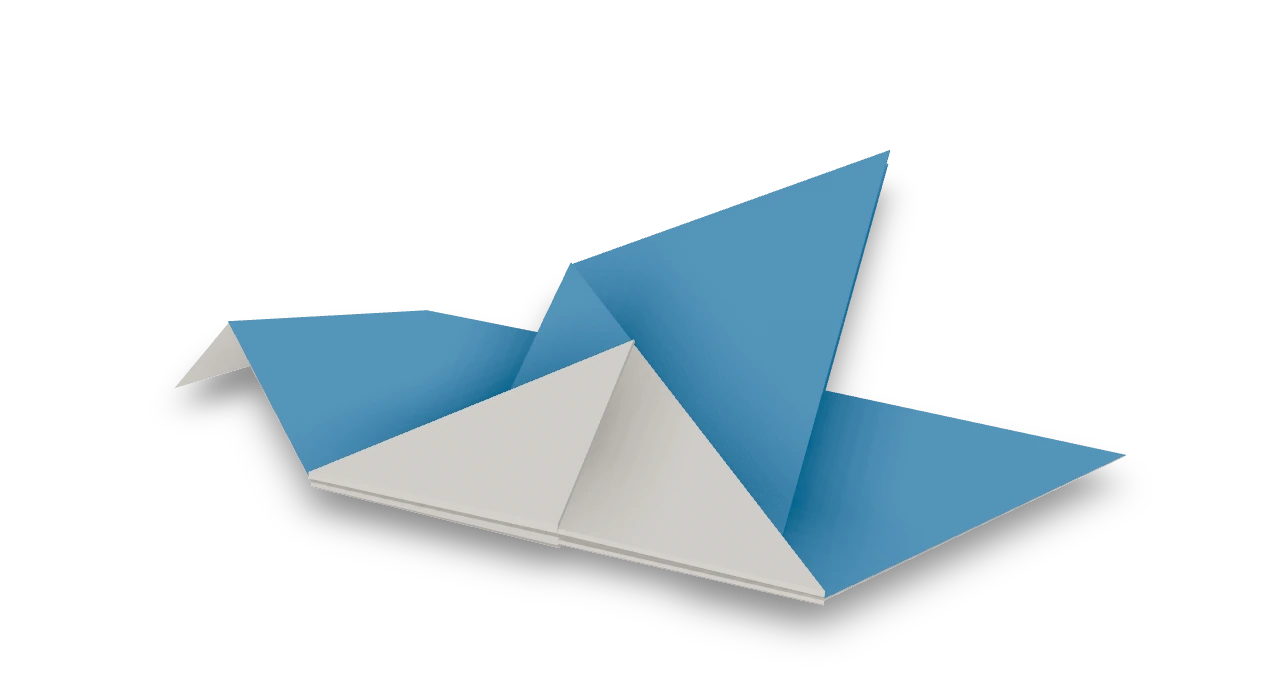
The classic origami pigeon, listed as a traditional model: a pointed head, a wedge body, a tail point and two wings that stand up.
- You need
- One square of origami paper, white on one side. No glue or scissors.
- Start
- Start white side up, with one corner pointing up. The pigeon will show the colored side, with a white belly.
- Tips
- Make the white diamond as square as you can before you fold the second wing.
- A crisp crease where the head reverses keeps the beak small and neat.
Your model is ready
Press the folds flat. The head is at the left, the white belly shows below the two wings, which stand together as one triangle, and the point at the right is the tail. Hold the bird by its belly and pull the wings apart into a V. Turn it round to see it from every side.

Step-by-step diagrams
Steps 1–6
- 1
Mark the middle
Fold the left corner over to the right corner, press the crease, and open the paper again.
- 2
Make a triangle
Fold the top corner down to the bottom corner. You now have a triangle pointing down.
- 3
Fold the point up
Fold the bottom point, through both layers, up to a line one third of the way down from the long top edge. The point rises above that edge.
- 4
Fold the peak down
Fold only the top layer of that peak back down, along a line one third of the way up the band beneath it. A white diamond shows in the middle.
- 5
Fold in half
Fold the model in half from right to left along its middle crease.
- 6
Turn the model
Turn the model a quarter turn counter-clockwise, so the folded edge runs across the top and the long strip hangs down.
Steps 7–11
- 7
Mark the head
At the top right, fold the corner down along a short slanted line, press the crease, and open it again.
- 8
Reverse the head
Open the corner's two layers a little, push its tip in between them along the crease, and press flat. The tip makes the beak.
- 9
Fold the first wing up
Fold the front half of the strip, its top two layers, up along a horizontal line about a quarter of the way down from the folded top edge. The tip rises above that edge and a white diamond appears; make it look as square as you can.
- 10
Turn over
Turn the model over from left to right, keeping the folded edge at the top.
- 11
Fold the second wing up
Fold the other half of the strip up along the same line, so its tip reaches the tip of the first wing.
- ✓
Finish
Press the folds flat. The head is at the left, the white belly shows below the two wings, which stand together as one triangle, and the point at the right is the tail. Hold the bird by its belly and pull the wings apart into a V. Turn it round to see it from every side.
Fold next
Dog face ↗
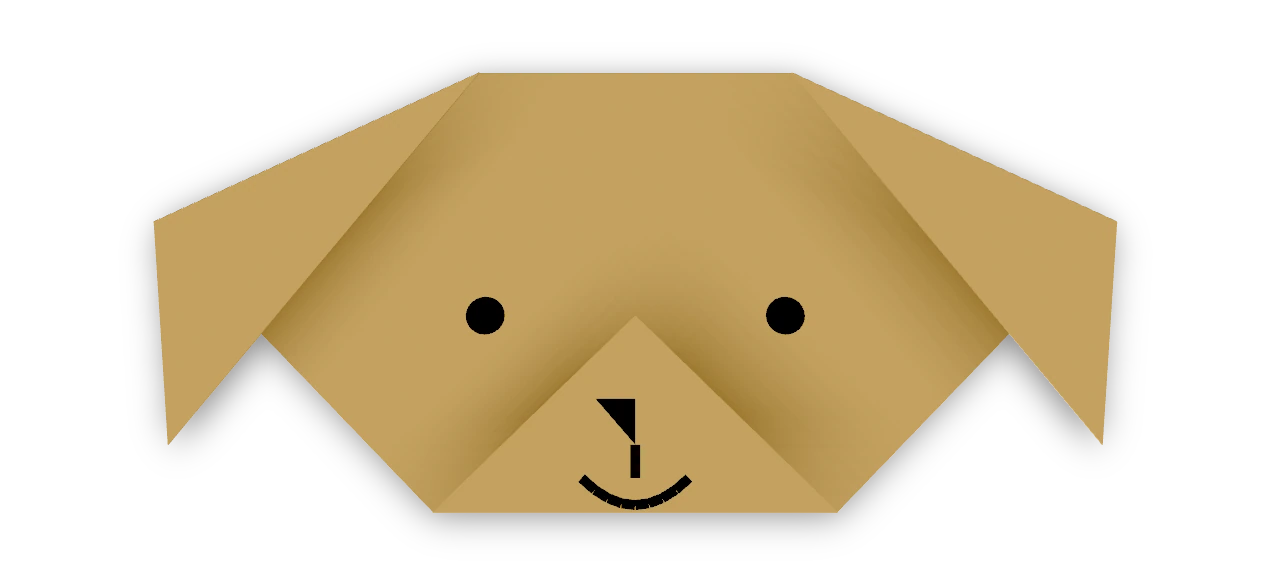
Fold floppy ears and a little muzzle, then give your paper dog a face.
Cat face ↗
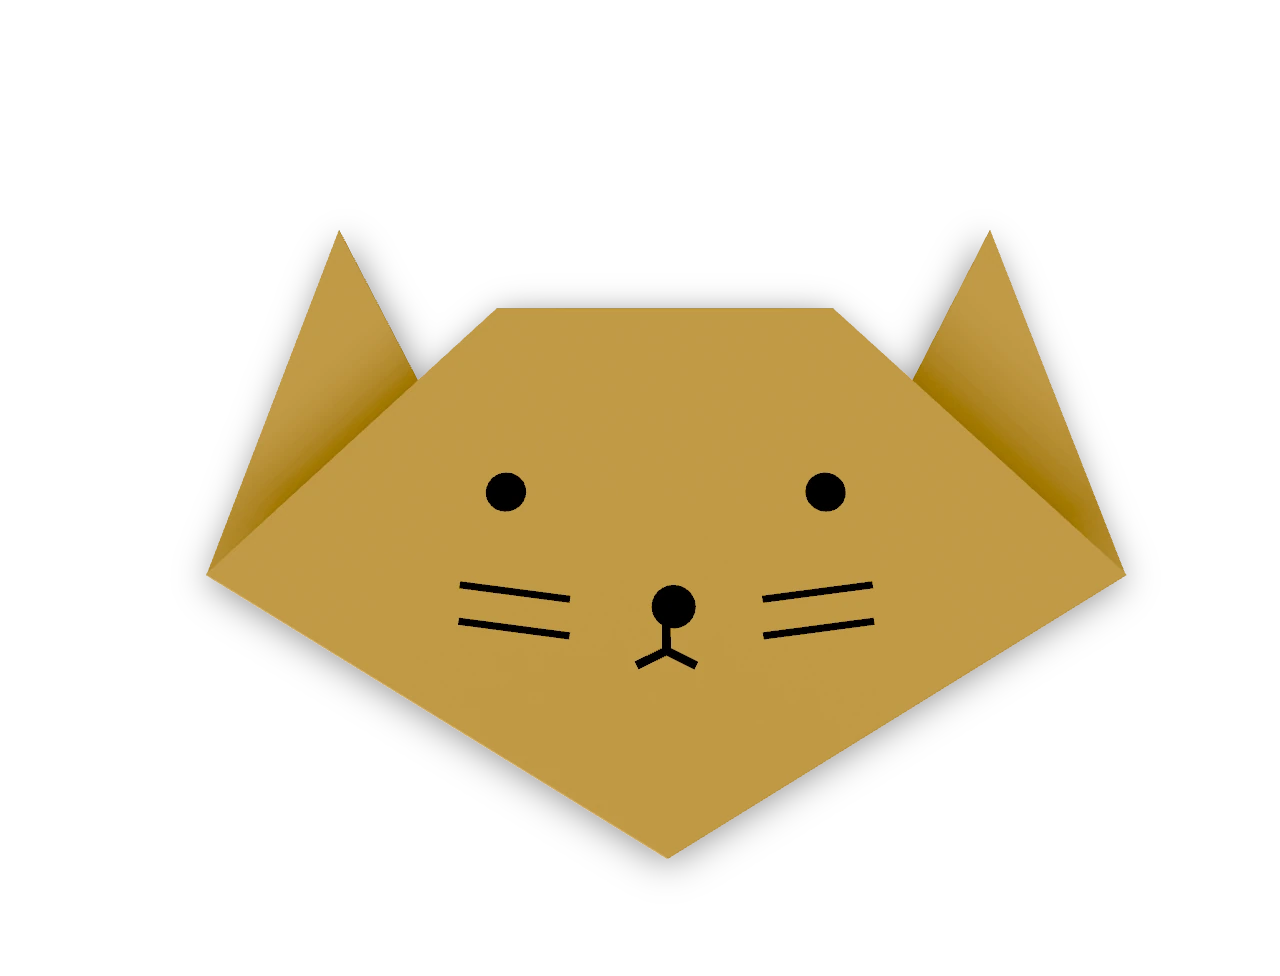
A traditional triangle cat head with two pointed ears and a straight forehead.
Fox face ↗
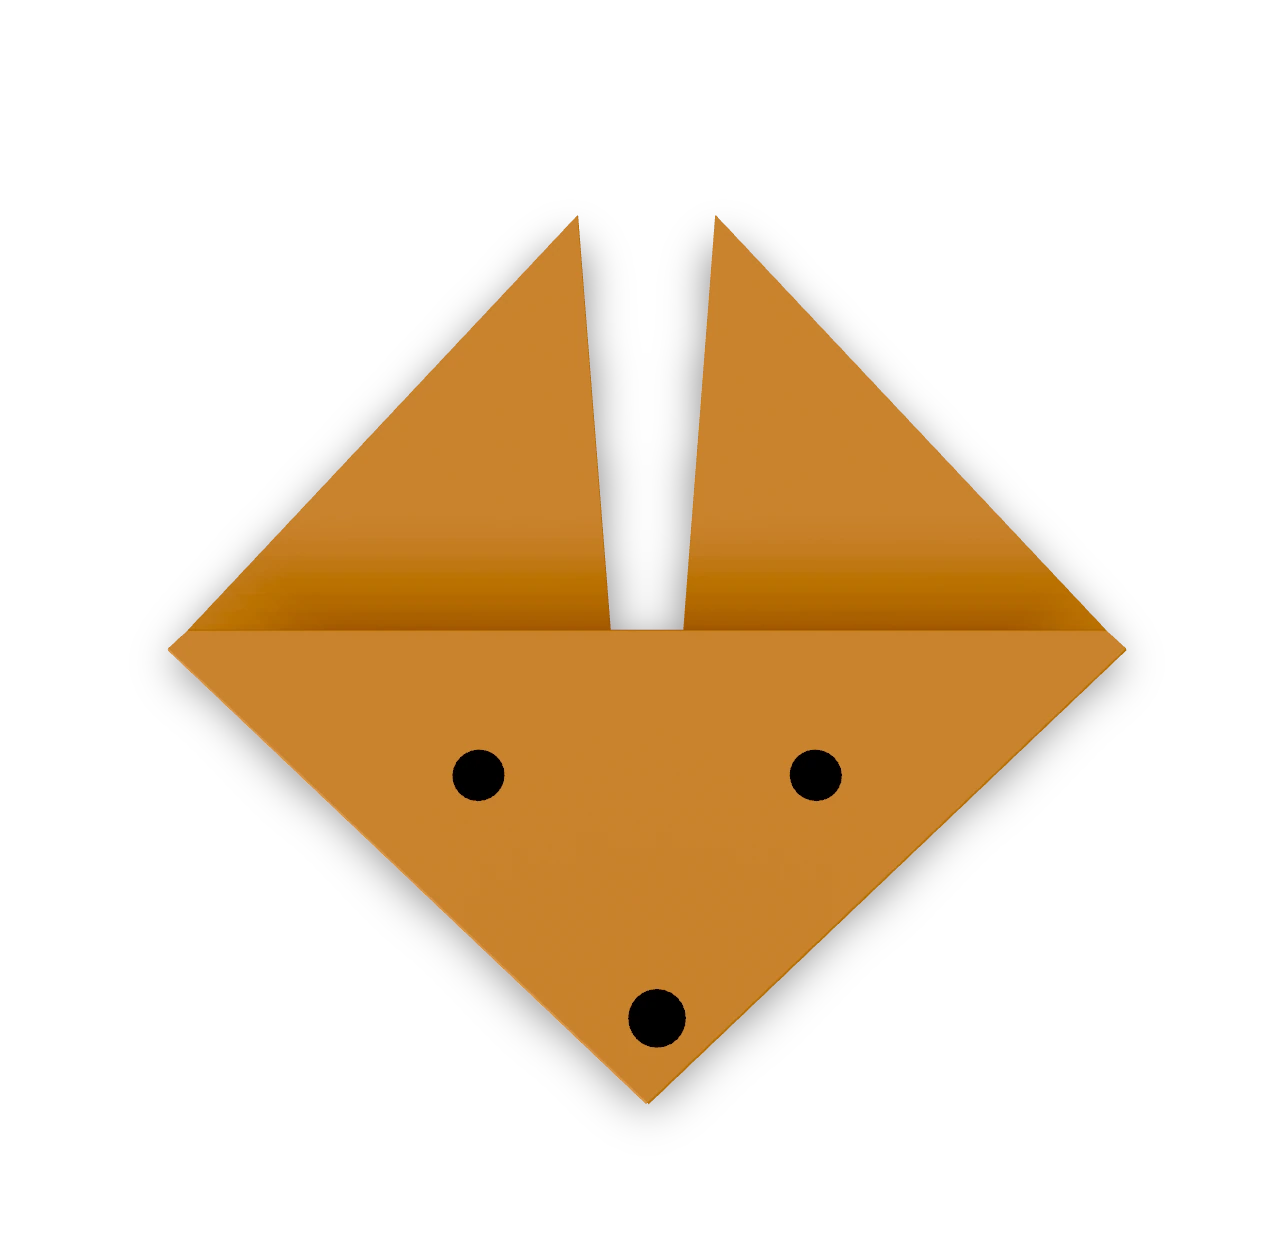
The traditional pointed fox face, recorded in Japan in 1878, with two tall ears.
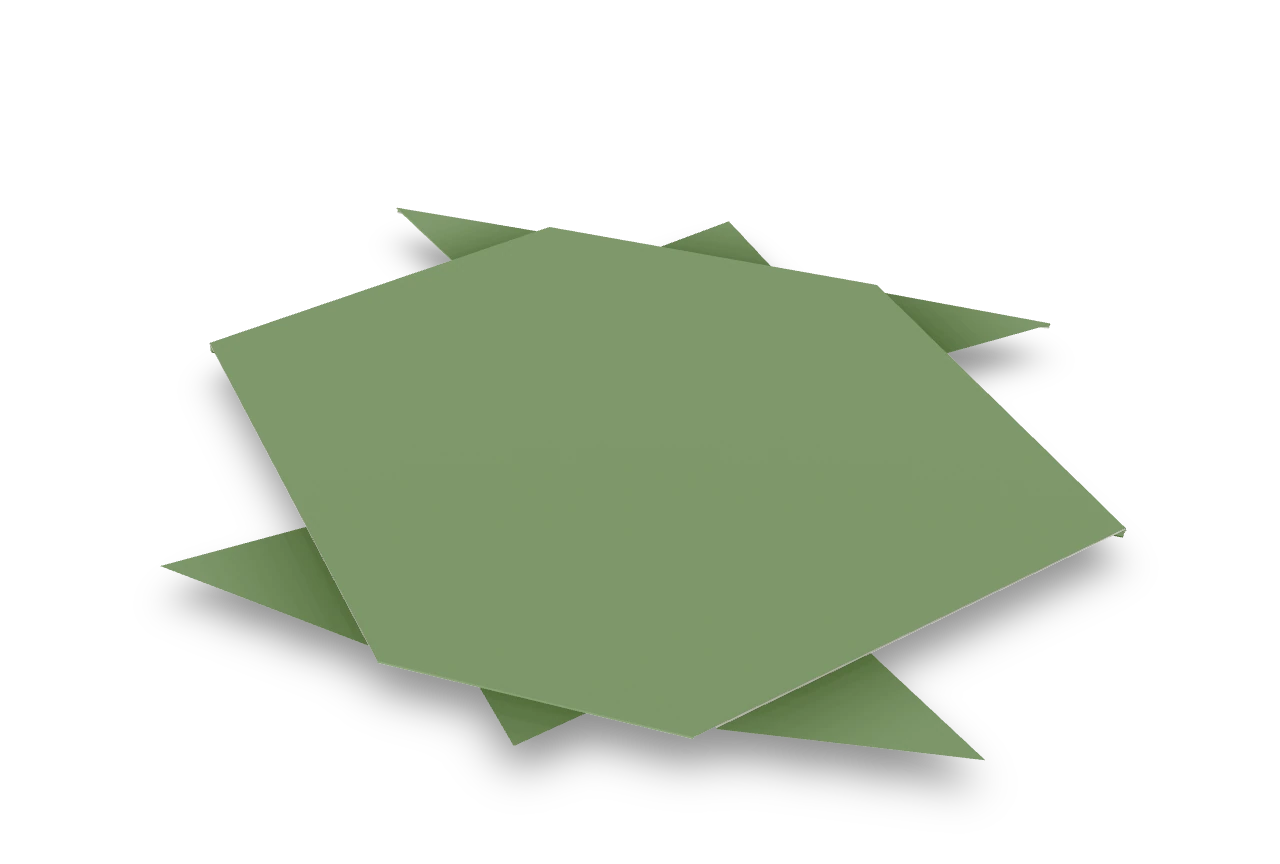
Turtle ↗
The common cut turtle with four pointed feet, a small head and tail, and a colored shell. One slit divides the rear feet while leaving the shell underneath whole.