How to make a sticky note cube
Sticky Note Cube: try all 58 steps in the 3D player. Turn and replay every move. Print the complete diagram sheet or save it as PDF.
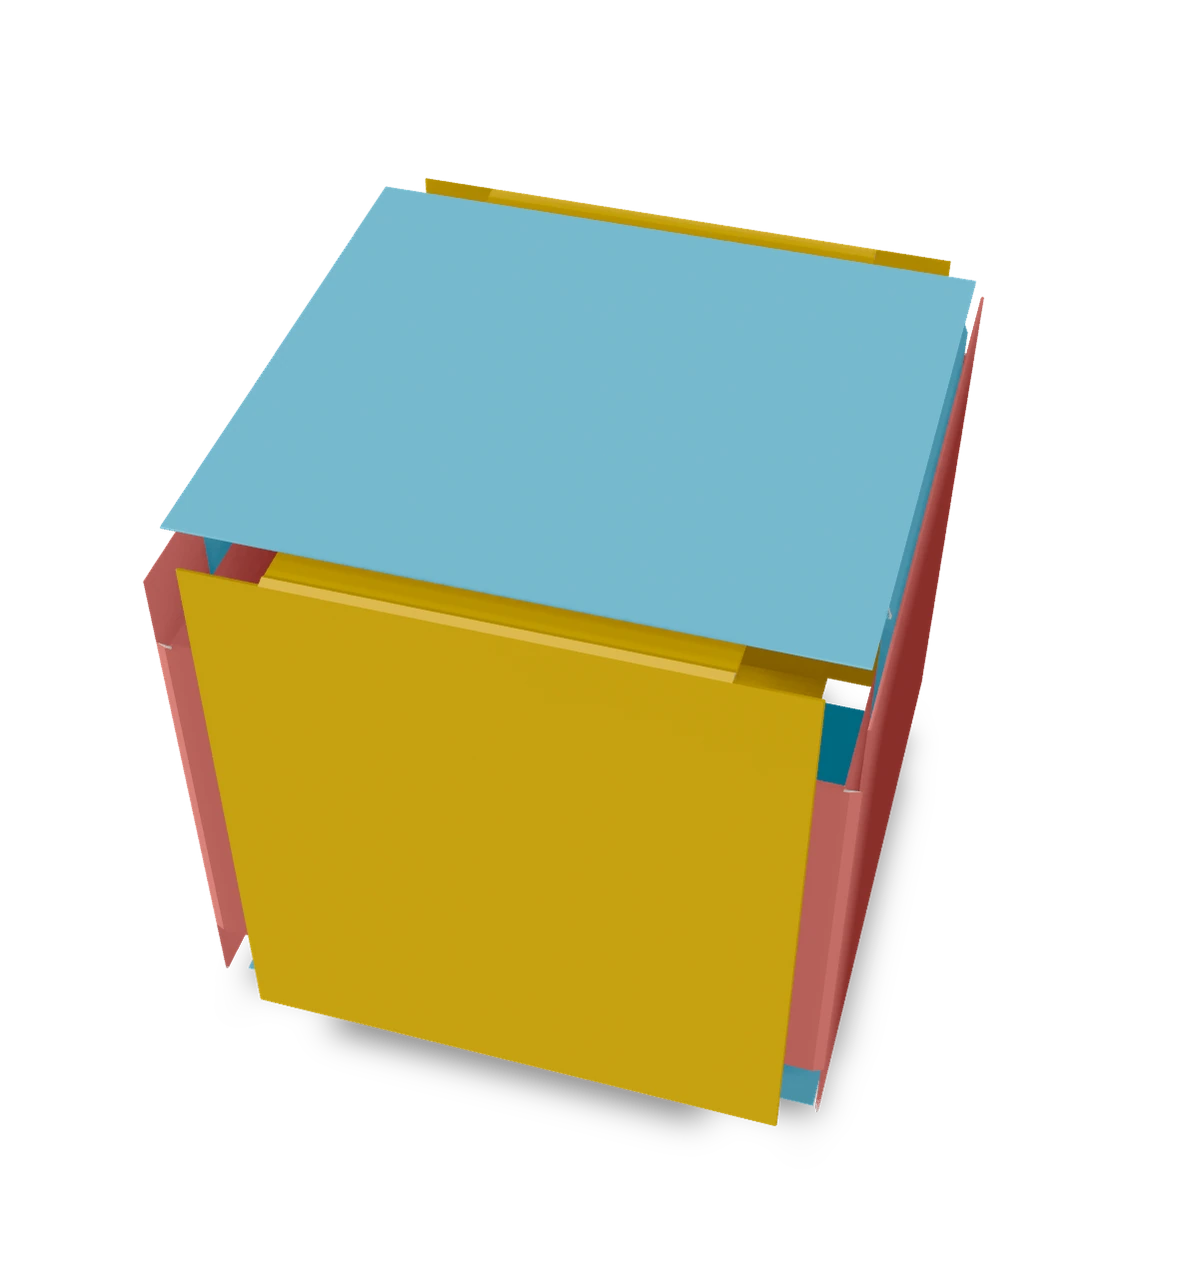
An Origami Tutor cube from six identical units, each folded from one square sticky note. Every unit is a strip folded in thirds with its ends turned in, and the units lock together by sliding their tabs into each other's folded tunnels, with no glue or tape.
- You need
- Six square sticky notes of the same size and a pair of scissors.
- Start
- Take six square sticky notes of the same size, two of each of three colours if you have them. Lay them in a column, each with its sticky strip along the top edge, facing you.
- Tips
- Crease every fold firmly, since the units hold together by friction.
- Fold all six units the same way, with the sticky strip hidden inside.
- Use two notes of each colour and put matching colours on opposite faces.
Your model is ready
The cube is ready: six notes held together only by their tabs. Squeeze it gently all round to settle every tab deep in its tunnel. The finished sticky note cube.

Step-by-step diagrams
Steps 1–7
- 1
Cut off the sticky strip
With the sticky strip along the top edge, cut it off in a straight line, about 8 mm down, so the folds cannot stick together.
- 2
Fold the bottom third up
Fold the bottom edge up a third of the remaining height, so the bottom third lies on the middle third.
- 3
Fold the top third down
Fold the top third down over it. The note is now a long strip three layers thick.
- 4
Unit 2: cut off the sticky strip
Fold the next note the same way: with the sticky strip along the top edge, cut it off in a straight line, about 8 mm down, so the folds cannot stick together.
- 5
Unit 2: fold the bottom third up
Fold the next note the same way: fold the bottom edge up a third of the remaining height, so the bottom third lies on the middle third.
- 6
Unit 2: fold the top third down
Fold the next note the same way: fold the top third down over it. The note is now a long strip three layers thick.
- 7
Unit 3: cut off the sticky strip
Fold the next note the same way: with the sticky strip along the top edge, cut it off in a straight line, about 8 mm down, so the folds cannot stick together.
Steps 8–14
- 8
Unit 3: fold the bottom third up
Fold the next note the same way: fold the bottom edge up a third of the remaining height, so the bottom third lies on the middle third.
- 9
Unit 3: fold the top third down
Fold the next note the same way: fold the top third down over it. The note is now a long strip three layers thick.
- 10
Unit 4: cut off the sticky strip
Fold the next note the same way: with the sticky strip along the top edge, cut it off in a straight line, about 8 mm down, so the folds cannot stick together.
- 11
Unit 4: fold the bottom third up
Fold the next note the same way: fold the bottom edge up a third of the remaining height, so the bottom third lies on the middle third.
- 12
Unit 4: fold the top third down
Fold the next note the same way: fold the top third down over it. The note is now a long strip three layers thick.
- 13
Unit 5: cut off the sticky strip
Fold the next note the same way: with the sticky strip along the top edge, cut it off in a straight line, about 8 mm down, so the folds cannot stick together.
- 14
Unit 5: fold the bottom third up
Fold the next note the same way: fold the bottom edge up a third of the remaining height, so the bottom third lies on the middle third.
Steps 15–21
- 15
Unit 5: fold the top third down
Fold the next note the same way: fold the top third down over it. The note is now a long strip three layers thick.
- 16
Unit 6: cut off the sticky strip
Fold the next note the same way: with the sticky strip along the top edge, cut it off in a straight line, about 8 mm down, so the folds cannot stick together.
- 17
Unit 6: fold the bottom third up
Fold the next note the same way: fold the bottom edge up a third of the remaining height, so the bottom third lies on the middle third.
- 18
Unit 6: fold the top third down
Fold the next note the same way: fold the top third down over it. The note is now a long strip three layers thick.
- 19
Notch the top left
Snip a strip about 3 mm deep off the top edge of the strip, from the left end to a third of the way along, through every layer.
- 20
Notch the bottom left
Snip the same strip off the bottom edge at the left end.
- 21
Notch the top right
Snip the top edge at the right end the same way.
Steps 22–28
- 22
Notch the bottom right
And the bottom edge at the right end. The tabs and the folded ends will now stop short of the cube's corners.
- 23
Unit 2: notch the top left
Notch the next unit the same way: snip a strip about 3 mm deep off the top edge of the strip, from the left end to a third of the way along, through every layer.
- 24
Unit 2: notch the bottom left
Notch the next unit the same way: snip the same strip off the bottom edge at the left end.
- 25
Unit 2: notch the top right
Notch the next unit the same way: snip the top edge at the right end the same way.
- 26
Unit 2: notch the bottom right
Notch the next unit the same way: and the bottom edge at the right end. The tabs and the folded ends will now stop short of the cube's corners.
- 27
Unit 3: notch the top left
Notch the next unit the same way: snip a strip about 3 mm deep off the top edge of the strip, from the left end to a third of the way along, through every layer.
- 28
Unit 3: notch the bottom left
Notch the next unit the same way: snip the same strip off the bottom edge at the left end.
Steps 29–35
- 29
Unit 3: notch the top right
Notch the next unit the same way: snip the top edge at the right end the same way.
- 30
Unit 3: notch the bottom right
Notch the next unit the same way: and the bottom edge at the right end. The tabs and the folded ends will now stop short of the cube's corners.
- 31
Unit 4: notch the top left
Notch the next unit the same way: snip a strip about 3 mm deep off the top edge of the strip, from the left end to a third of the way along, through every layer.
- 32
Unit 4: notch the bottom left
Notch the next unit the same way: snip the same strip off the bottom edge at the left end.
- 33
Unit 4: notch the top right
Notch the next unit the same way: snip the top edge at the right end the same way.
- 34
Unit 4: notch the bottom right
Notch the next unit the same way: and the bottom edge at the right end. The tabs and the folded ends will now stop short of the cube's corners.
- 35
Unit 5: notch the top left
Notch the next unit the same way: snip a strip about 3 mm deep off the top edge of the strip, from the left end to a third of the way along, through every layer.
Steps 36–42
- 36
Unit 5: notch the bottom left
Notch the next unit the same way: snip the same strip off the bottom edge at the left end.
- 37
Unit 5: notch the top right
Notch the next unit the same way: snip the top edge at the right end the same way.
- 38
Unit 5: notch the bottom right
Notch the next unit the same way: and the bottom edge at the right end. The tabs and the folded ends will now stop short of the cube's corners.
- 39
Unit 6: notch the top left
Notch the next unit the same way: snip a strip about 3 mm deep off the top edge of the strip, from the left end to a third of the way along, through every layer.
- 40
Unit 6: notch the bottom left
Notch the next unit the same way: snip the same strip off the bottom edge at the left end.
- 41
Unit 6: notch the top right
Notch the next unit the same way: snip the top edge at the right end the same way.
- 42
Unit 6: notch the bottom right
Notch the next unit the same way: and the bottom edge at the right end. The tabs and the folded ends will now stop short of the cube's corners.
Steps 43–49
- 43
Fold the left ends in
On every strip, fold the left end over a quarter of the way in, so its edge reaches the middle.
- 44
Fold the right ends in
Fold every right end over the same way. On each strip the two ends meet in the middle without overlapping.
- 45
Crease the left tabs
On every unit, fold the left end forward along the line a third of the way across the strip, where the notches end, through every layer, and open it again.
- 46
Crease the right tabs
Crease every right end the same way. The square between the two creases will be one face of the cube.
- 47
Raise the tabs
Bend both tabs forward along their creases until they stand straight up from the face, on the side with the folded ends.
- 48
Raise unit 2's tabs
Bend unit 2's two tabs up straight the same way.
- 49
Raise unit 3's tabs
Bend unit 3's two tabs up straight the same way.
Steps 50–56
- 50
Raise unit 4's tabs
Bend unit 4's two tabs up straight the same way.
- 51
Raise unit 5's tabs
Bend unit 5's two tabs up straight the same way.
- 52
Raise unit 6's tabs
Bend unit 6's two tabs up straight the same way.
- 53
Stand the back wall
Stand unit 1 up, its folded ends facing in and its tabs pointing towards you. This is the back wall.
- 54
Stand the front wall
Stand unit 2 facing it, one face width away, its tabs pointing back towards unit 1.
- 55
Slide in the right side
Hold unit 3 upright on the right, tabs pointing left. Slide it in so each tab goes into the tunnel along the right edge of a wall, between the wall's back and its folded ends.
- 56
Slide in the left side
Slide unit 4 in from the left the same way, its tabs entering the tunnels along the walls' left edges.
Steps 57–58
- 57
Lower the top on
Turn unit 5 face down over the box and push its tabs down into the tunnels along the top edges of the two sides. The walls' top tabs tuck in under it.
- 58
Push the bottom on
Push unit 6 up from below the same way, its tabs entering the tunnels along the sides' bottom edges, the walls' bottom tabs tucking in over it.
- ✓
Finish
The cube is ready: six notes held together only by their tabs. Squeeze it gently all round to settle every tab deep in its tunnel. The finished sticky note cube.
Fold next
Sanbo ↗
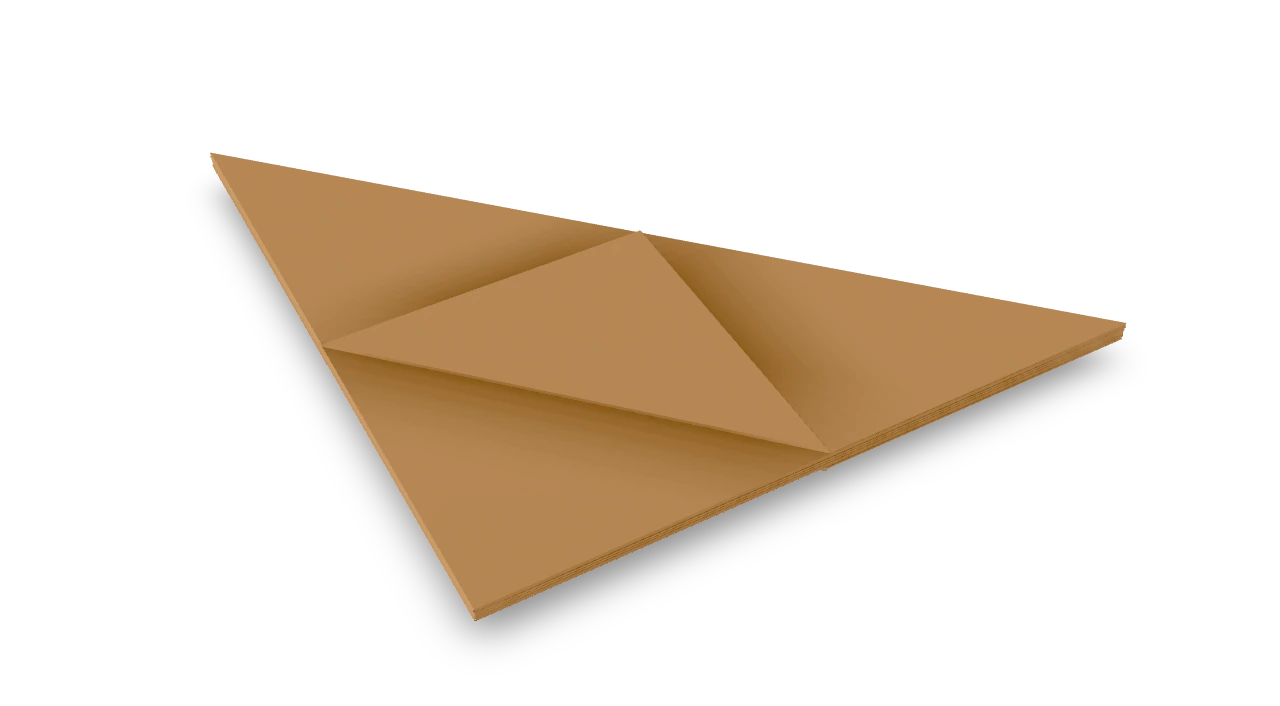
The traditional Japanese offering tray, with a square bowl and two broad side flaps, completed in a clean Origami Tutor sequence.

Star box ↗
The traditional four-point star box, pictured in Japan in 1734, with a colored bowl and white points.
Japanese box ↗
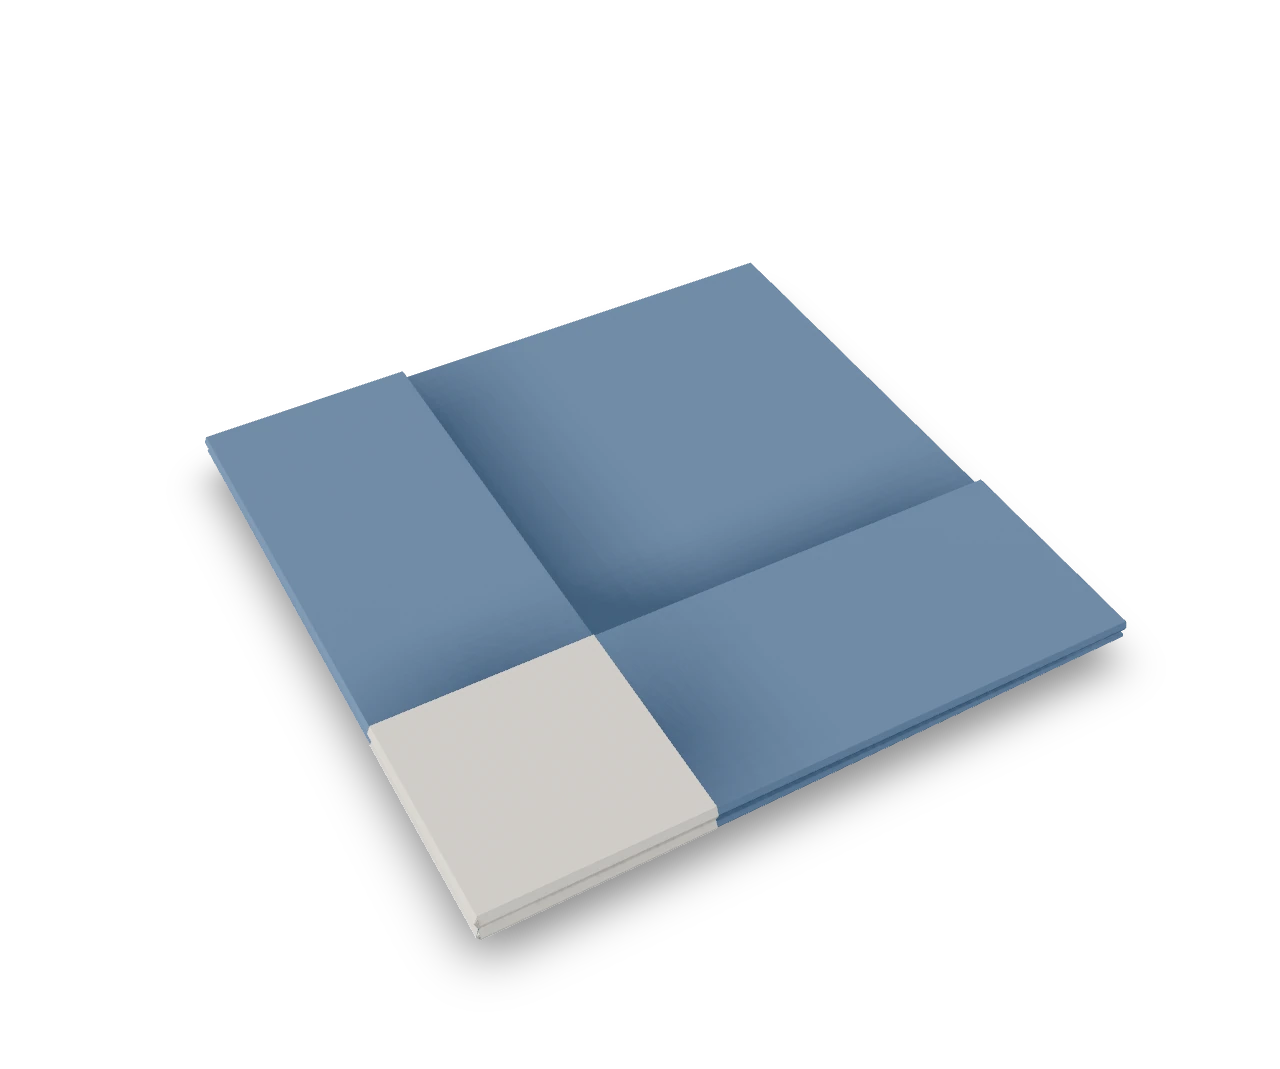
The winged Japanese box recorded in 1902 as La Boite Japonaise, prepared from a square base.
Candy box ↗
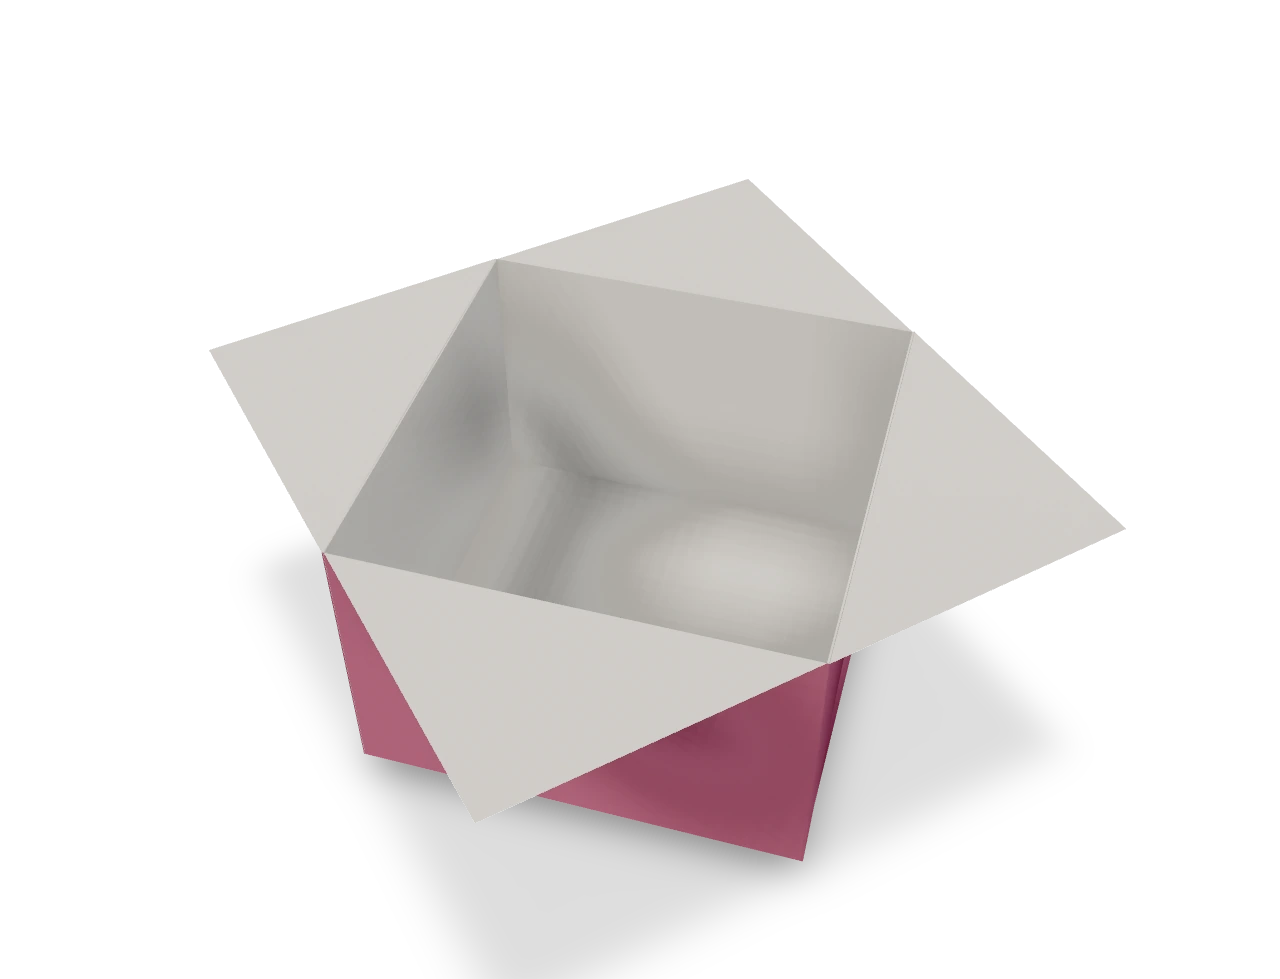
An Origami Tutor candy-tray design with a square bowl and four broad, outward-folded rims. Its corner pleats hold the walls together without cuts or glue.