How to make an origami triangle box
Origami Triangle Box: try all 8 steps in the 3D player. Turn and replay every move. Print the complete diagram sheet or save it as PDF.
A triangular prism gift box from one sheet of card: cut a strip of three walls with a triangle on each end of the middle wall, crease it, and fold it into a box with a triangular end.
- You need
- One sheet of card, 20 × 15 cm, a ruler and pencil, scissors and a little tape.
- Start
- Use a sheet of card, 15 × 20 cm, white side up, with its long edge upright. Mark three bands 5 cm wide, side by side. On the middle band, mark a floor 10 cm long, starting 5 cm below the top edge, with a triangle on each end that reaches 0.7 cm from the card's edge.
- Tips
- Measure the three bands with a ruler so the floor and both walls are exactly the same width.
- Score every crease lightly with a ruler and a dull pencil point first.
- Small gifts lie neatly inside, such as chocolates or a ring box.
Your model is ready
The box is closed. Tape the triangles to the walls, or tie a ribbon round the box. Slip the ridge apart to open it. The finished triangular box, resting on its floor with the ridge on top and a triangle at each end.


Step-by-step diagrams
- 1
Crease the left wall
Fold the left band over along its edge with the middle band. Press the crease and open it flat.
- 2
Crease the right wall
Fold the right band over along its edge with the middle band. Press the crease and open it flat.
- 3
Cut free the top end
Cut straight across the left band, 5 cm below the card's top edge, as far as the middle band. Cut up to a point 0.7 cm below the top edge, in the middle of the middle band, and back down to the band's other corner. Then cut on across the right band. The scrap above lifts away and leaves a triangle on the middle band.
- 4
Cut free the bottom end
Cut the bottom end the same way, 5 cm above the bottom edge: across the left band, up to a point 0.7 cm above the bottom edge and back, then across the right band.
- 5
Crease the top triangle
Fold the top triangle forward along its short edge, where it meets the floor. Press the crease and open it flat.
- 6
Crease the bottom triangle
Fold the bottom triangle forward along its short edge, where it meets the floor. Press the crease and open it flat.
- 7
Lean the two walls in
Lean the left and right bands in over the floor until their free edges meet along the middle. They make a roof with a ridge 4.3 cm high.
- 8
Stand the two triangles
Stand each triangle up at its end of the floor. Its two slanted edges meet the ends of the leaning walls and close the box.
- ✓
Finish
The box is closed. Tape the triangles to the walls, or tie a ribbon round the box. Slip the ridge apart to open it. The finished triangular box, resting on its floor with the ridge on top and a triangle at each end.
Fold next
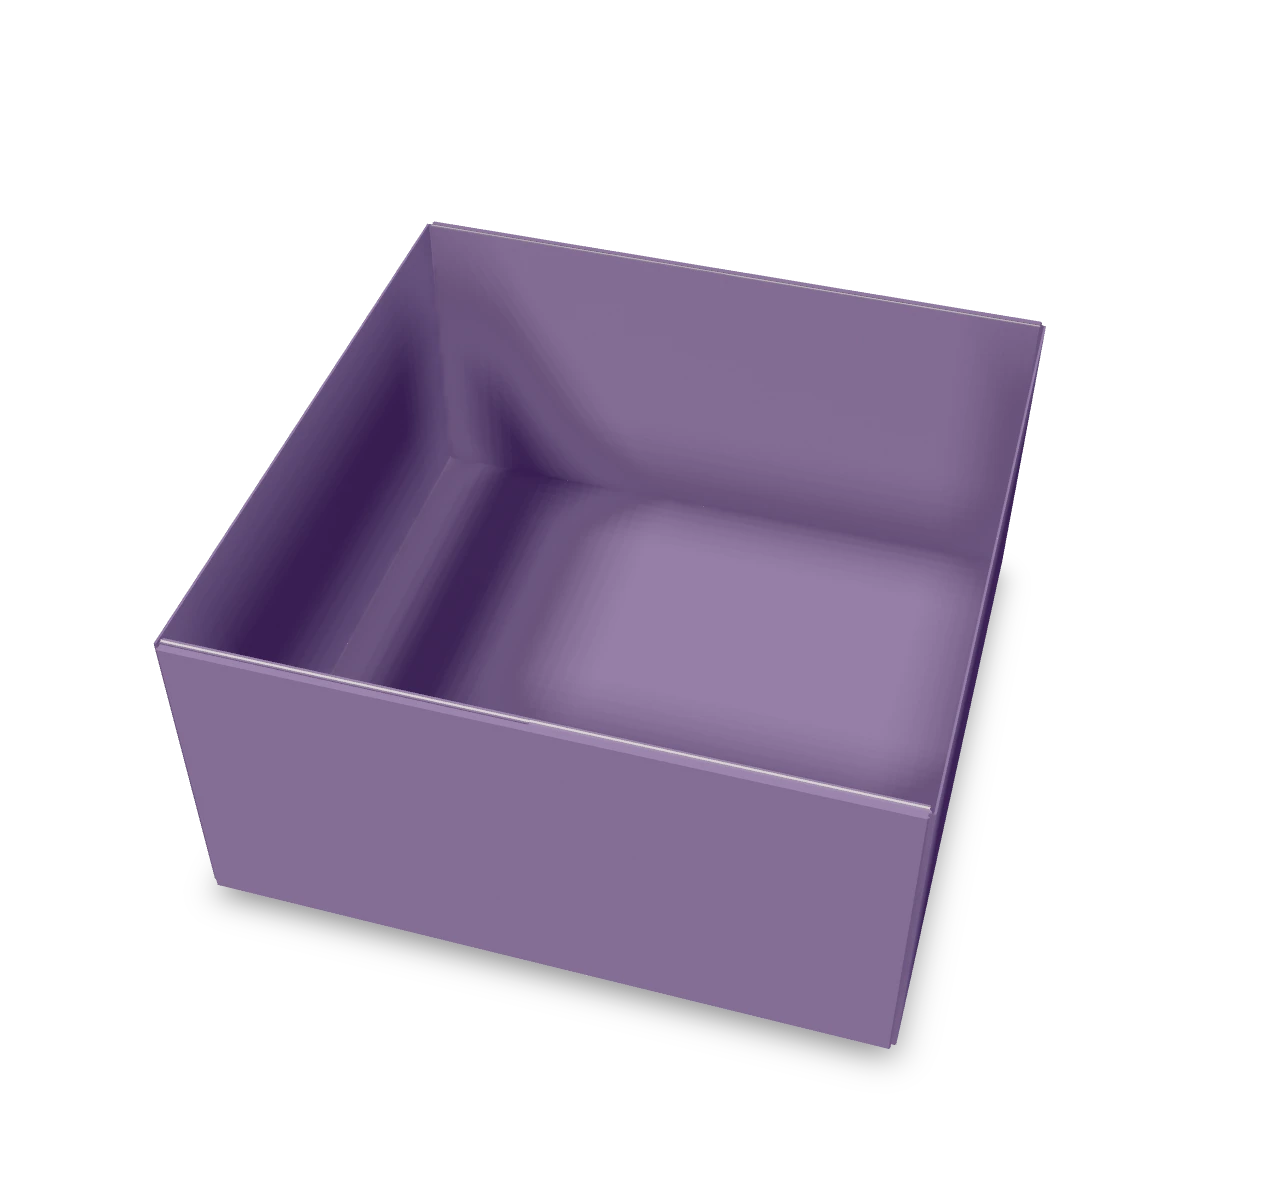
Masu box ↗
Fold the traditional square masu box, with upright walls and both end flaps locked onto the floor.
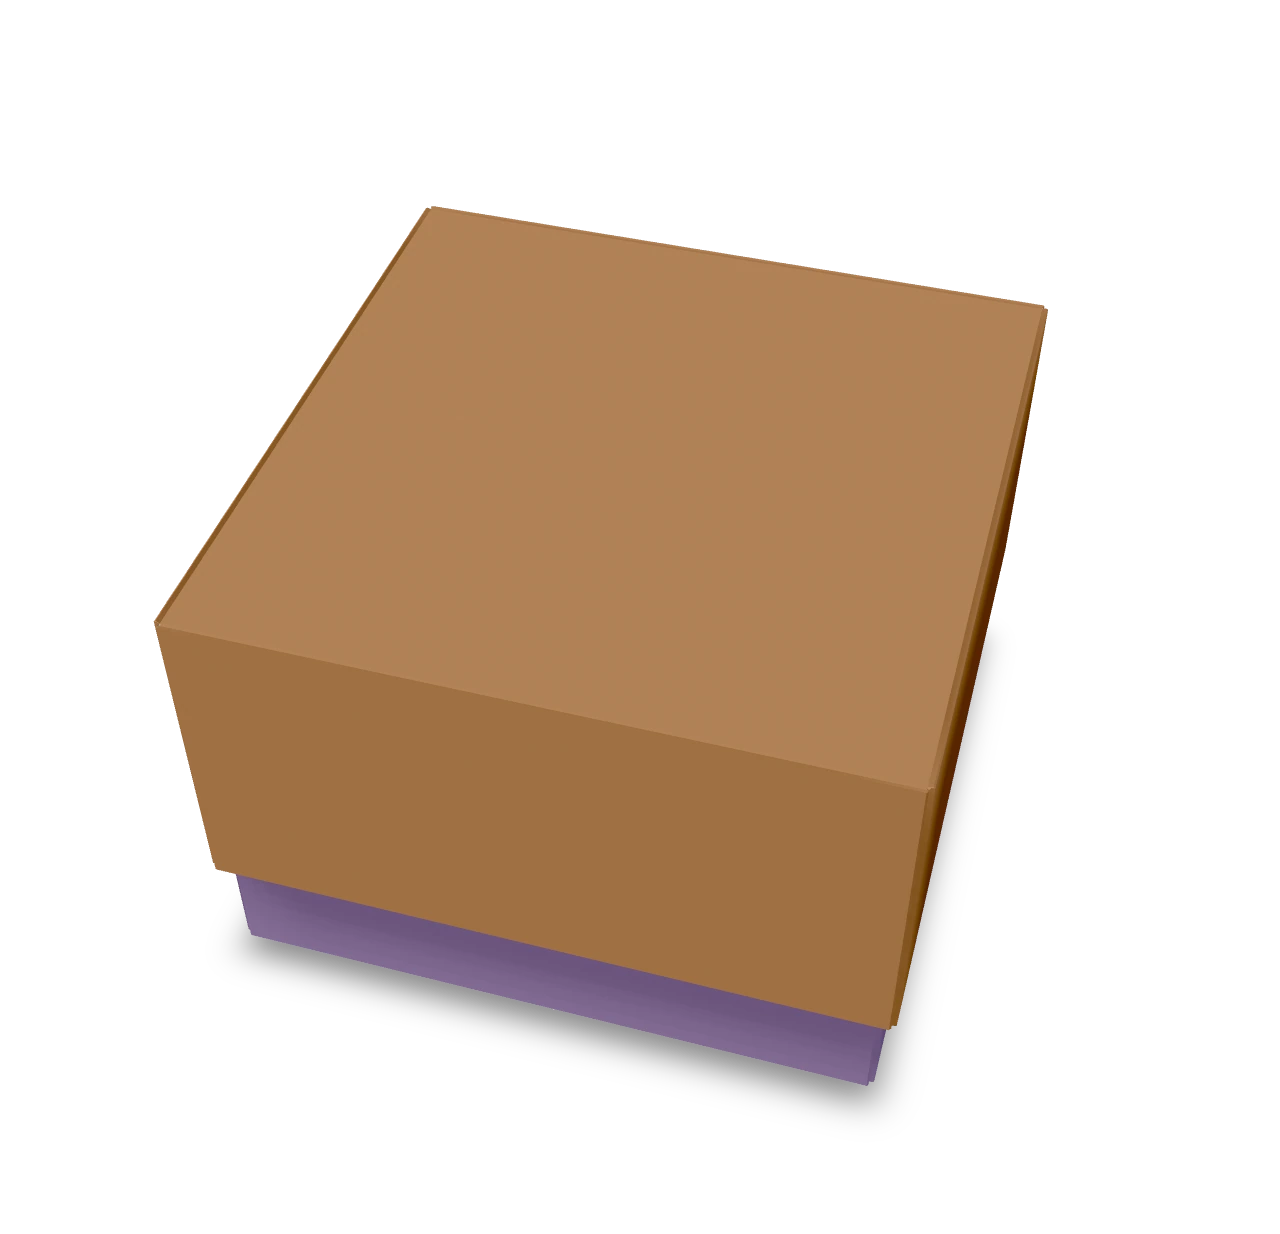
Masu lid ↗
A matching masu box and lid. Fold the same pattern from two different-sized squares, then turn the larger tray over and fit it onto the smaller box.
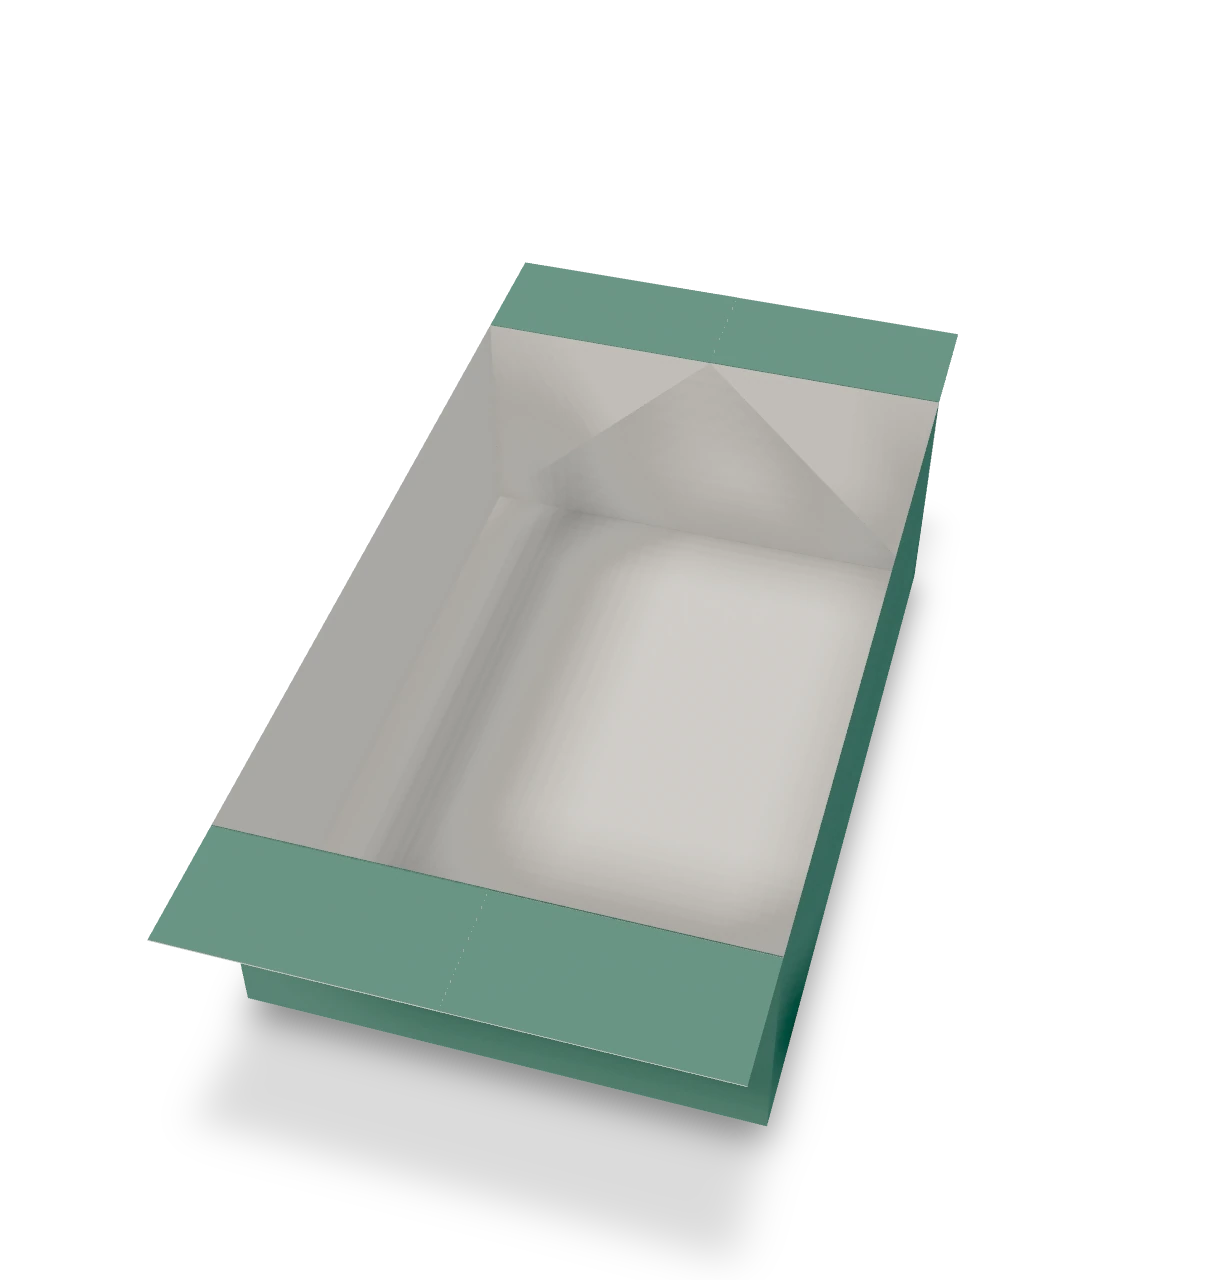
Basic box ↗
A rectangular tray with two broad folded rims. This Origami Tutor sequence opens the traditional basic-box shape while keeping its floor flat.
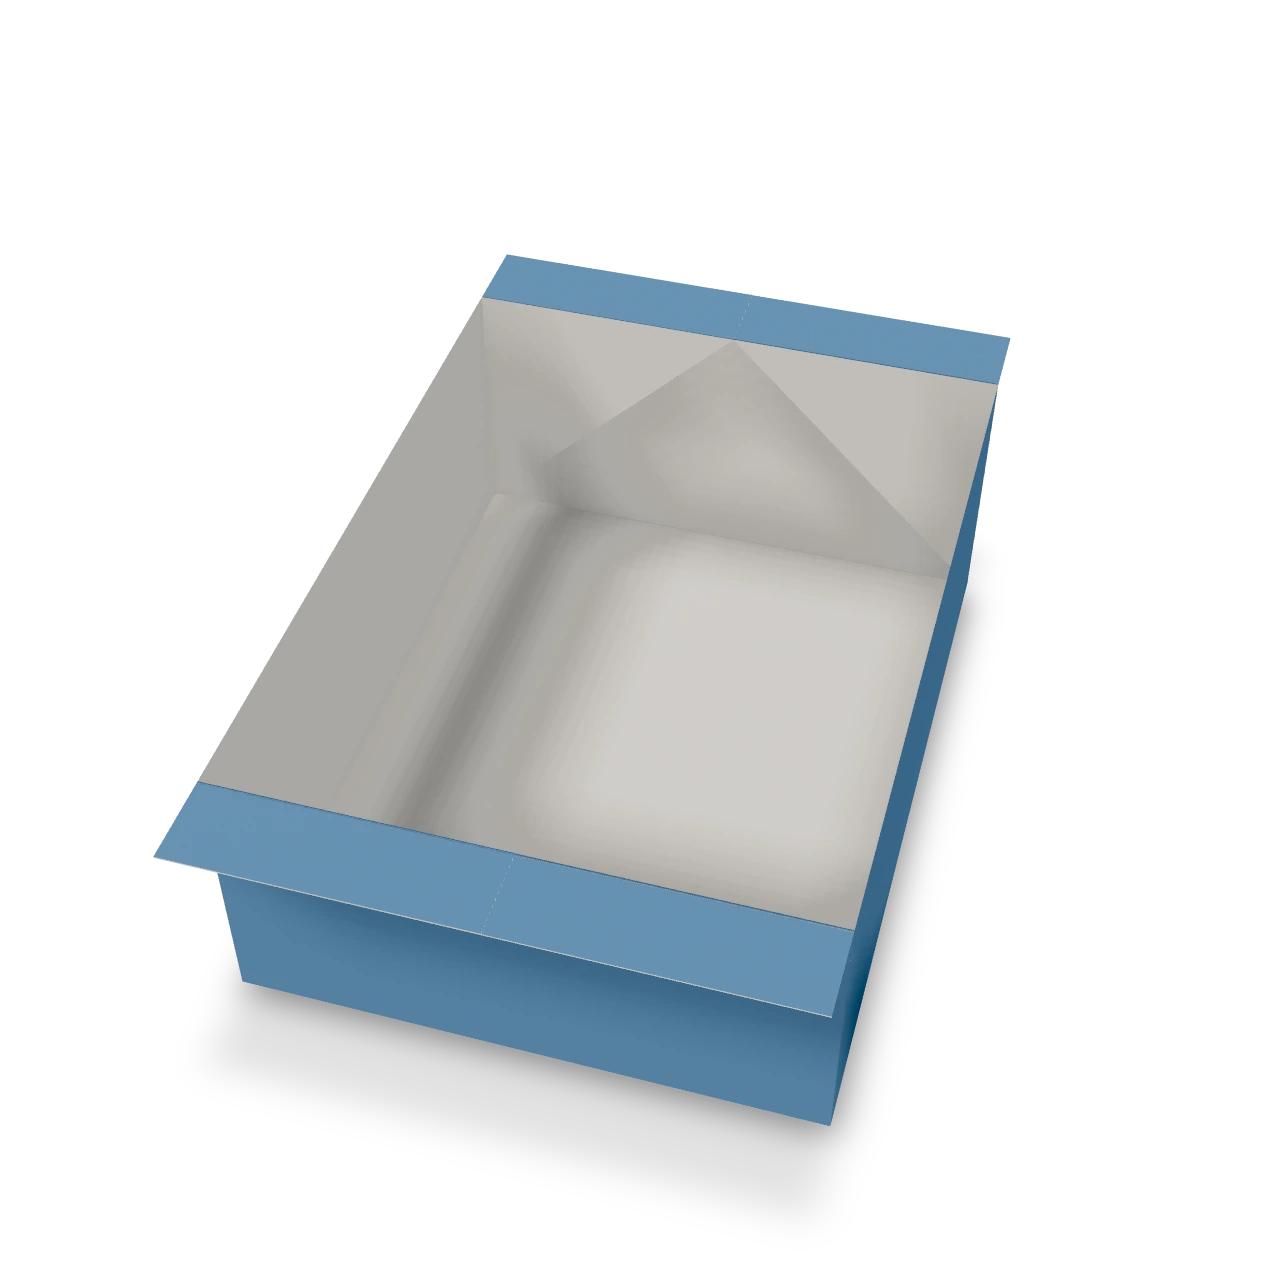
Letter paper box ↗
A deep rectangular box folded from one uncut sheet of letter paper, with narrow rims at both ends. This Origami Tutor sequence opens the traditional basic-box shape without cutting or glue.