How to make an origami whale
Origami Whale: try all 14 steps in the 3D player. Turn and replay every move. Print the complete diagram sheet or save it as PDF.
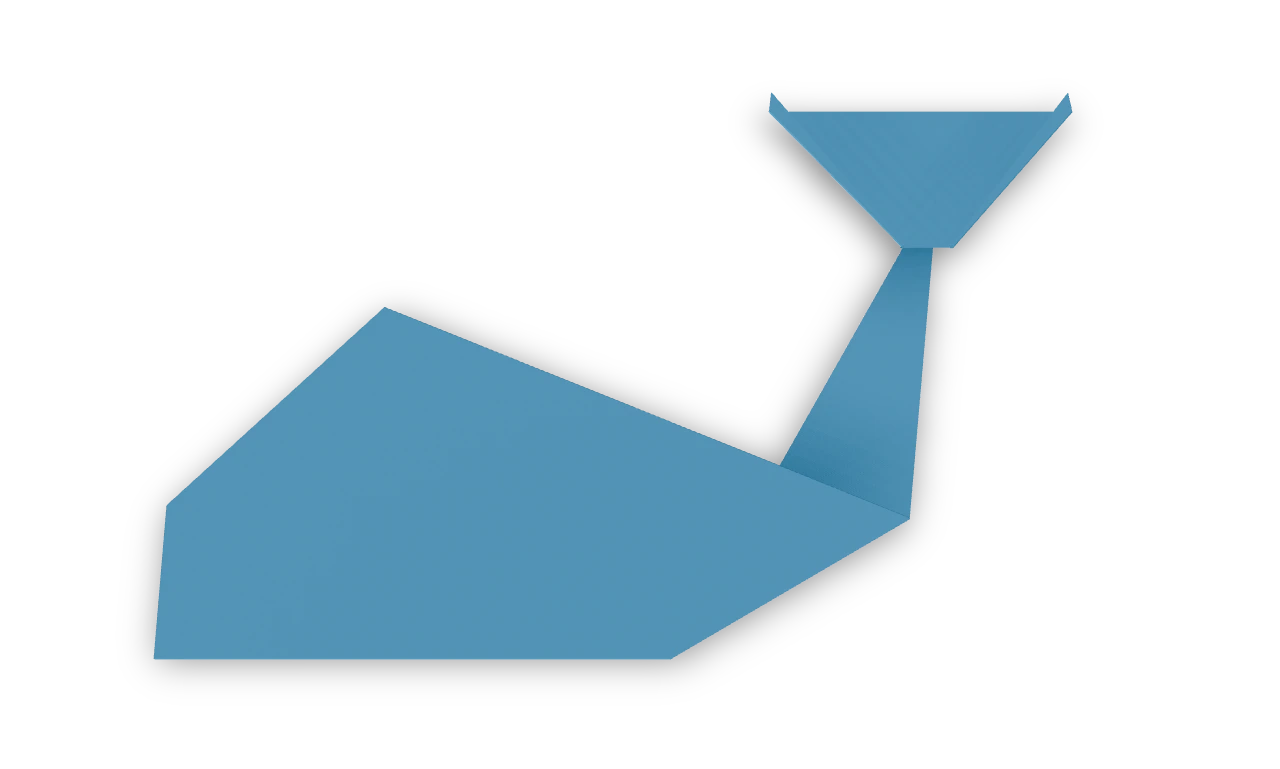
A two-piece Origami Tutor whale with a blunt head, a broad back and two wide flukes on a raised tail. Fold a large square for the body and a smaller matching square for the flukes, then glue their overlap.
- You need
- Two matching squares of thin origami paper, 8 inches and 2.4 inches wide, and a little glue. A pen for an eye is optional.
- Start
- Start both squares white side up, with corners pointing up. The fluke square is three tenths as wide as the body square; keep it to the right while folding the body.
- Tips
- Keep the two pieces separate until the flukes are folded.
- Match the fluke folds so the two points spread evenly across the tail.
Your model is ready
Let the glue dry. Keep the belly level and draw a small eye near the blunt nose if you like. The finished whale, with its blunt head and two broad flukes spread above the raised tail.

Step-by-step diagrams
Steps 1–5
- 1
Crease the middle
Fold the left corner to the right corner, press, and open.
- 2
Fold the left edge in
Fold the lower left edge to the center crease.
- 3
Fold the right edge in
Fold the lower right edge to the center crease the same way.
- 4
Turn the body over
Turn the kite over, keeping its long point below.
- 5
Close the body
Fold the left half behind the right half along the middle crease.
Steps 6–10
- 6
Turn the whale on its side
Turn the body a quarter turn counterclockwise. Its straight folded edge is the belly, with the short nose at the left and long tail at the right.
- 7
Blunt the nose
Fold the little left point behind along the upright line, leaving a flat face at the front of the head.
- 8
Lift the tail
Ease the long right point open. Push it upward between its two sides along the slanting line, then close the sides and press flat.
- 9
Halve the small square
On the small square, fold the right corner to the left corner, making a triangle that points left.
- 10
Turn out the first fluke
Fold the upper point outward on the slanting line. Its tip projects to the right of the little triangle.
Steps 11–14
- 11
Turn out the second fluke
Fold the lower point out along the matching line. Keep the two broad points separate.
- 12
Shorten the joining point
Fold the small left point behind on the short upright line. This narrow end will overlap the whale’s raised tail.
- 13
Set the flukes on the tail
Turn the small piece a quarter turn counterclockwise. Set its narrow end over the tip of the raised tail, with one broad fluke on each side.
- 14
Glue the tail overlap
Glue the small overlap between the flukes and the raised tail. Press the two pieces together and leave the flukes spread.
- ✓
Finish
Let the glue dry. Keep the belly level and draw a small eye near the blunt nose if you like. The finished whale, with its blunt head and two broad flukes spread above the raised tail.
Fold next
Dog face ↗
Fold floppy ears and a little muzzle, then give your paper dog a face.
Cat face ↗
A traditional triangle cat head with two pointed ears and a straight forehead.
Fox face ↗
The traditional pointed fox face, recorded in Japan in 1878, with two tall ears.
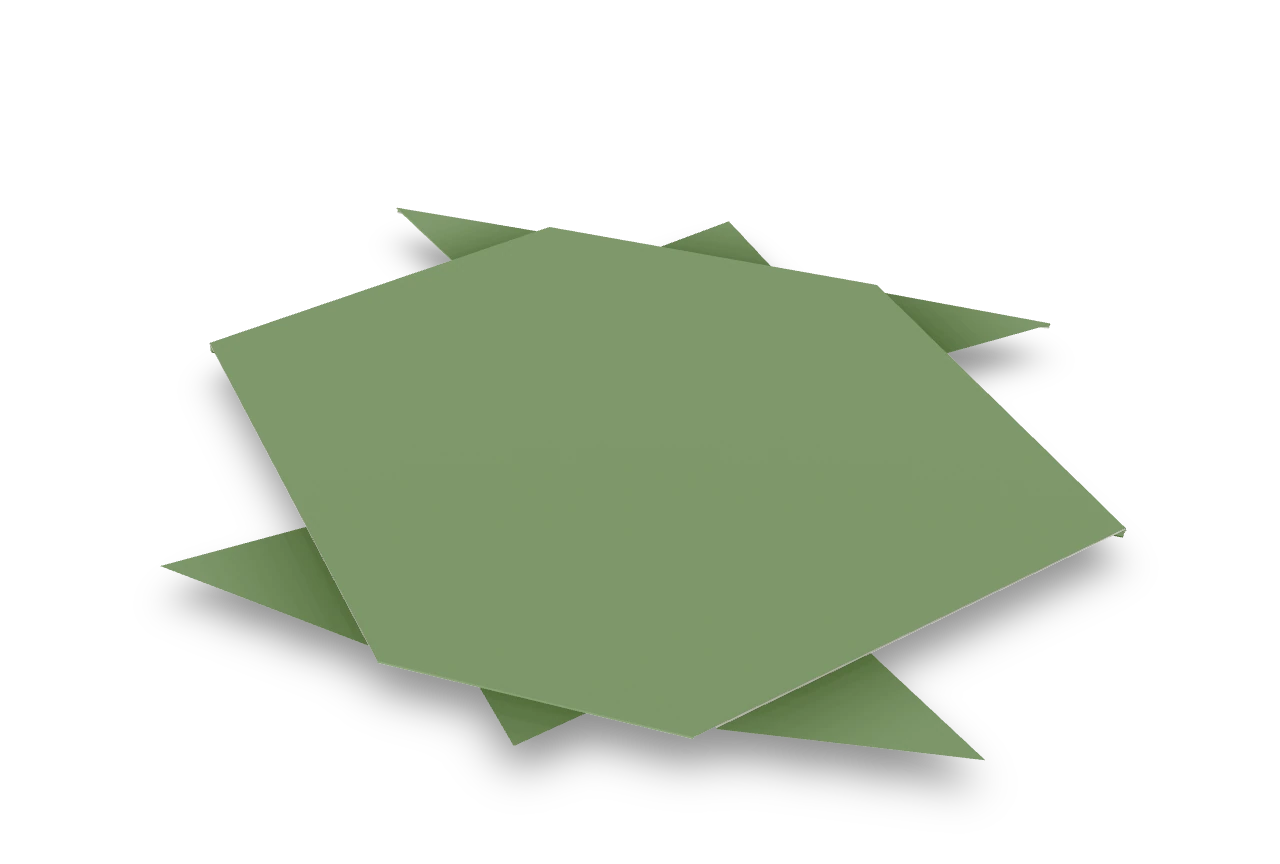
Turtle ↗
The common cut turtle with four pointed feet, a small head and tail, and a colored shell. One slit divides the rear feet while leaving the shell underneath whole.