How to make a paper ghost cutout
Paper Ghost Cutout: try all 5 steps in the 3D player. Turn and replay every move. Print the complete diagram sheet or save it as PDF.
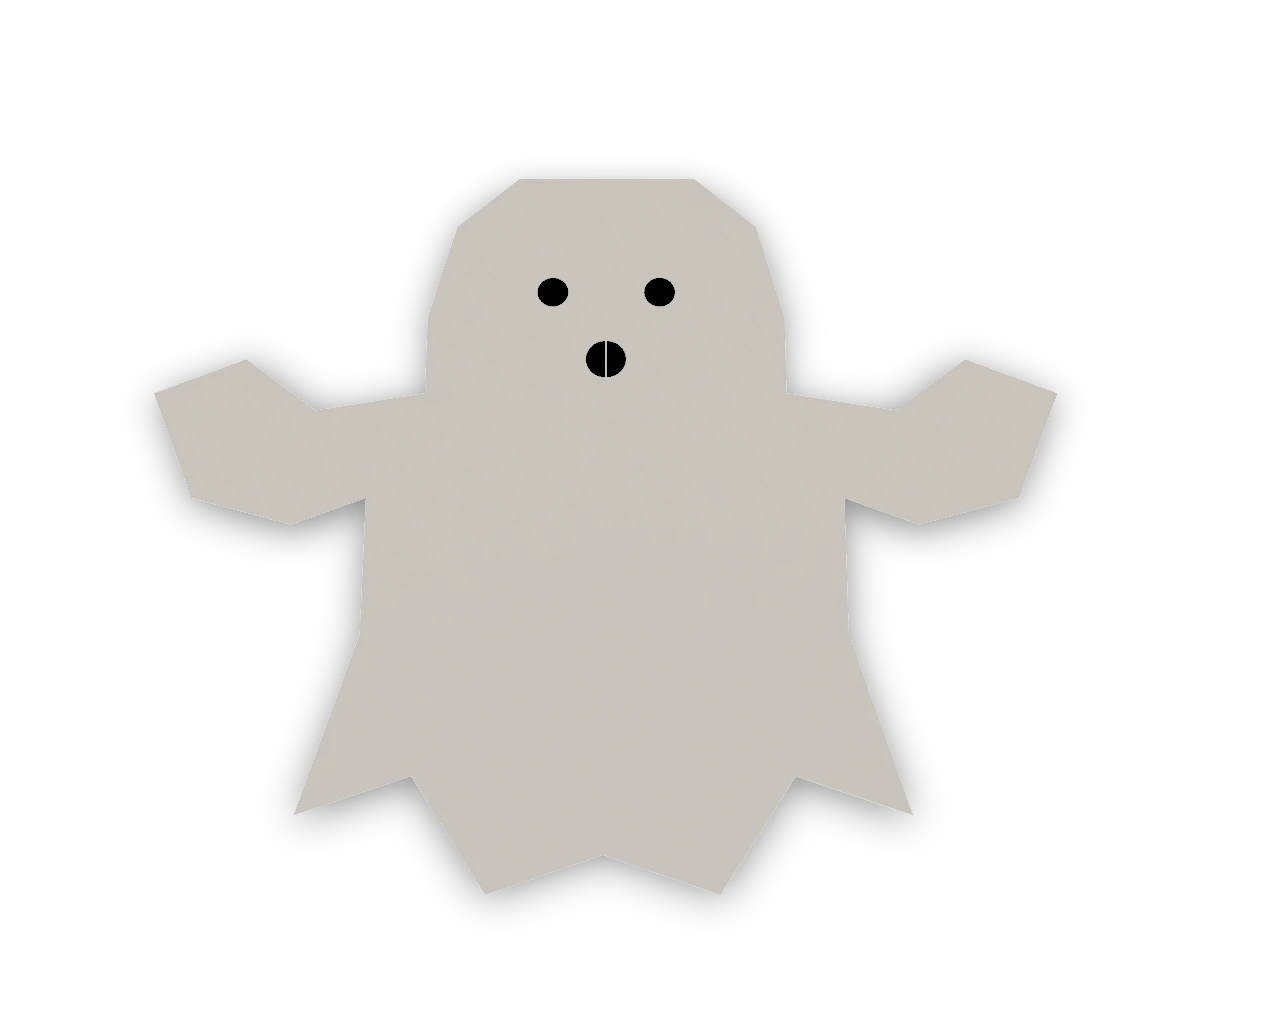
A book fold and three cuts make a single white ghost with raised arms and a pointed sheet hem. Open it flat and draw a face.
- You need
- Thin paper, a pencil, a ruler, scissors and a pen for the face.
- Start
- Begin with a 12 cm square of white paper. Keep an edge at the top.
Draw a friendly ghost face
Smooth the centre crease. Draw two round eyes on the head and a small round mouth below them. The finished white-paper ghost, with both arms raised.

Step-by-step diagrams
- 1
Fold the square in half
Bring the left edge to the right edge. Match the corners and press the vertical fold. Keep the folded edge on the left.
- 2
Cut the head and raised arm
Start on the folded edge at the top of the head. Cut around the rounded head and across the raised arm to the open edge. Keep the large piece below the cut.
- 3
Trim below the sheet
Cut across the lower margin from the open edge to the folded edge. Keep the body above this cut; the two sloping segments start the pointed hem.
- 4
Cut the arm and trailing side
Start at the hand on the open edge. Cut below the arm, down the side of the sheet and around the two hem points, ending on the lower cut. Keep the central body joined to the folded edge.
- 5
Open silhouette half
Open this crease gently, leaving the earlier folds closed. Keep the uncut joins together.
- ✓
Finish
Smooth the centre crease. Draw two round eyes on the head and a small round mouth below them. The finished white-paper ghost, with both arms raised.
Fold next
Fold-and-cut paper bat ↗
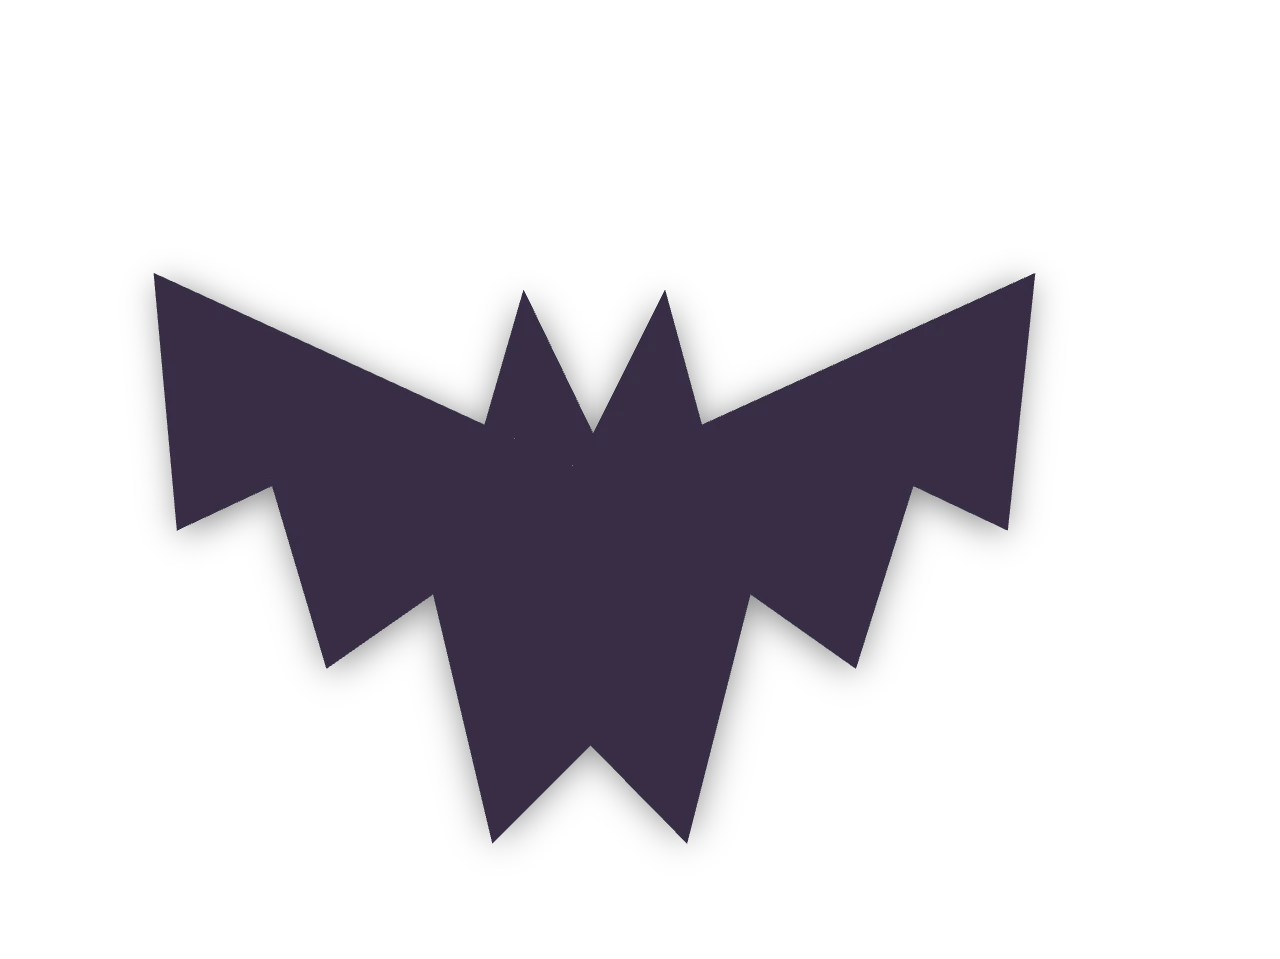
Fold one book crease, cut two ears and matching scalloped wings through both layers, then open a flat Halloween bat.
Fold-and-cut paper pumpkin ↗
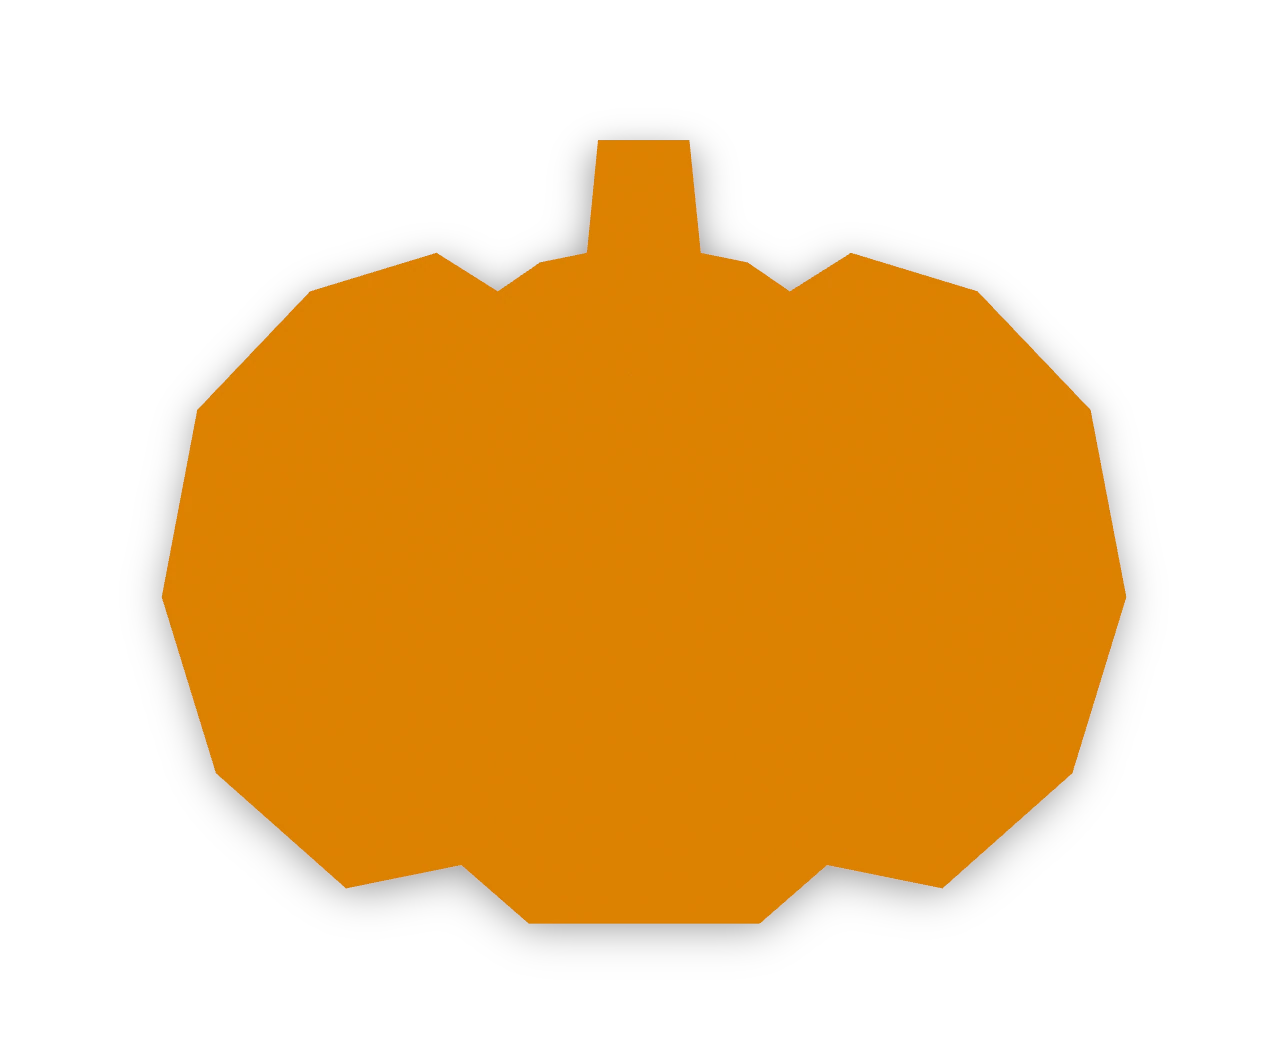
An Origami Tutor pumpkin: fold a square in half, cut one scalloped outline through both layers, then open a round pumpkin with three lobes and a stem.

Fold-and-cut paper witch's hat ↗
An Origami Tutor witch's hat: fold a square in half, cut one outline through both layers, then open a tall pointed hat with a wide brim.
Fold-and-cut jack-o'-lantern ↗
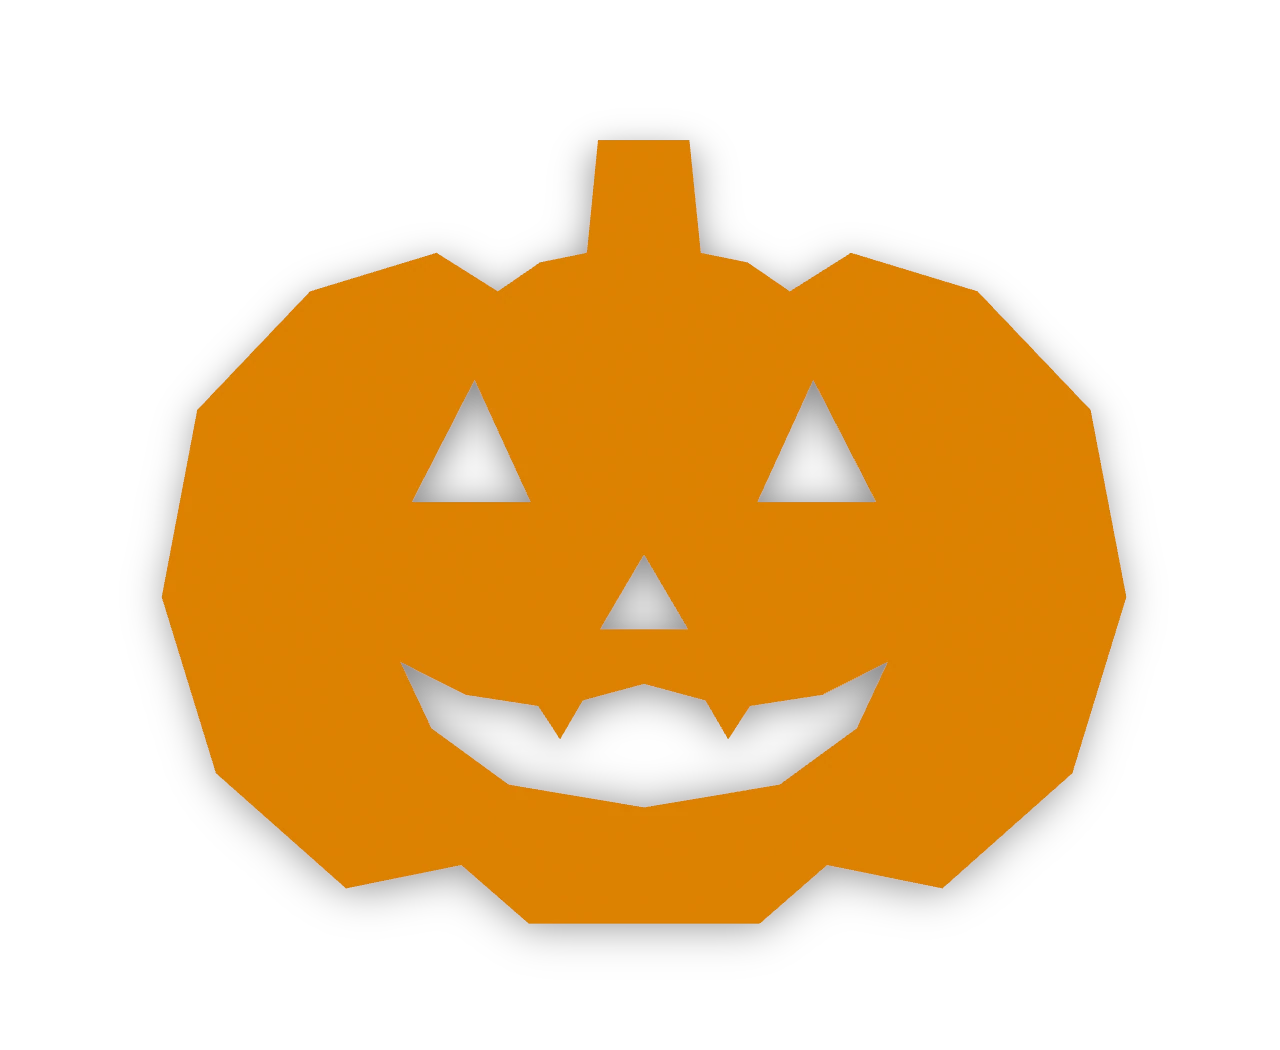
An Origami Tutor jack-o'-lantern: fold a square in half, cut a round pumpkin, then snip triangle eyes, a nose and a toothy grin from the folds. Open it to see the whole face.