How to make a bishop's hat napkin fold
Bishop's Hat Napkin Fold: try all 8 steps in the 3D player. Turn and replay every move. Print the complete diagram sheet or save it as PDF.
Fold a square napkin into our two-point bishop crown, with a returned cuff and two tucked ends. The opened band keeps the front and back peaks apart.
- You need
- One square cloth or paper napkin. No glue or scissors.
- Start
- Use a square cloth or paper napkin, about 45 cm across, ironed or pressed flat. Lay it wrong side up with an edge at the top. The drawings show the wrong side in white so the layers are easy to tell apart.
- Tips
- Press the diagonal corners before releasing the points.
- Keep the first tuck in place while inserting the opposite end.
- A pressed or lightly starched napkin holds its crown shape.
Your model is ready
The two-point bishop crown is open, with a returned cuff and both ends tucked into their pockets.


Step-by-step diagrams
- 1
Fold in half
Bring the top edge down to the bottom edge to make a doubled rectangle.
- 2
Raise the left corner
Bring the lower left corner to the middle of the top folded edge. Move both layers together.
- 3
Lower the right corner
Bring the upper right corner to the middle of the lower edge. The corners now point in opposite directions.
- 4
Turn over
Turn the parallelogram over from left to right.
- 5
Double the band
Bring the lower edge up across the middle of the parallelogram.
- 6
Release the points and return the cuff
Let the covered diagonal seams open together. Return the lower edge behind the crown, then bring the band around along its upright creases.
- 7
Tuck the first end
Keep both peaks open. Guide the free cuff end between the facing layers at the back, with the whole tip inside the pocket.
- 8
Tuck the opposite end
Slide the other loose corner into its own pocket on the other side of the cuff. Keep the first tuck in place.
- ✓
Finish
The two-point bishop crown is open, with a returned cuff and both ends tucked into their pockets.
Fold next

Pleated fan ↗
An Origami Tutor paper fan with twelve radial panels and a rounded rim. One square folds into a doubled leaf, gathers into a narrow packet and opens into a broad half-circle, without cuts or glue.
Lighthouse bookmark ↗
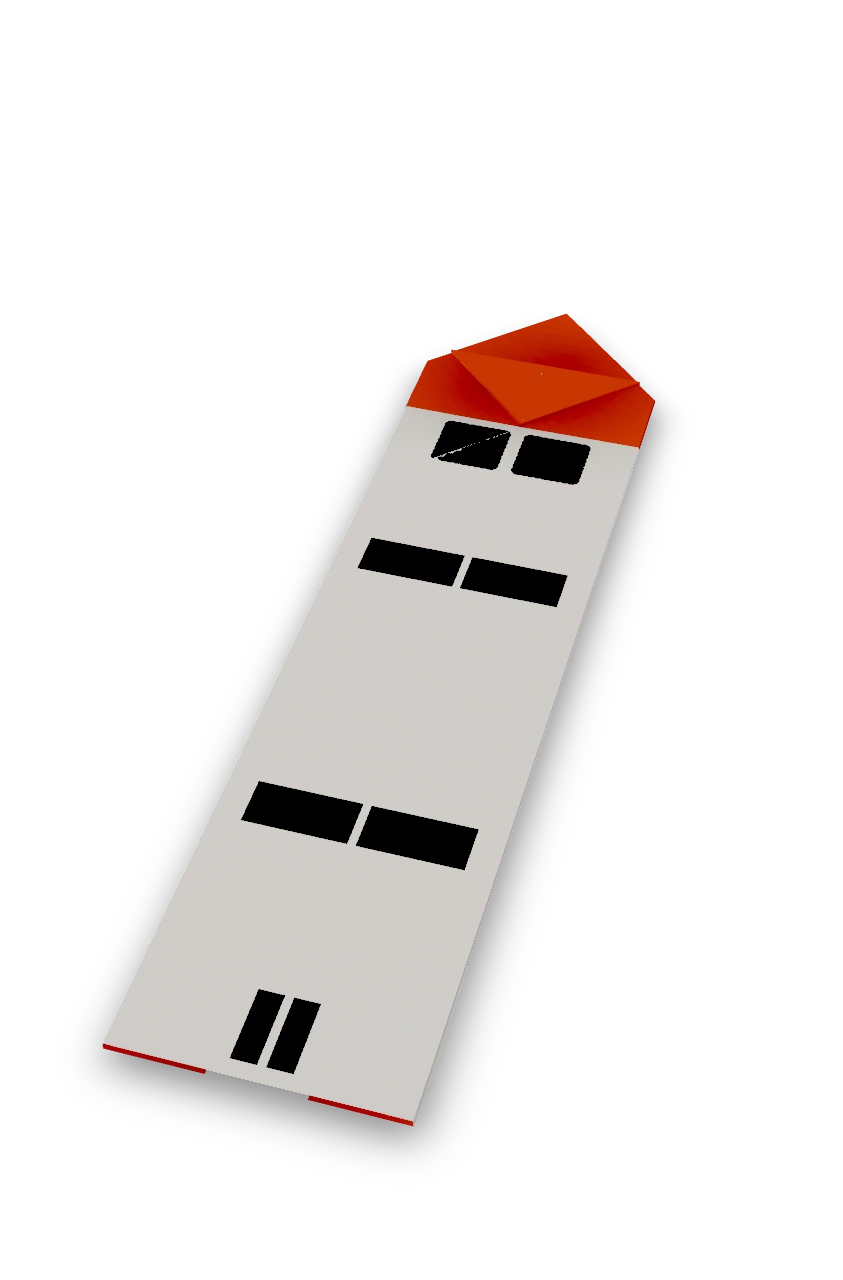
An Origami Tutor lighthouse bookmark with a folded colored roof above a white stem, finished with dark lantern windows, two bands and a small door.
Paper wallet ↗
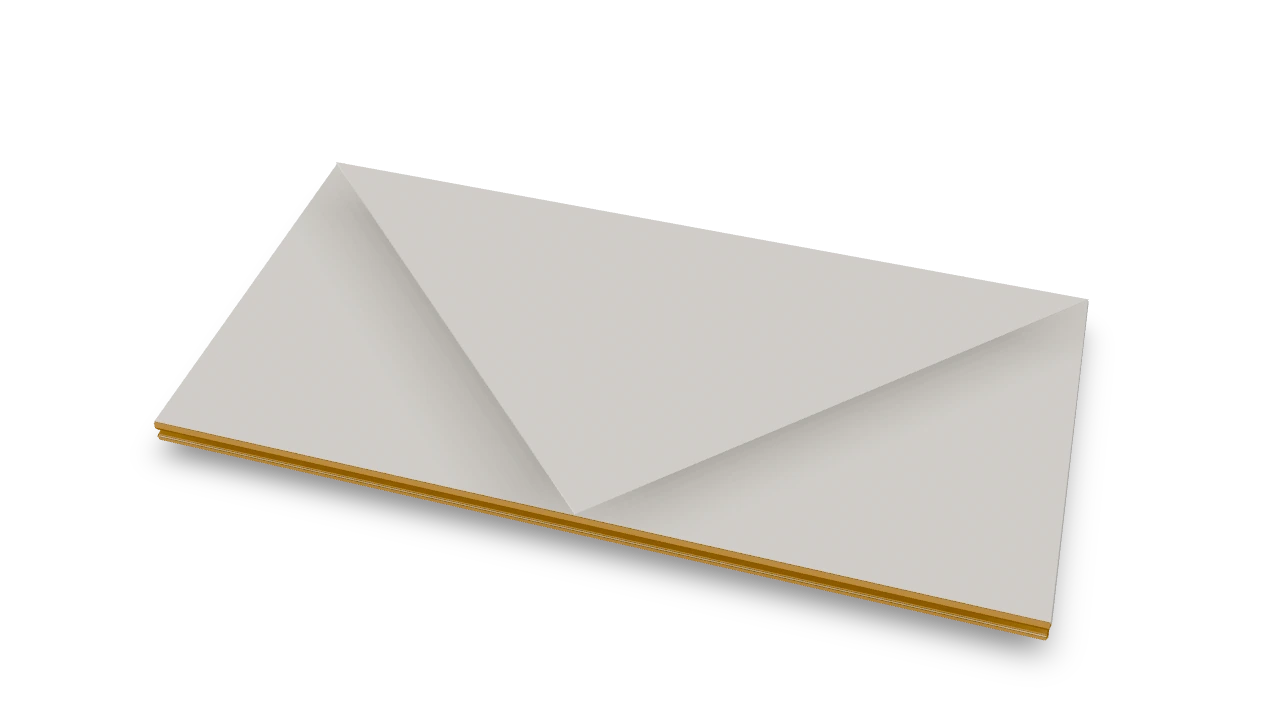
The old kindergarten wallet recorded in 1876, with two pockets and a triangular closing flap.
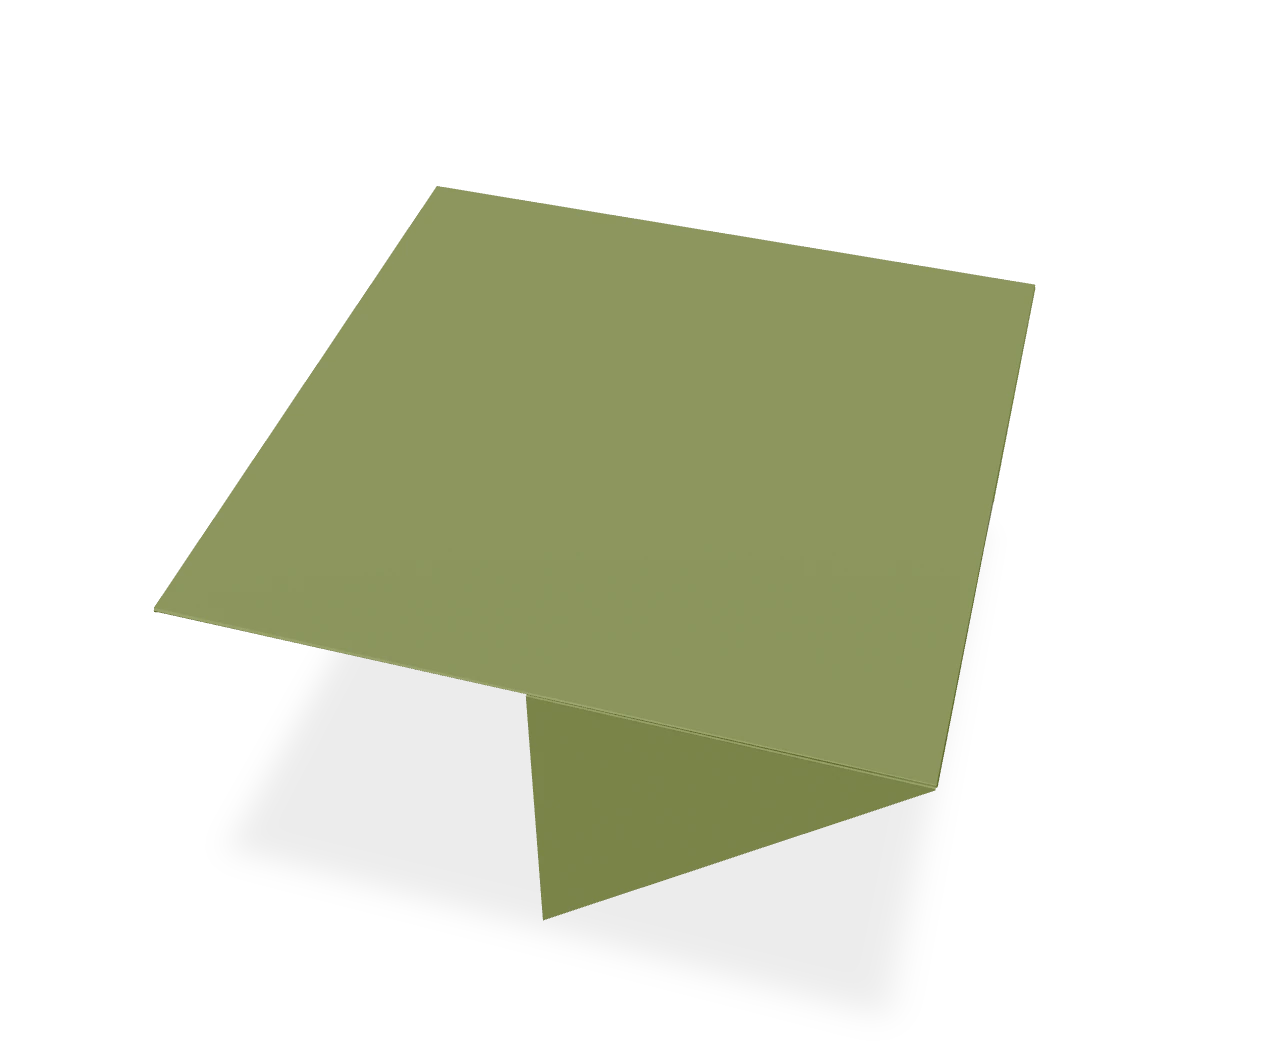
Table ↗
Fold a traditional windmill-base table, with a square top and four triangular legs.