How to make a paper cradle
Paper Cradle: try all 31 steps in the 3D player. Turn and replay every move. Print the complete diagram sheet or save it as PDF.
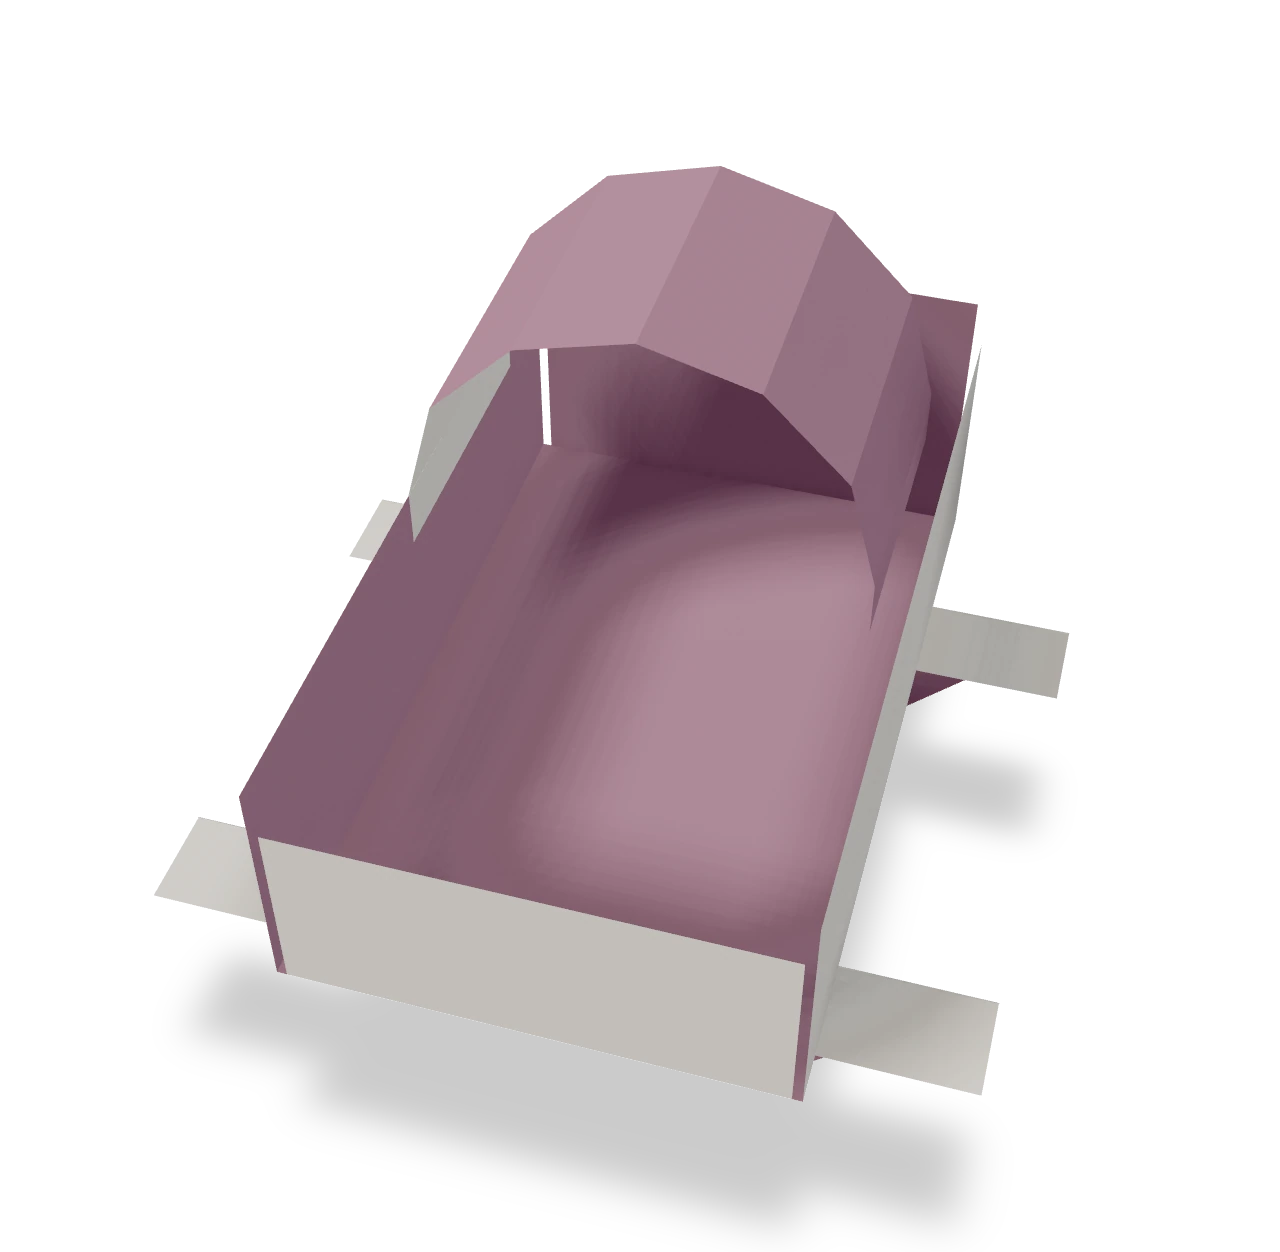
An Origami Tutor cut-paper cradle with an open basin, a six-panel arched hood and two faceted rockers. Four rectangles become separate folded parts, joined with three glue tabs.
- You need
- One 15 × 19.5 cm rectangle, one 12.6 × 4.5 cm strip, two 12 × 4.5 cm strips, scissors, a ruler, a pencil and glue.
- Start
- Prepare one 15 × 19.5 cm body rectangle, one 12.6 × 4.5 cm hood strip and two 12 × 4.5 cm rocker strips. Start each colored side up. On the body, mark a centered 7.5 × 12 cm floor, 4.5 cm from the top and 3 cm from the bottom. Make the end boards 7.2 cm wide, leaving a small gap at each corner.
- Tips
- Keep the basin floor flat.
- Make the six hood panels equal.
- Fold both rocker strips alike so their lower edges match.
Your model is ready
The open basin, arched hood and two faceted rockers form your paper cradle. Let all three glue joints dry before moving it.

Step-by-step diagrams
Steps 1–7
- 1
Trim body corner 1
Cut along the marked corner path, keeping the floor and the four wall panels. The end boards are slightly narrower than the floor so the corners can open freely.
- 2
Trim body corner 2
Cut along the marked corner path, keeping the floor and the four wall panels. The end boards are slightly narrower than the floor so the corners can open freely.
- 3
Trim body corner 3
Cut along the marked corner path, keeping the floor and the four wall panels. The end boards are slightly narrower than the floor so the corners can open freely.
- 4
Trim body corner 4
Cut along the marked corner path, keeping the floor and the four wall panels. The end boards are slightly narrower than the floor so the corners can open freely.
- 5
Prepare the head wall crease
Fold this wall inward over the floor, press its root crease, then open it flat again.
- 6
Prepare the foot wall crease
Fold this wall inward over the floor, press its root crease, then open it flat again.
- 7
Prepare the left wall crease
Fold this wall inward over the floor, press its root crease, then open it flat again.
Steps 8–14
- 8
Prepare the right wall crease
Fold this wall inward over the floor, press its root crease, then open it flat again.
- 9
Prepare hood crease 1
Mark 9 mm flanges at both ends of the strip, with six 18 mm panels between them. Fold along this crosswise line and open it flat again.
- 10
Prepare hood crease 2
Mark 9 mm flanges at both ends of the strip, with six 18 mm panels between them. Fold along this crosswise line and open it flat again.
- 11
Prepare hood crease 3
Mark 9 mm flanges at both ends of the strip, with six 18 mm panels between them. Fold along this crosswise line and open it flat again.
- 12
Prepare hood crease 4
Mark 9 mm flanges at both ends of the strip, with six 18 mm panels between them. Fold along this crosswise line and open it flat again.
- 13
Prepare hood crease 5
Mark 9 mm flanges at both ends of the strip, with six 18 mm panels between them. Fold along this crosswise line and open it flat again.
- 14
Prepare hood crease 6
Mark 9 mm flanges at both ends of the strip, with six 18 mm panels between them. Fold along this crosswise line and open it flat again.
Steps 15–21
- 15
Prepare hood crease 7
Mark 9 mm flanges at both ends of the strip, with six 18 mm panels between them. Fold along this crosswise line and open it flat again.
- 16
Round the left rocker end
Fold the lower left corner behind along the diagonal between the 1.5 cm side mark and the 3 cm bottom mark.
- 17
Round the right rocker end
Fold the lower right corner behind by the same amount. Leave the middle of the lower edge straight.
- 18
Fold below the gluing flange
Fold the shaped lower part over the narrow strip along the 1.5 cm line. Keep the strip itself flat.
- 19
Round the left rocker end
Fold the lower left corner behind along the diagonal between the 1.5 cm side mark and the 3 cm bottom mark.
- 20
Round the right rocker end
Fold the lower right corner behind by the same amount. Leave the middle of the lower edge straight.
- 21
Fold below the gluing flange
Fold the shaped lower part over the narrow strip along the 1.5 cm line. Keep the strip itself flat.
Steps 22–28
- 22
Raise the cradle basin
Raise the four walls to right angles around the flat floor. Keep the small corner gaps open.
- 23
Curve the faceted hood
Bend the six equal panels into a half-round arch. The creases between panels turn 30° each; the two end creases turn 15° so the narrow flanges point down.
- 24
Open the front rocker
Open the shaped rocker to a right angle below its narrow gluing strip. Keep both folded corners pressed behind it.
- 25
Open the back rocker
Open the shaped rocker to a right angle below its narrow gluing strip. Keep both folded corners pressed behind it.
- 26
Lower the hood into the head end
Lower the arch straight down over the head end. Set its left flange against the inside of the left wall; leave the opposite flange free inside the basin.
- 27
Glue the hood flange
Glue the left flange flat against the inner wall and let it set, keeping the six-panel arch open.
- 28
Set rocker 1 beneath the floor
Place the narrow flange against the underside of the floor, near the head end. Let the shaped rocker hang below, extending equally past both sides.
Steps 29–31
- 29
Glue rocker 1
Glue the flange flat beneath the floor. Keep the two rockers parallel and let the glue dry.
- 30
Set rocker 2 beneath the floor
Place the narrow flange against the underside of the floor, near the foot end. Let the shaped rocker hang below, extending equally past both sides.
- 31
Glue rocker 2
Glue the flange flat beneath the floor. Keep the two rockers parallel and let the glue dry.
- ✓
Finish
The open basin, arched hood and two faceted rockers form your paper cradle. Let all three glue joints dry before moving it.
Fold next

Pleated fan ↗
An Origami Tutor paper fan with twelve radial panels and a rounded rim. One square folds into a doubled leaf, gathers into a narrow packet and opens into a broad half-circle, without cuts or glue.
Lighthouse bookmark ↗
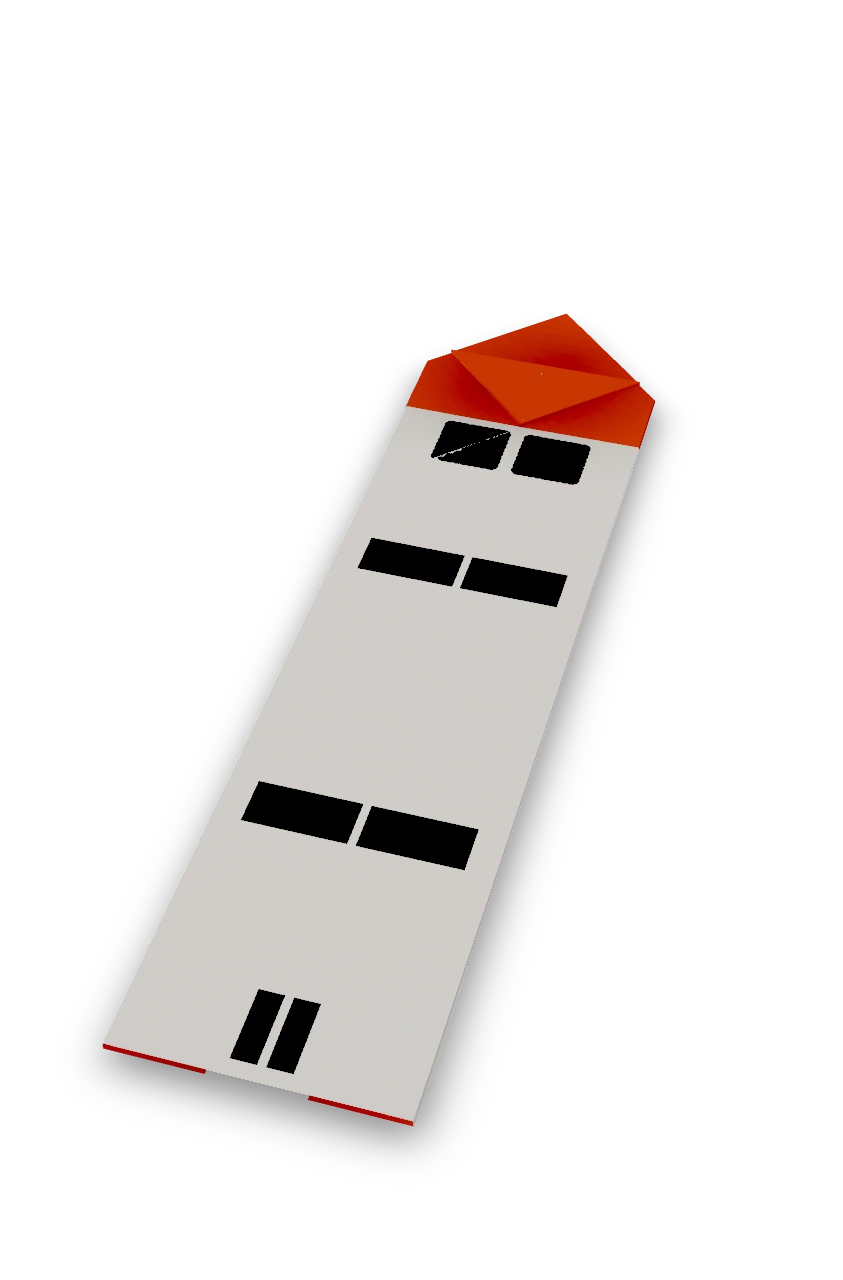
An Origami Tutor lighthouse bookmark with a folded colored roof above a white stem, finished with dark lantern windows, two bands and a small door.
Paper wallet ↗
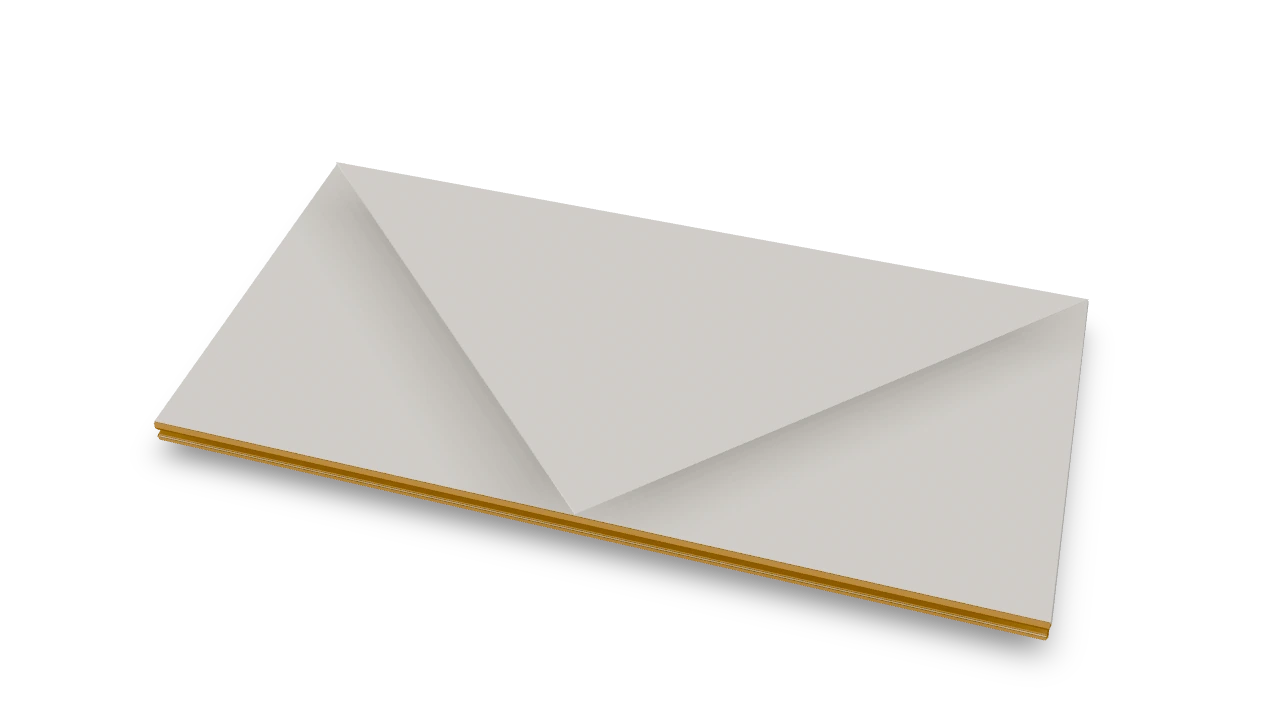
The old kindergarten wallet recorded in 1876, with two pockets and a triangular closing flap.
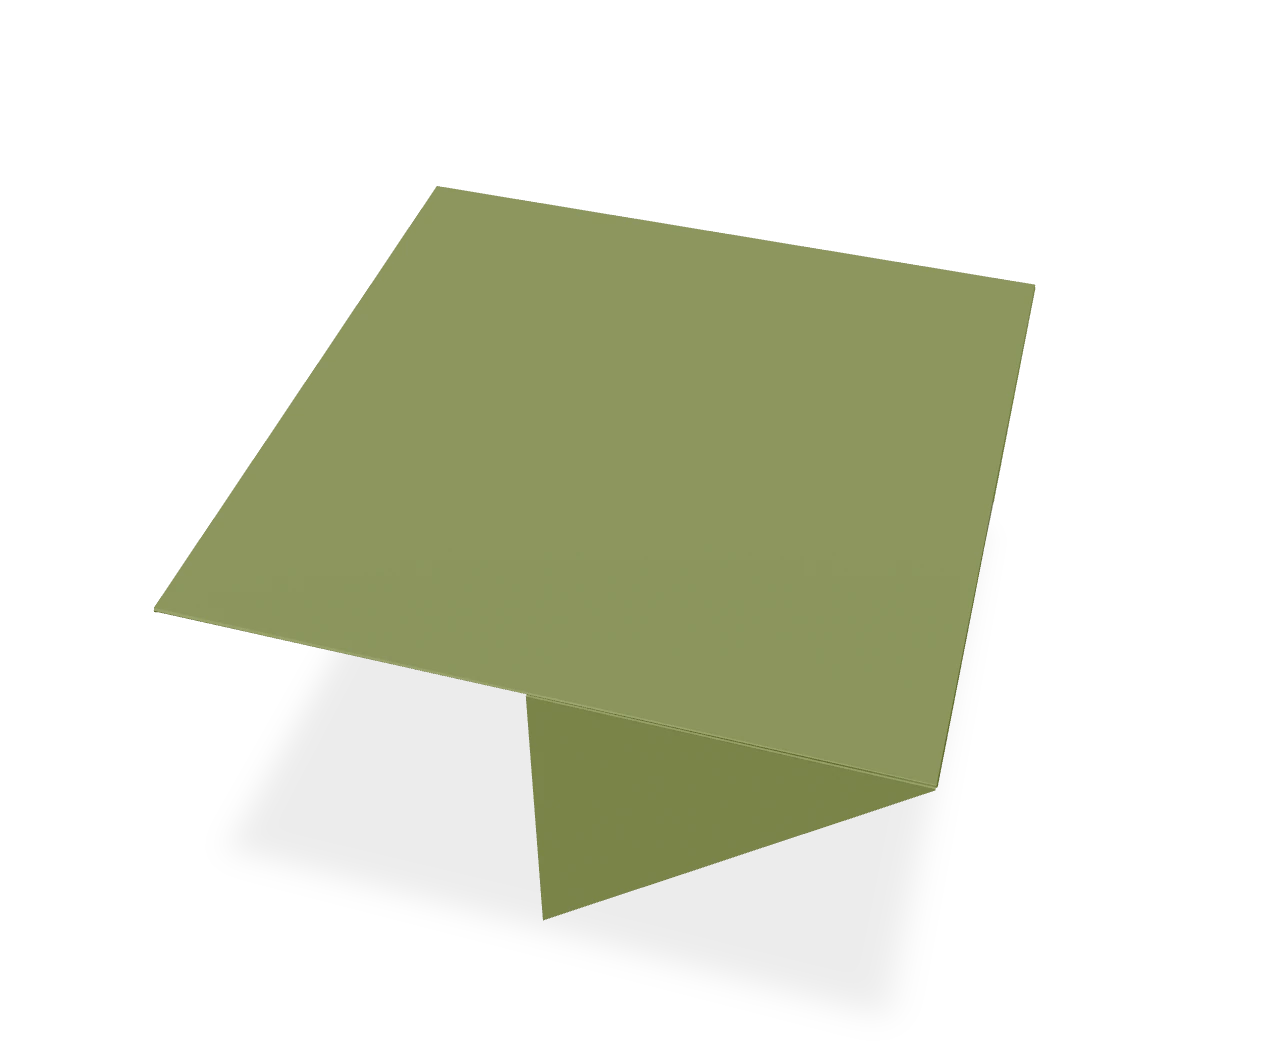
Table ↗
Fold a traditional windmill-base table, with a square top and four triangular legs.