How to make a money origami Christmas tree
Money Origami Christmas Tree: try all 16 steps in the 3D player. Turn and replay every move. Print the complete diagram sheet or save it as PDF.
A small Christmas tree folded from one dollar bill: three stepped branch tiers above a short trunk. Taper one end for the trunk, fold a pointed canopy, pleat it twice and hide the middle of the bill behind the lowest tier. An Origami Tutor design with no cuts and no glue.
- You need
- One dollar bill (156 × 66 mm), or any rectangle of that size. No glue or scissors.
- Start
- Lay a new, flat bill in front of you with its long edges at the top and bottom. The tree's point will be the middle of the left short edge and its trunk the right end. Any 156 × 66 mm rectangle of paper works the same way.
- Tips
- Fold each side exactly to the middle line so the canopy stays straight.
- Keep both branch pleats level and the same depth, so the tiers step out evenly.
Your model is ready
The Christmas tree is ready: a pointed top, three stepped tiers and a short trunk. Real bills fold best when crisp. Press the pleats flat and stand the tree against a card or a gift.


Step-by-step diagrams
Steps 1–6
- 1
Taper the top of the trunk end
Fold the top right corner down along a long slant: from the right edge, just above the middle, to the top edge just past the middle of the bill.
- 2
Taper the bottom of the trunk end
Fold the bottom right corner up along the matching slant, so the right end narrows to a short, blunt point.
- 3
Fold the top left corner in
Fold the top left corner down so the left edge lies along the middle line.
- 4
Fold the bottom left corner in
Fold the bottom left corner up to the middle line in the same way. The left end is now a point.
- 5
Fold the top side to the middle
Fold the upper slanted edge down to the middle line, from the point to where the trunk slant begins.
- 6
Fold the bottom side to the middle
Fold the lower slanted edge up to the middle line to match. The canopy is a long, narrow triangle.
Steps 7–12
- 7
Fold the lower branches over
Fold everything to the right of the marked upright line over to the left, through all the layers.
- 8
Fold the lower branches back
Fold that whole part back to the right along the second line, leaving a narrow pleat. Its wider edge now sticks out on both sides as a new tier of branches.
- 9
Fold the upper branches over
Fold everything to the right of the marked upright line over to the left, through all the layers.
- 10
Fold the upper branches back
Fold that whole part back to the right along the second line, leaving a narrow pleat. Its wider edge now sticks out on both sides as a new tier of branches.
- 11
Fold the long end over
Fold the whole long right part over to the left along the wide end of the canopy.
- 12
Fold it back
Fold the end back to the right along the marked line, a short way inside the canopy's wide end. Keep the folded paper within the lowest tier.
Steps 13–16
- 13
Fold it over again
Fold the end over to the left again along the wide end of the canopy.
- 14
Fold the trunk back out
Fold the end back to the right along the same marked line. Only the narrow trunk now sticks out past the tree.
- 15
Turn the tree over
Turn the tree over from top to bottom, keeping its point on the left. The smooth side with the stepped tiers faces you.
- 16
Stand the tree up
Turn the tree a quarter turn so its point is at the top and the trunk at the bottom.
- ✓
Finish
The Christmas tree is ready: a pointed top, three stepped tiers and a short trunk. Real bills fold best when crisp. Press the pleats flat and stand the tree against a card or a gift.
Fold next

Dollar ring ↗
An Origami Tutor ring folded from one dollar bill: a narrow four-layer band rolled round your finger into a snug ring. Tuck the loose outer end under to lock it.
Dollar bow tie ↗
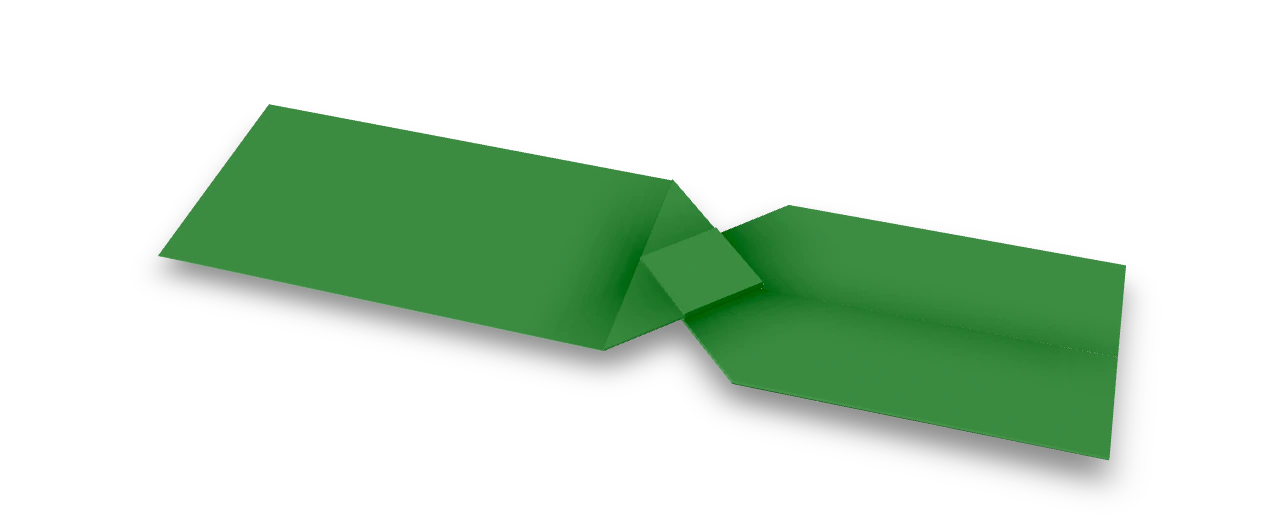
An Origami Tutor bow tie from one dollar bill. Two broad wings taper toward a small folded square at the center. Use a crisp bill so the tucked corners hold their shape.

Dollar star ↗
An Origami Tutor eight-point money star made from four dollar bills. Each bill keeps its full length and folds into a double-ended ray; crossing the four rays gives eight equally long points. A small piece of removable tape holds the centres together at the back.

Dollar rosette ↗
A full circular Origami Tutor money rosette made from two rounded, eight-panel bill fans. A small folded paper arch joins their middle panels while keeping room above the shallow pleats.