How to make a money rosette from two dollar bills
Money Rosette: try all 33 steps in the 3D player. Turn and replay every move. Print the complete diagram sheet or save it as PDF.
A full circular Origami Tutor money rosette made from two rounded, eight-panel bill fans. A small folded paper arch joins their middle panels while keeping room above the shallow pleats.
- You need
- Two dollar bills or two 156 × 66 mm rectangles, one 41.5 × 2 mm thin paper strip, a ruler, pencil, protractor and paper glue. Scissors are needed only to prepare the strip.
- Start
- Prepare two flat dollar bills, or two practice rectangles 156 × 66 mm, and a 41.5 × 2 mm thin paper strip. Start each bill with your chosen side up and its long edges horizontal. Mark seven rays, 22.5° apart, from the middle of its lower edge with a protractor.
- Tips
- Start every radial crease at the same lower middle point.
- Prepare all three pieces flat before spreading either fan.
- Use very little glue, only under the two end tabs.
Your model is ready
Your two bill fans now form one circular rosette. Lift it by a fan panel after the glue dries, and keep its shallow radial pleats open.


Step-by-step diagrams
Steps 1–7
- 1
Hem the first fan's left end
Fold a 12 mm strip behind the left short edge. Keep the long edges horizontal.
- 2
Hem the first fan's right end
Fold the same 12 mm strip behind the right short edge. The remaining width is twice the height.
- 3
Round the first fan's left corner
From the upper left corner of the hemmed rectangle, mark 38.7 mm along its upper and left edges. Fold the corner behind along the line between those marks, through the hem layers.
- 4
Round the first fan's right corner
Fold the upper right corner behind by the same amount. Keep both sloping corners equal.
- 5
Close first radial pleat 1
Use the ray 22.5° from the left edge, around the middle of the lower edge. Fold the gathered left panels forward over the next wedge.
- 6
Close first radial pleat 2
Use the ray 45° from the left edge, around the middle of the lower edge. Fold the gathered left panels behind over the next wedge.
- 7
Close first radial pleat 3
Use the ray 67.5° from the left edge, around the middle of the lower edge. Fold the gathered left panels forward over the next wedge.
Steps 8–14
- 8
Close first radial pleat 4
Use the ray 90° from the left edge, around the middle of the lower edge. Fold the gathered left panels behind over the next wedge.
- 9
Close first radial pleat 5
Use the ray 112.5° from the left edge, around the middle of the lower edge. Fold the gathered left panels forward over the next wedge.
- 10
Close first radial pleat 6
Use the ray 135° from the left edge, around the middle of the lower edge. Fold the gathered left panels behind over the next wedge.
- 11
Close first radial pleat 7
Use the ray 157.5° from the left edge, around the middle of the lower edge. Fold the gathered left panels forward over the next wedge.
- 12
Hem the second fan's left end
Fold a 12 mm strip behind the left short edge. Keep the long edges horizontal.
- 13
Hem the second fan's right end
Fold the same 12 mm strip behind the right short edge. The remaining width is twice the height.
- 14
Round the second fan's left corner
From the upper left corner of the hemmed rectangle, mark 38.7 mm along its upper and left edges. Fold the corner behind along the line between those marks, through the hem layers.
Steps 15–21
- 15
Round the second fan's right corner
Fold the upper right corner behind by the same amount. Keep both sloping corners equal.
- 16
Close second radial pleat 1
Use the ray 22.5° from the left edge, around the middle of the lower edge. Fold the gathered left panels forward over the next wedge.
- 17
Close second radial pleat 2
Use the ray 45° from the left edge, around the middle of the lower edge. Fold the gathered left panels behind over the next wedge.
- 18
Close second radial pleat 3
Use the ray 67.5° from the left edge, around the middle of the lower edge. Fold the gathered left panels forward over the next wedge.
- 19
Close second radial pleat 4
Use the ray 90° from the left edge, around the middle of the lower edge. Fold the gathered left panels behind over the next wedge.
- 20
Close second radial pleat 5
Use the ray 112.5° from the left edge, around the middle of the lower edge. Fold the gathered left panels forward over the next wedge.
- 21
Close second radial pleat 6
Use the ray 135° from the left edge, around the middle of the lower edge. Fold the gathered left panels behind over the next wedge.
Steps 22–28
- 22
Close second radial pleat 7
Use the ray 157.5° from the left edge, around the middle of the lower edge. Fold the gathered left panels forward over the next wedge.
- 23
Mark joining-strip crease 1
Measure 4.5 mm from the left end. Fold across the strip at that mark and open it flat again.
- 24
Mark joining-strip crease 2
Measure 14.5 mm from the left end. Fold across the strip at that mark and open it flat again.
- 25
Mark joining-strip crease 3
Measure 27 mm from the left end. Fold across the strip at that mark and open it flat again.
- 26
Mark joining-strip crease 4
Measure 37 mm from the left end. Fold across the strip at that mark and open it flat again.
- 27
Spread the first fan
Keep the lower middle point gathered and spread the ends into a broad half-circle. Leave a shallow zigzag along every pleat.
- 28
Spread the second fan
Keep the lower middle point gathered and spread the ends into a broad half-circle. Leave a shallow zigzag along every pleat.
Steps 29–33
- 29
Raise the joining arch
Keep both short end tabs flat. Raise the two 10 mm sloping legs until the flat middle stands about 6 mm above the tabs.
- 30
Place the opposing fan
Turn the second fan halfway around and bring its gathered point beside the first. Leave a 1.5 mm seam between the straight edges, forming a full circle.
- 31
Lay the arch across the middle
Lay one end tab on the middle panel of each fan, about 15 mm from its gathered point. Keep the raised middle clear of the pleat ridges.
- 32
Glue the first tab
Glue the first flat end tab to its fan panel. Keep glue away from the pleats.
- 33
Glue the second tab
Glue the other flat end tab to the opposing fan. Let both bonds dry with the circle spread open.
- ✓
Finish
Your two bill fans now form one circular rosette. Lift it by a fan panel after the glue dries, and keep its shallow radial pleats open.
Fold next
Dollar ring ↗
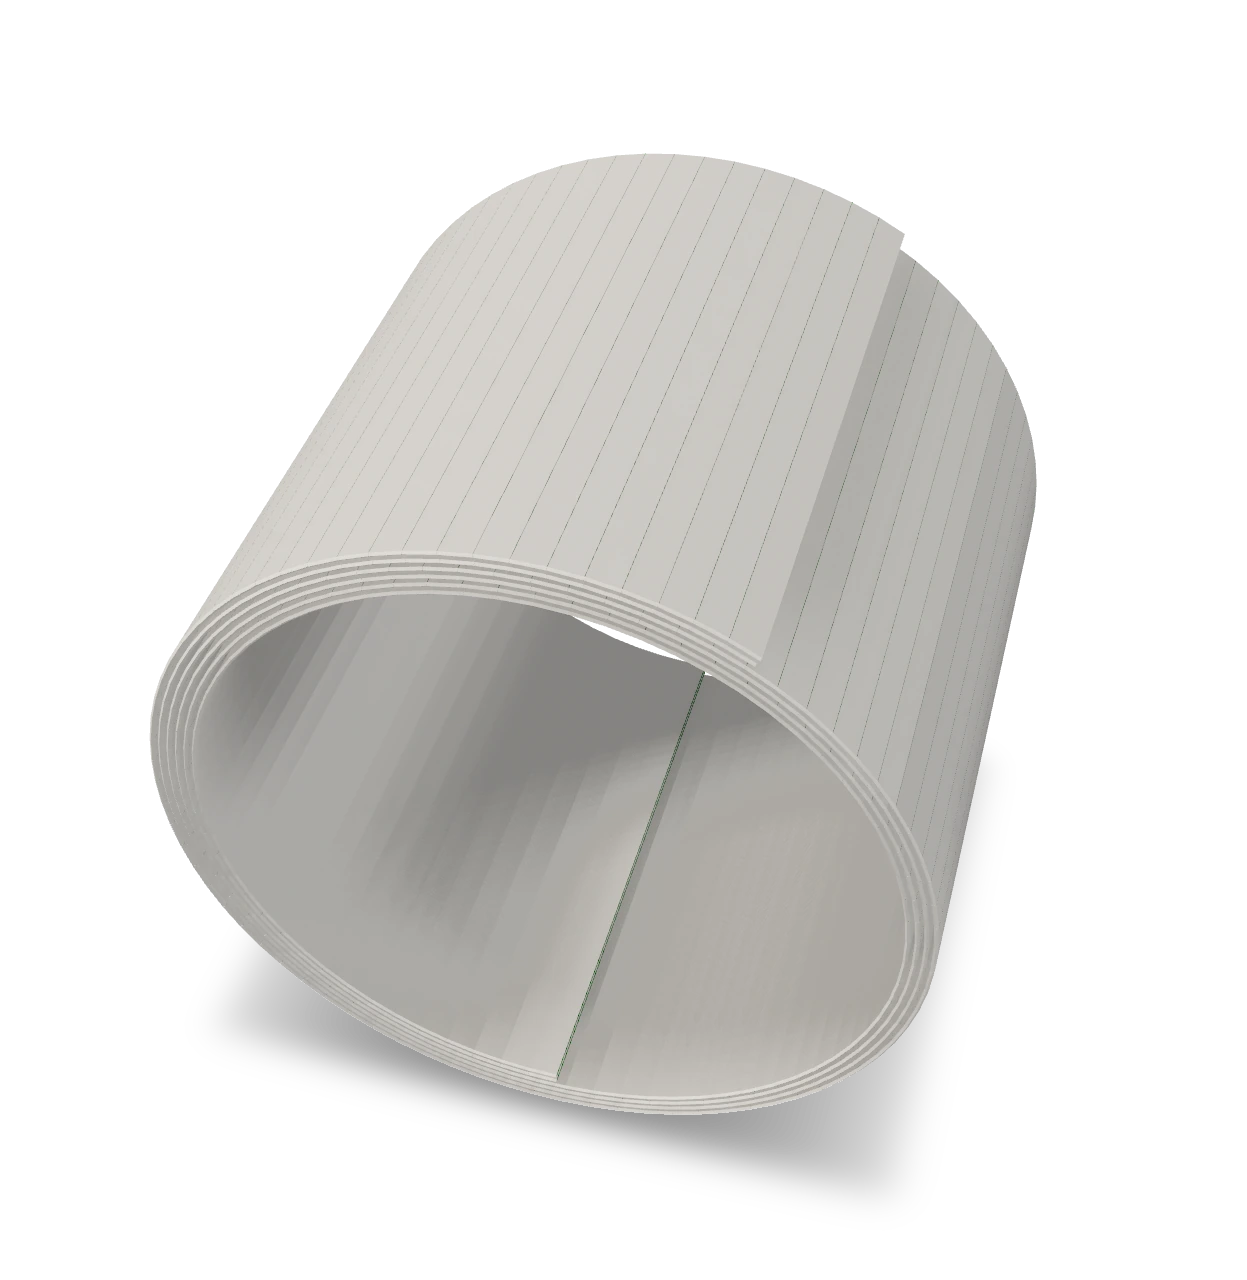
An Origami Tutor ring folded from one dollar bill: a narrow four-layer band rolled round your finger into a snug ring. Tuck the loose outer end under to lock it.
Dollar bow tie ↗
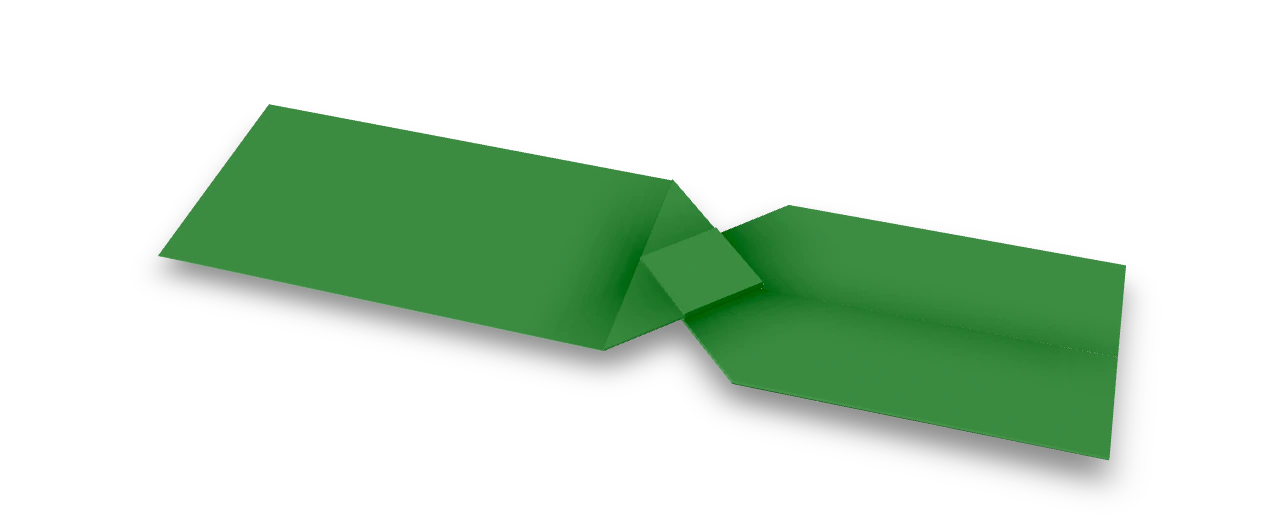
An Origami Tutor bow tie from one dollar bill. Two broad wings taper toward a small folded square at the center. Use a crisp bill so the tucked corners hold their shape.

Dollar star ↗
An Origami Tutor eight-point money star made from four dollar bills. Each bill keeps its full length and folds into a double-ended ray; crossing the four rays gives eight equally long points. A small piece of removable tape holds the centres together at the back.
Dollar frog ↗
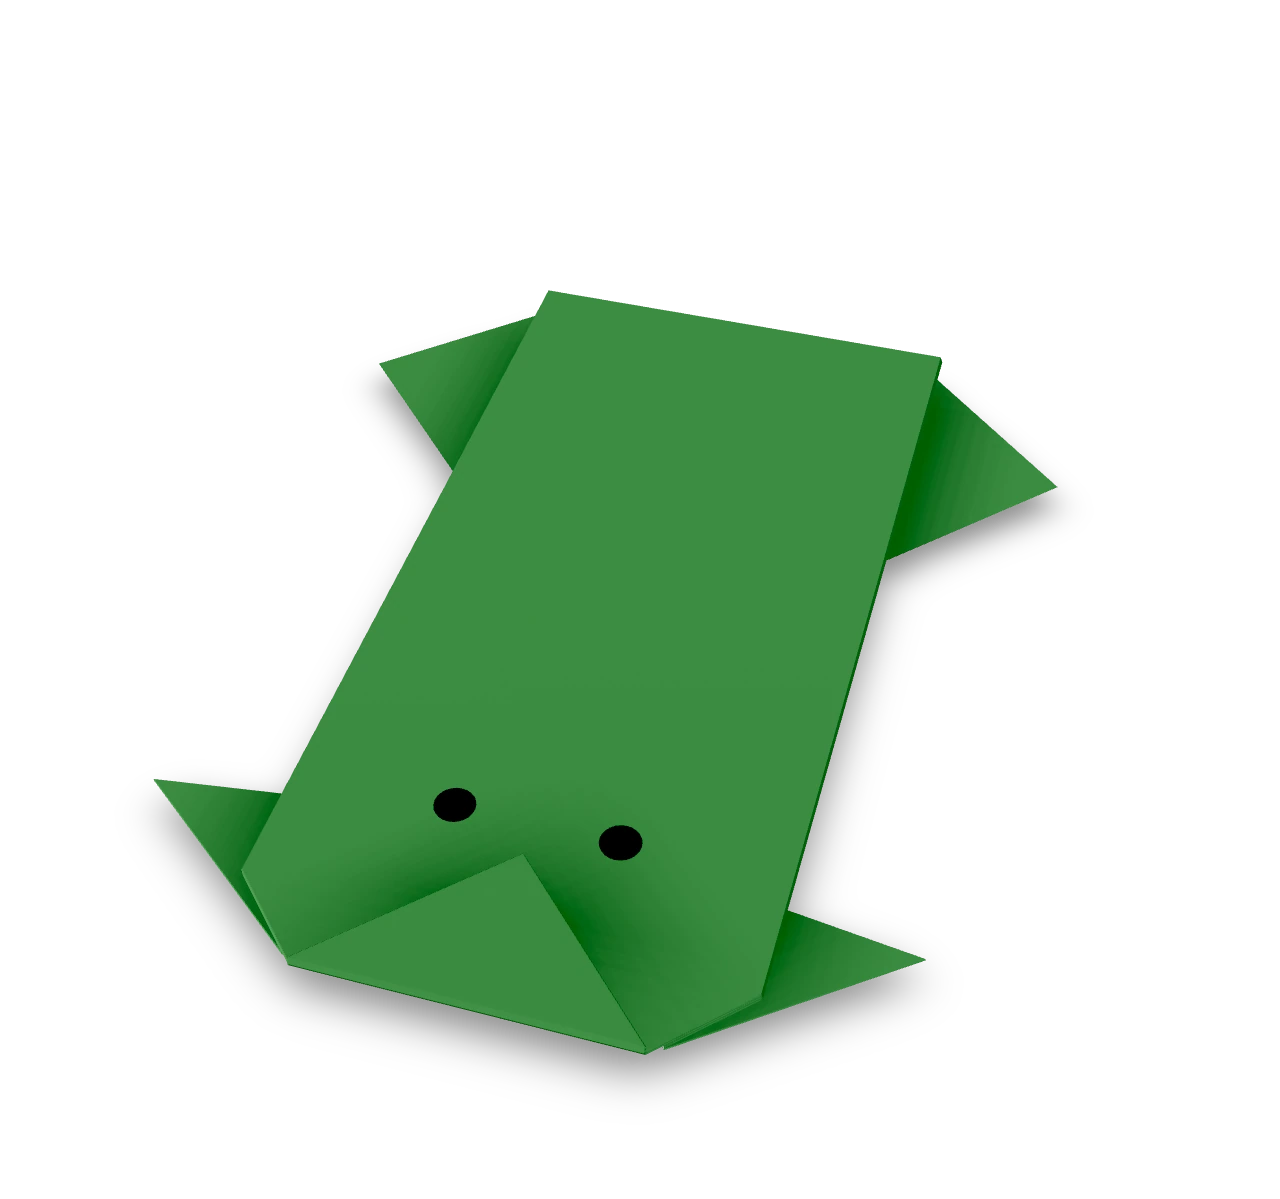
An Origami Tutor version of the folk jumping frog, folded from one dollar bill: two front legs, two back feet and a free-end Z pleat that holds its back above its feet. A pen for optional eyes on a paper version. No glue or scissors.