How to make an origami dollar bill jumping frog
Origami Dollar Bill Jumping Frog: try all 16 steps in the 3D player. Turn and replay every move. Print the complete diagram sheet or save it as PDF.
An Origami Tutor version of the folk jumping frog, folded from one dollar bill: two front legs, two back feet and a free-end Z pleat that holds its back above its feet. A pen for optional eyes on a paper version. No glue or scissors.
- You need
- One dollar bill (156 × 66 mm), or any rectangle of that size. A pen for optional eyes on a paper version. No glue or scissors.
- Start
- Stand a new, flat bill upright in front of you, with its short edges at the sides and the side you want showing on the frog facing up. The lower square of the bill becomes the frog; the strip above it becomes the spring.
- Tips
- Sharp creases make a stronger spring.
- Press the back down gently and slide your finger off to the side.
Your model is ready
On a paper version, draw two eyes near the front of the head. A crisp bill holds the spring folds well. Set it on a table with the spring under its back end, press down on the back with a fingertip, then slide your finger off so the spring snaps and the frog hops.

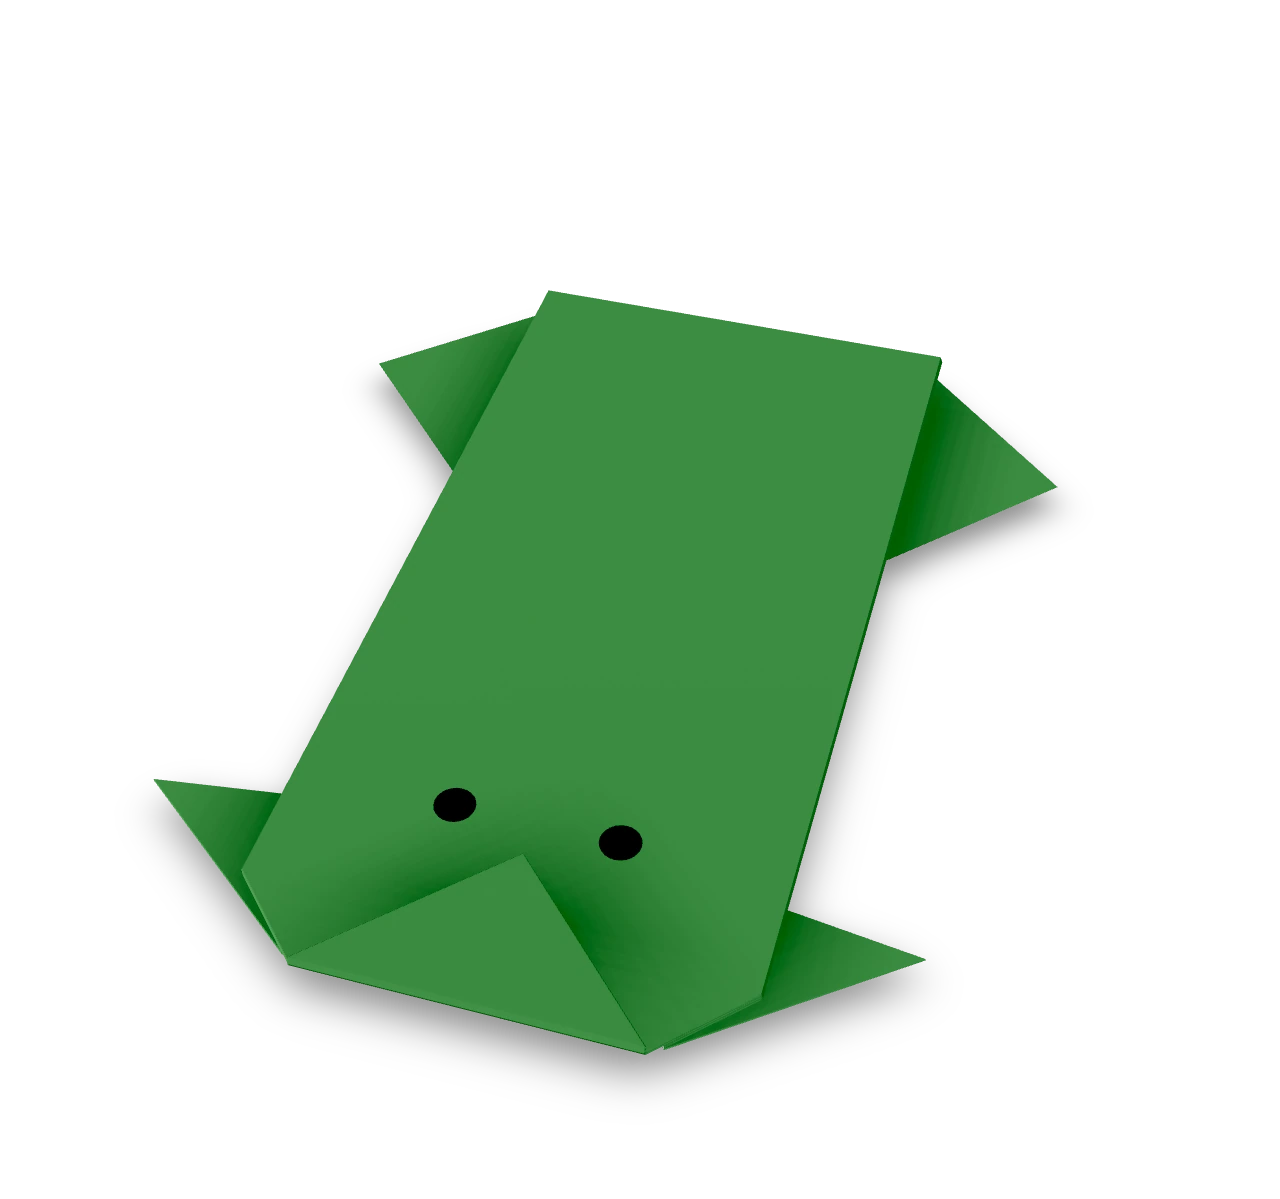
Step-by-step diagrams
Steps 1–6
- 1
Crease the first diagonal
Fold the bottom edge up to the left edge, so the fold runs from the bottom left corner to the right edge. Press and open.
- 2
Crease the other diagonal
Fold the bottom edge up to the right edge the same way. The two creases make an X in the lower square. Press and open.
- 3
Crease across the middle
Fold the bottom edge up behind the bill, level with the top of the lower square where the diagonals meet the side edges. Press and open.
- 4
Collapse the square into a triangle
Push the middles of the two side edges of the lower square inward. The square folds along the three creases into a triangle with its point at the top. The long strip above the square swings down behind it.
- 5
Lift the left front corner
Fold the lower left corner of the triangle up to its top point. Take only the front paper with it.
- 6
Lift the right front corner
Fold the lower right corner up to the top point as well, making a kite.
Steps 7–12
- 7
Narrow the left side of the body
Fold the long side edge in to meet the middle, keeping the raised front flaps still.
- 8
Narrow the right side of the body
Fold the long side edge in to meet the middle, keeping the raised front flaps still.
- 9
Spread the left front leg
Fold the pointed tip of the left flap out to the left and down. This is the left front leg.
- 10
Spread the right front leg
Fold the tip of the right flap out to the right and down to match.
- 11
Spread the left back foot
Fold this loose lower corner out to the side before making the spring. Keep the paper beneath it still.
- 12
Spread the right back foot
Fold this loose lower corner out to the side before making the spring. Keep the paper beneath it still.
Steps 13–16
- 13
Fold the strip up
Fold the hanging strip up in half, so its bottom edge meets the base of the triangle.
- 14
Pleat the spring
Fold only the free end back down toward you. Keep the layer underneath still so the strip makes a Z-shaped spring.
- 15
Blunt the snout
Fold the top point behind to give the frog a broad, short snout.
- 16
Turn the frog over
Turn the frog over so the smooth back faces up and the legs lie underneath.
- ✓
Finish
On a paper version, draw two eyes near the front of the head. A crisp bill holds the spring folds well. Set it on a table with the spring under its back end, press down on the back with a fingertip, then slide your finger off so the spring snaps and the frog hops.
Fold next
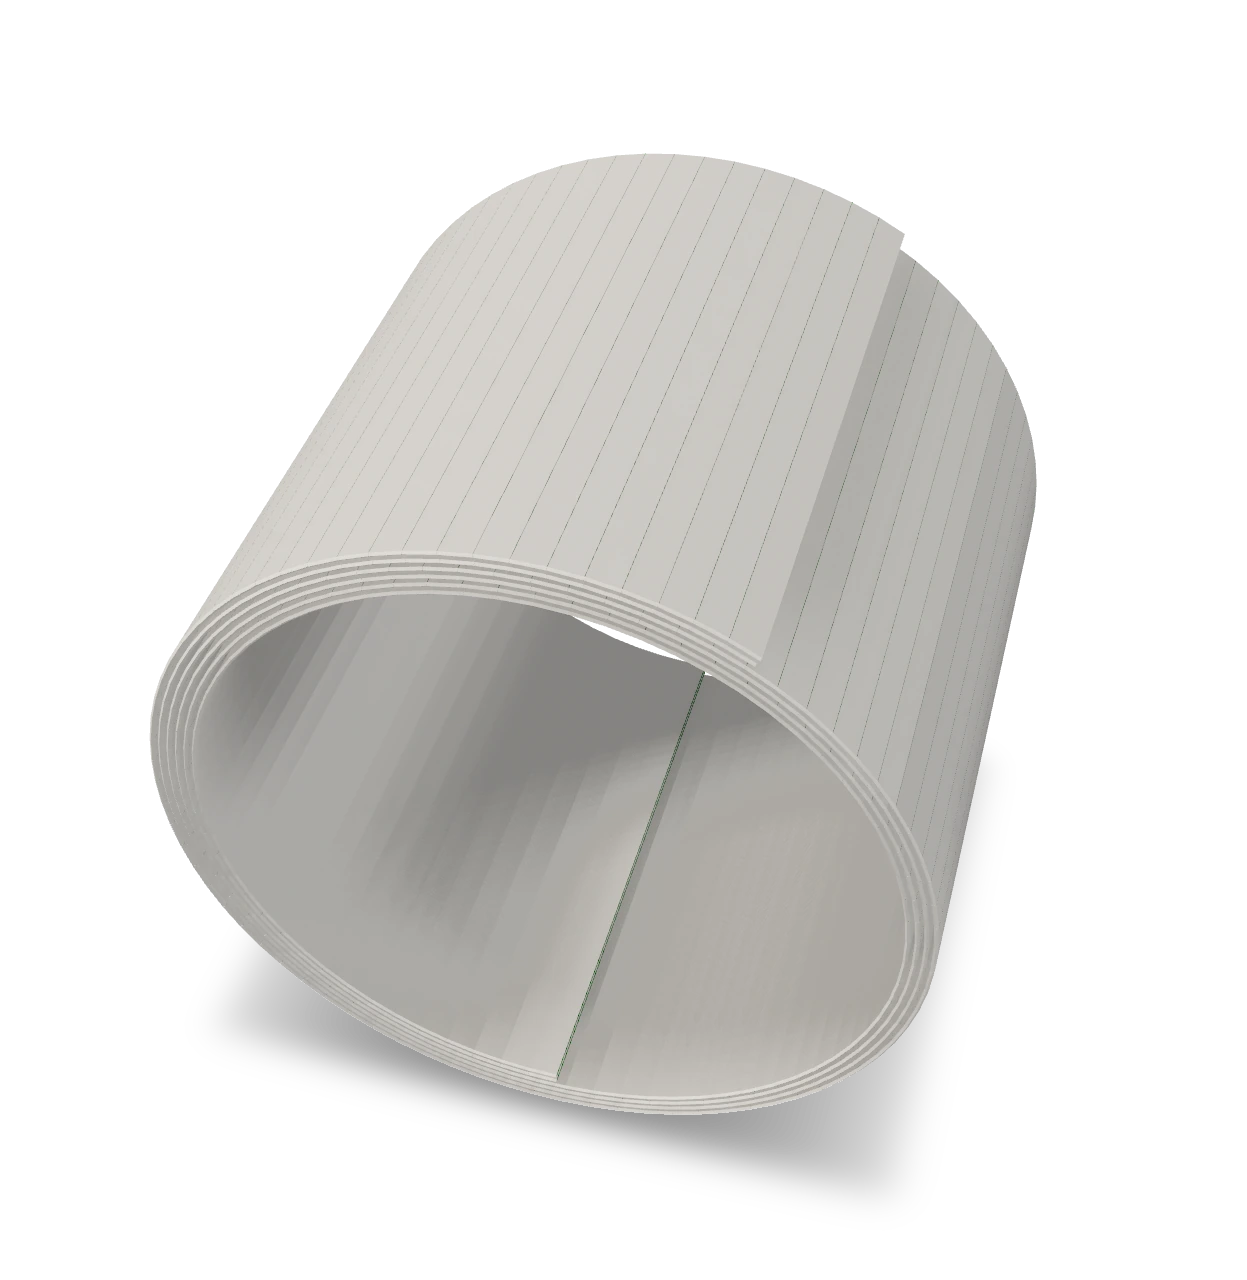
Dollar ring ↗
An Origami Tutor ring folded from one dollar bill: a narrow four-layer band rolled round your finger into a snug ring. Tuck the loose outer end under to lock it.
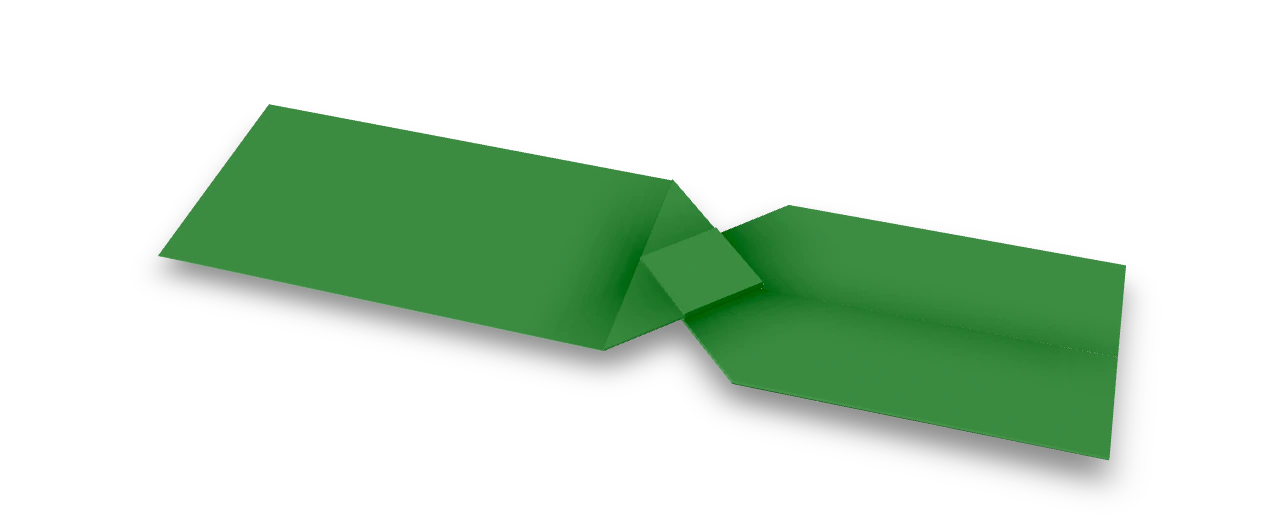
Dollar bow tie ↗
An Origami Tutor bow tie from one dollar bill. Two broad wings taper toward a small folded square at the center. Use a crisp bill so the tucked corners hold their shape.

Dollar star ↗
An Origami Tutor eight-point money star made from four dollar bills. Each bill keeps its full length and folds into a double-ended ray; crossing the four rays gives eight equally long points. A small piece of removable tape holds the centres together at the back.

Dollar rosette ↗
A full circular Origami Tutor money rosette made from two rounded, eight-panel bill fans. A small folded paper arch joins their middle panels while keeping room above the shallow pleats.