How to make an easy paper crown
Easy Paper Crown: try all 11 steps in the 3D player. Turn and replay every move. Print the complete diagram sheet or save it as PDF.
An Origami Tutor cut-paper crown with six points on an open band. This small crown is a display decoration.
- You need
- One 28 × 10 cm yellow paper rectangle, scissors, a ruler and glue. Pens or stickers are optional.
- Start
- Use a 28 × 10 cm rectangle of yellow paper, white side up. Mark a 4 cm band along its lower edge and divide the width into seven 4 cm sections. The last section is the joining tab.
- Tips
- Keep the lower band uncut.
- Use a ruler to make all six points the same height.
- Let the glue dry before moving the crown.
Your model is ready
Your six-point crown is open. Let the glue dry before decorating the band with pens or stickers.


Step-by-step diagrams
Steps 1–6
- 1
Cut the crown points
In each of the first six sections, mark a point 5 cm above the band. Join each point to the band's corners and cut the zigzag across the top. Leave the last section as a low plain tab.
- 2
Mark band fold 1
Fold across the band beneath this notch. Press the crease, then open it again.
- 3
Mark band fold 2
Fold across the band beneath this notch. Press the crease, then open it again.
- 4
Mark band fold 3
Fold across the band beneath this notch. Press the crease, then open it again.
- 5
Mark band fold 4
Fold across the band beneath this notch. Press the crease, then open it again.
- 6
Mark band fold 5
Fold across the band beneath this notch. Press the crease, then open it again.
Steps 7–11
- 7
Mark band fold 6
Fold across the band beneath this notch. Press the crease, then open it again.
- 8
Open the crown band
Ease the band folds into an open ring. Bring the first six panels together, leaving the plain end tab straight outside the ring.
- 9
Overlap the end tab
Bend the plain end tab around its crease until it lies against the first panel.
- 10
Glue the crown closed
Glue the overlapping plain tab to the first panel. Let the join dry.
- 11
Stand the crown up
Turn the whole crown so the band is level and its six points face upward.
- ✓
Finish
Your six-point crown is open. Let the glue dry before decorating the band with pens or stickers.
Fold next
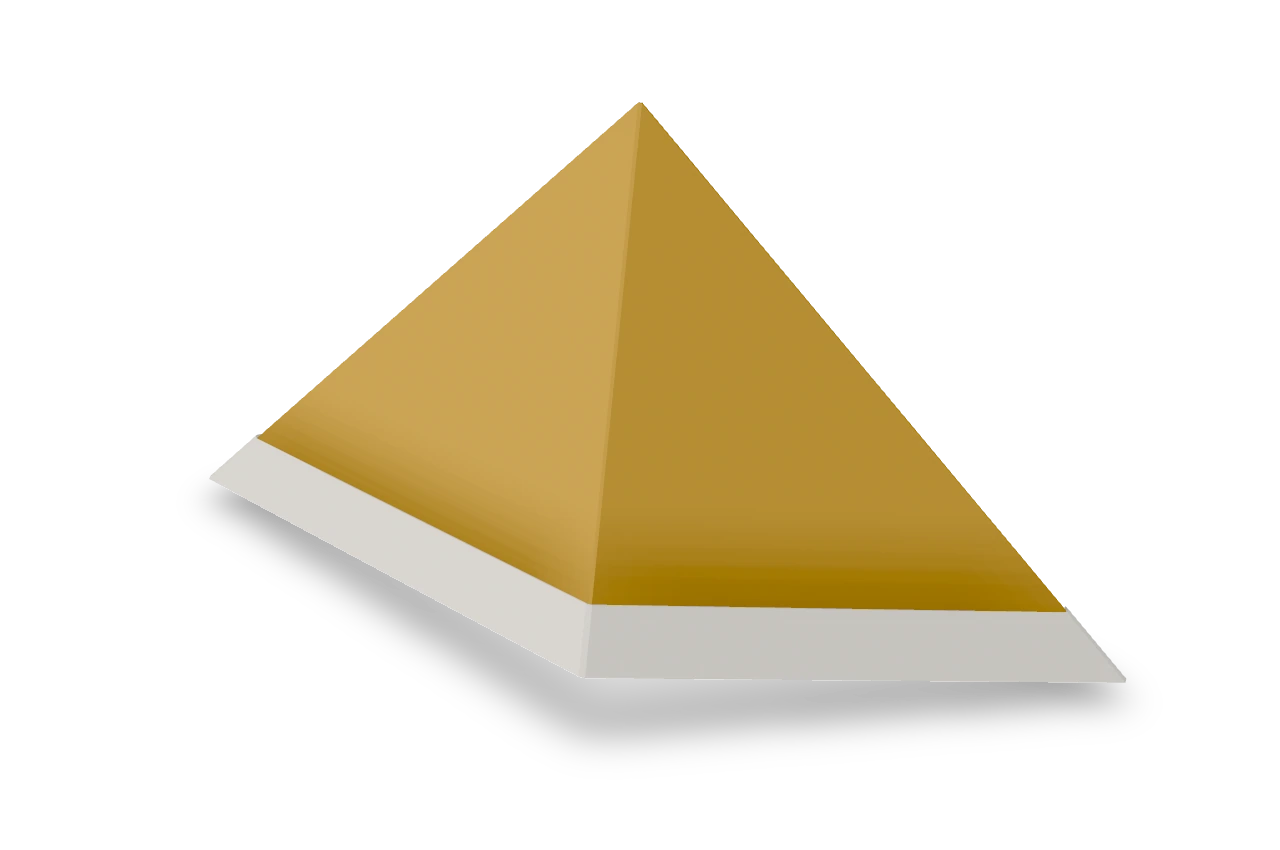
Newspaper hat ↗
The folded paper hat from a sheet of newspaper: a peak, a brim, and it fits a child's head from a full newspaper page.

Samurai helmet ↗
The traditional Japanese paper helmet, with two short horns and a white folded brim.
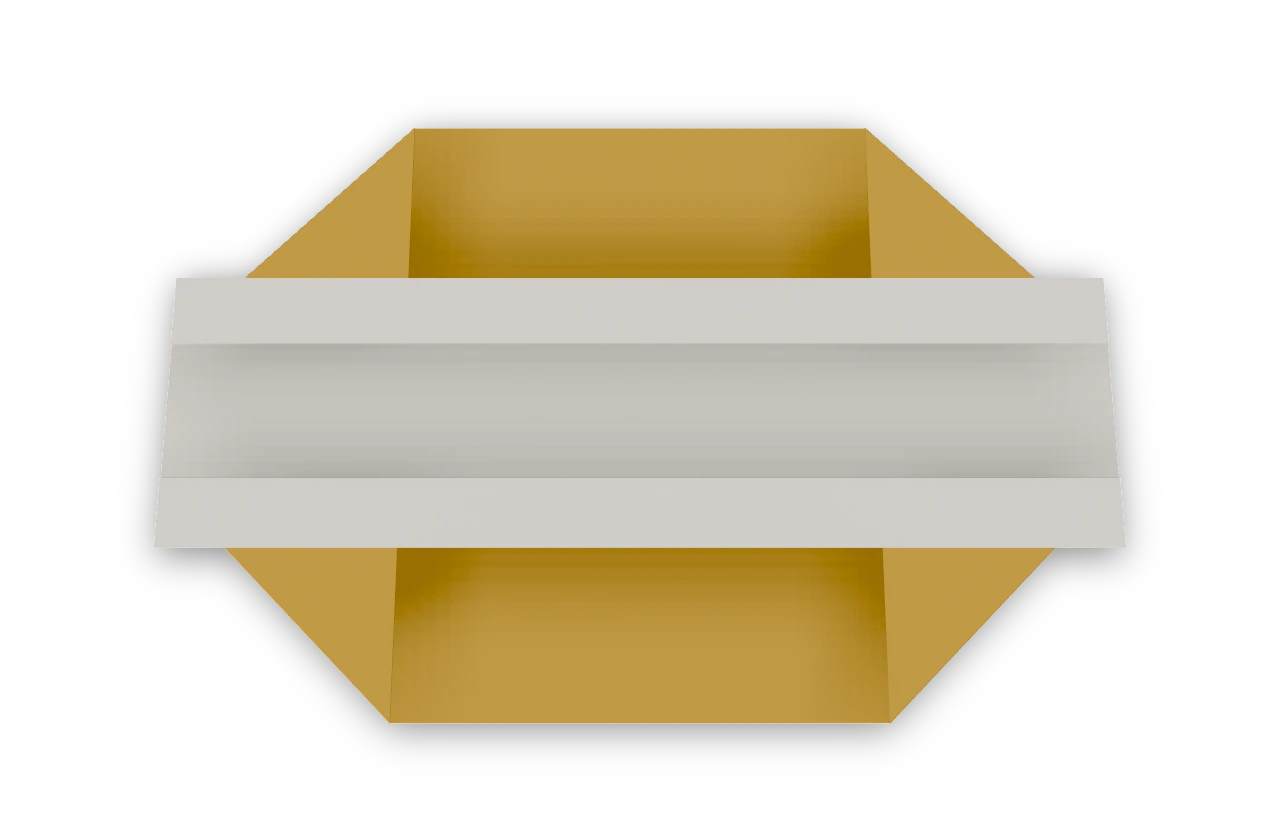
Printer's hat ↗
An Origami Tutor box-crowned paper cap with four squared sides and a folded lower band. Make a small hat from letter paper, or use a larger rectangle with the same proportions.
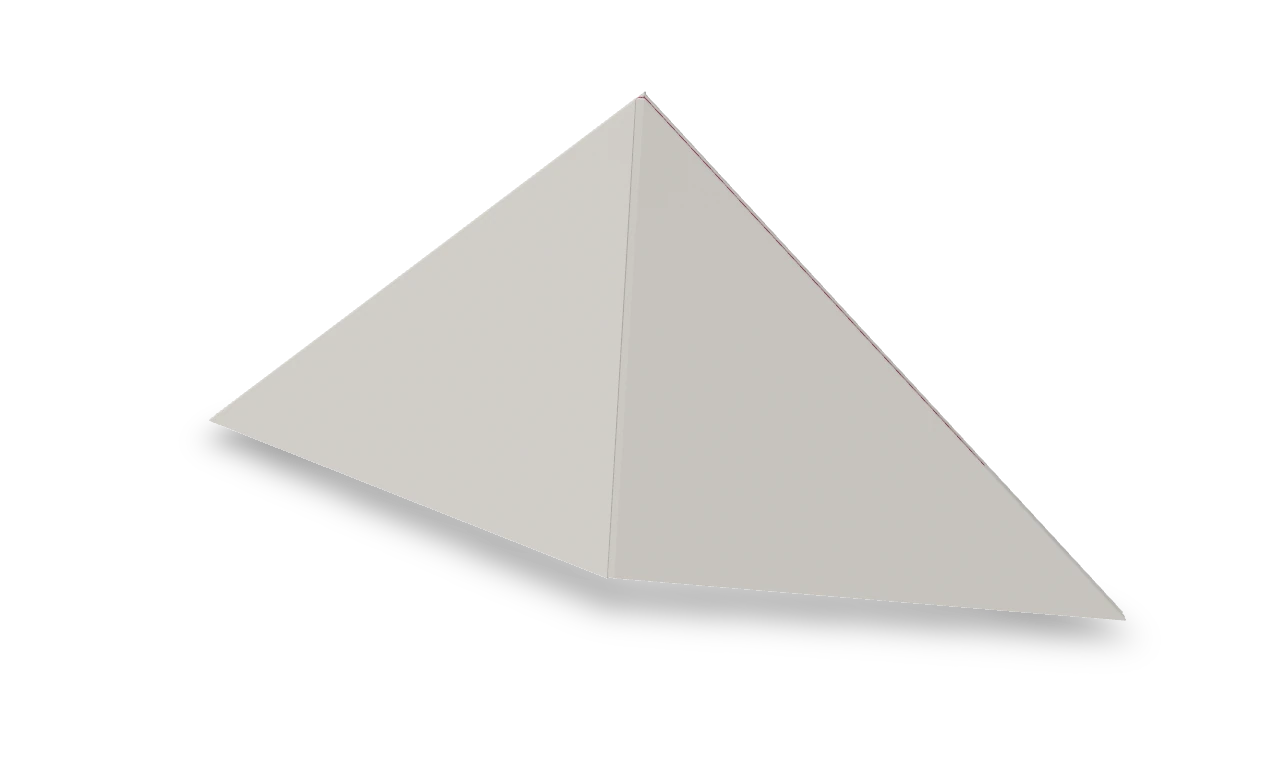
Pyramidal hat ↗
The old pointed paper hat: a newspaper-hat pocket, flattened into a diamond and folded into a smaller triangle.