How to make a printer's hat
Printer's Hat: try all 12 steps in the 3D player. Turn and replay every move. Print the complete diagram sheet or save it as PDF.
An Origami Tutor box-crowned paper cap with four squared sides and a folded lower band. Make a small hat from letter paper, or use a larger rectangle with the same proportions.
- You need
- One rectangular sheet of thin paper. A US letter sheet makes a small cap. No glue or scissors.
- Start
- Lay a sheet of letter paper short edge at the top. Start with the face you want on the outside underneath; the lower band will show the reverse.
- Tips
- Match all four corner folds to the quarter creases.
- For a wearable cap, use a larger rectangle with the same proportions.
Your model is ready
Turn the folded packet over, then ease the two bands apart so the sides open below the flat crown. Pinch the four corners square, keeping the opening underneath.

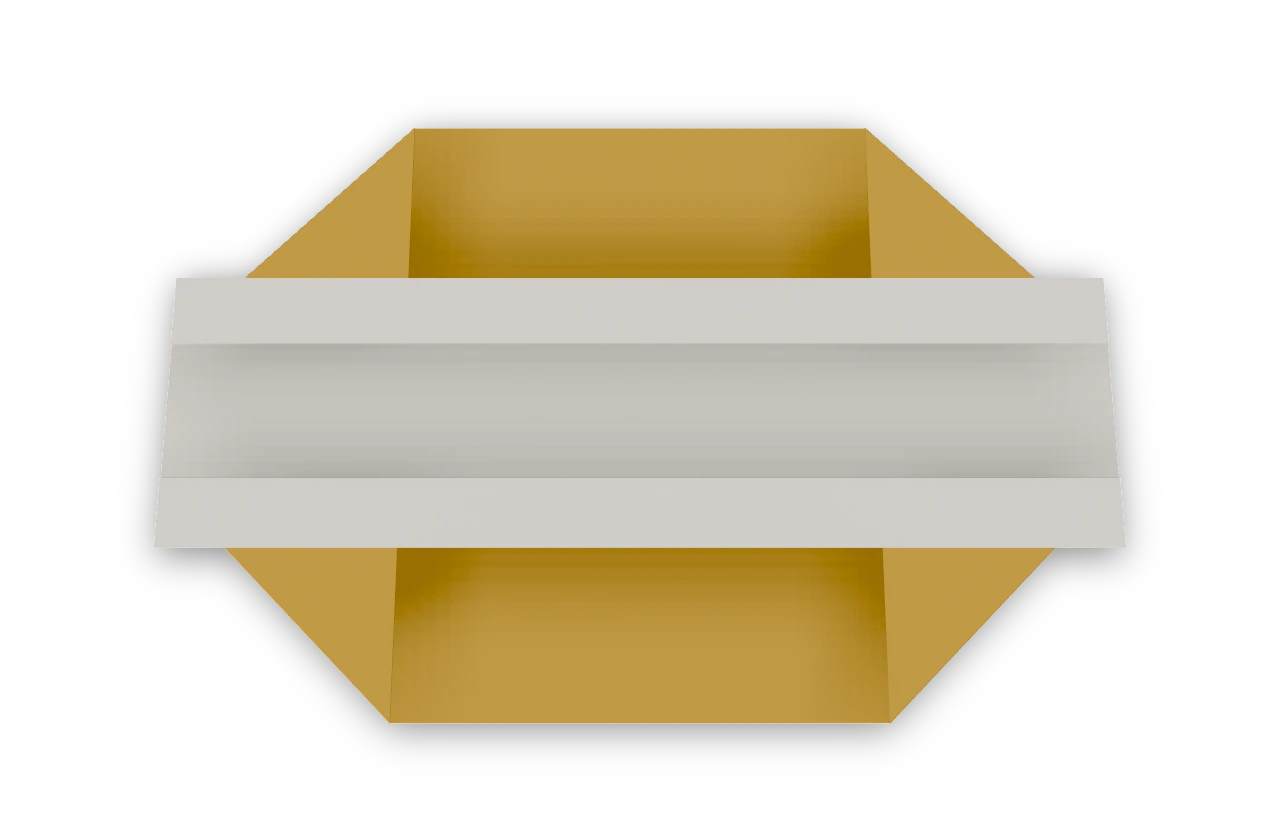
Step-by-step diagrams
Steps 1–7
- 1
Mark the crosswise middle
Bring the bottom short edge up to the top edge, press the middle crease, and open the sheet.
- 2
Fold the top edge to the middle
Fold the upper short edge down to the crosswise crease.
- 3
Fold the bottom edge to the middle
Bring the lower short edge up to meet the first edge. Keep both flaps closed.
- 4
Mark the lengthwise middle
Fold the right side over to the left, press, and open that fold again.
- 5
Mark the left quarter
Bring the left edge to the lengthwise middle crease, press, and open it.
- 6
Mark the right quarter
Bring the right edge to the middle crease, press, and open it. The four long sections should be equal.
- 7
Fold the upper left corner inward
Turn the upper left corner inward so its short edge follows the left quarter crease.
Steps 8–12
- 8
Fold the upper right corner inward
Fold the upper right corner to the right quarter crease in the same way.
- 9
Fold the lower left corner inward
Fold the lower left corner inward, lining its short edge up with the left quarter crease.
- 10
Fold the lower right corner inward
Fold the remaining corner inward to match the other three.
- 11
Make the upper band
Fold the loose edge at the middle back toward the upper end, along the line joining the two corner tips. Leave the corner triangles in place.
- 12
Make the lower band
Turn the other loose edge back toward the lower end in the same way, folding across its two corner tips.
- ✓
Finish
Turn the folded packet over, then ease the two bands apart so the sides open below the flat crown. Pinch the four corners square, keeping the opening underneath.
Fold next
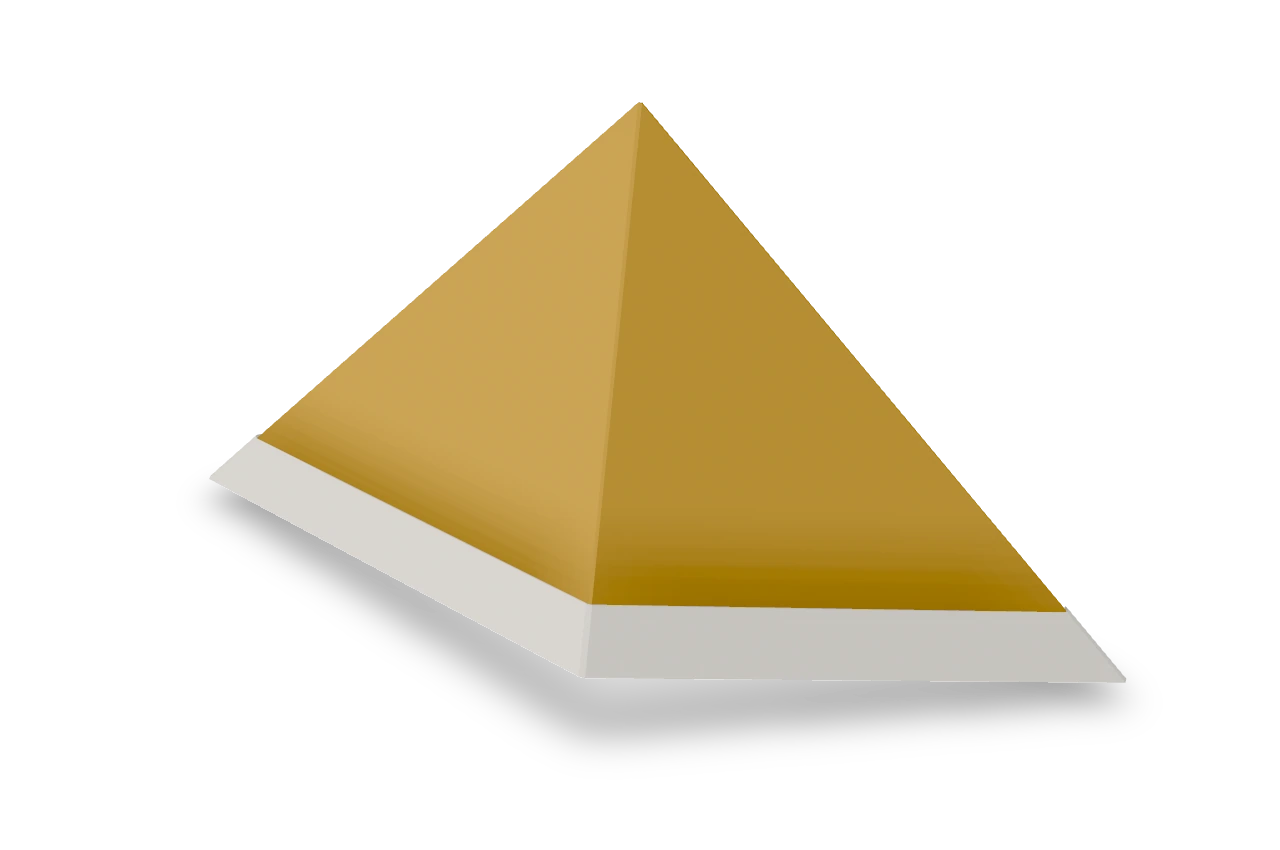
Newspaper hat ↗
The folded paper hat from a sheet of newspaper: a peak, a brim, and it fits a child's head from a full newspaper page.

Samurai helmet ↗
The traditional Japanese paper helmet, with two short horns and a white folded brim.
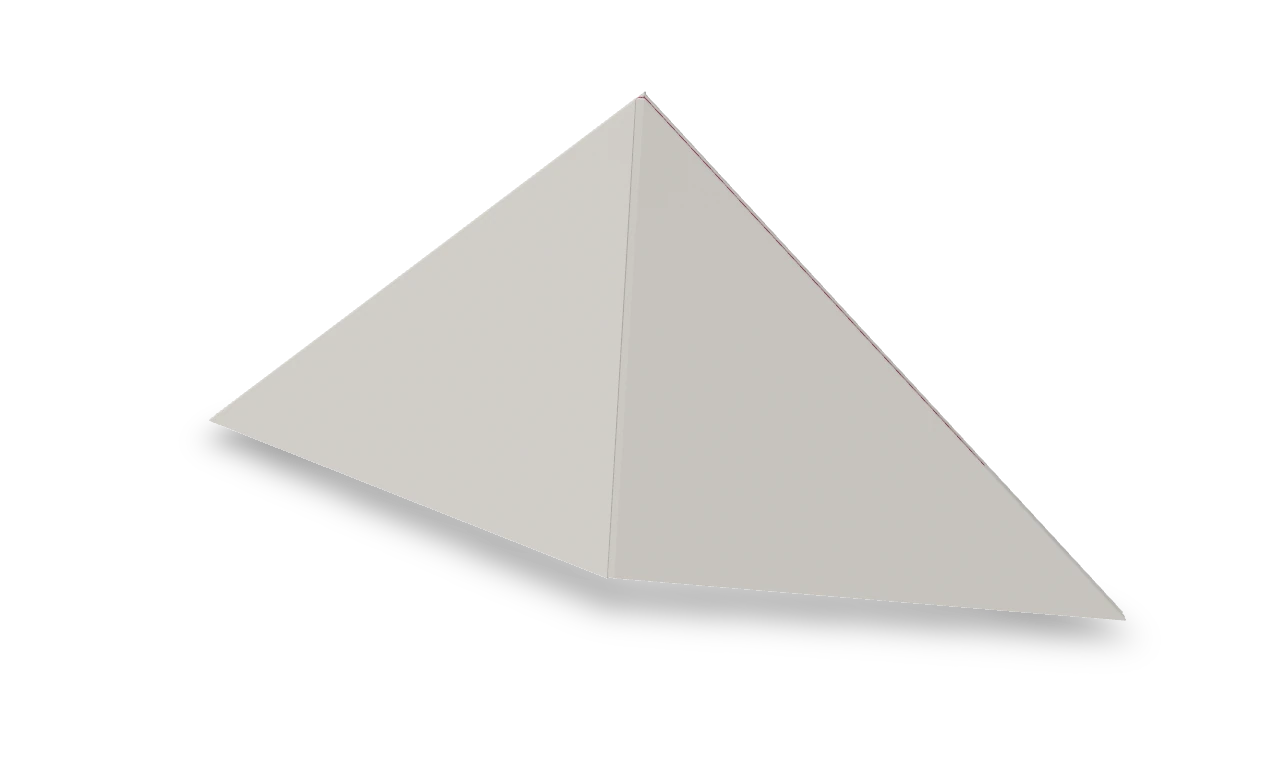
Pyramidal hat ↗
The old pointed paper hat: a newspaper-hat pocket, flattened into a diamond and folded into a smaller triangle.
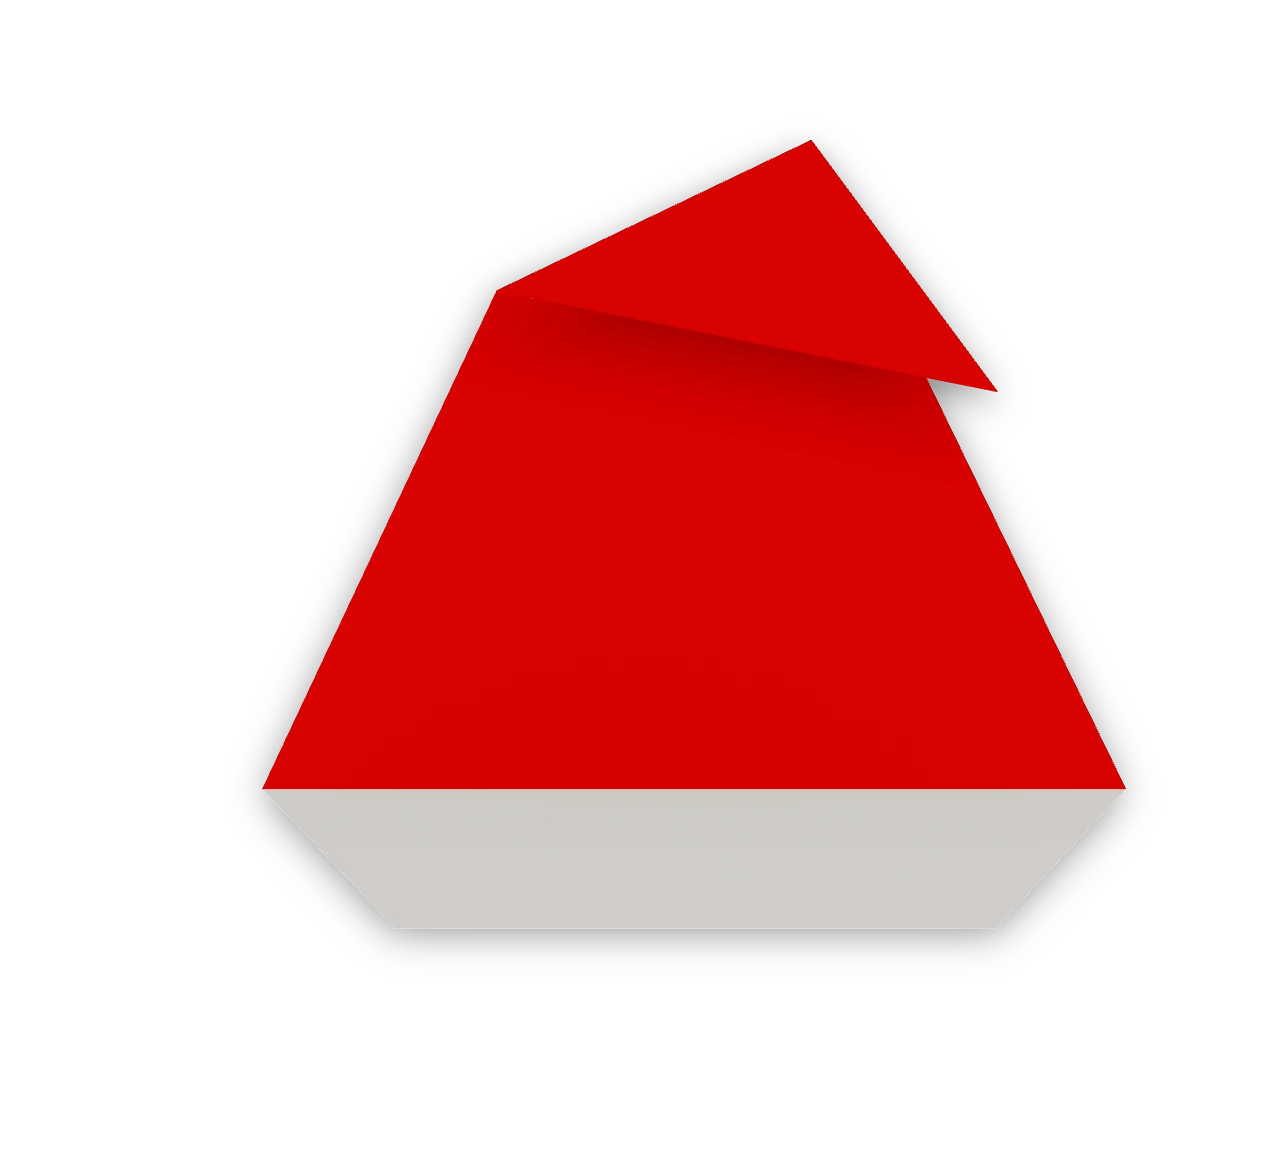
Santa hat ↗
An Origami Tutor Santa hat for young children: a red hat with a white brim and a floppy tip, folded flat from one square in four folds. A Christmas card decoration.