How to make an origami monk (Komuso)
Origami Monk (Komuso): try all 29 steps in the 3D player. Turn and replay every move. Print the complete diagram sheet or save it as PDF.
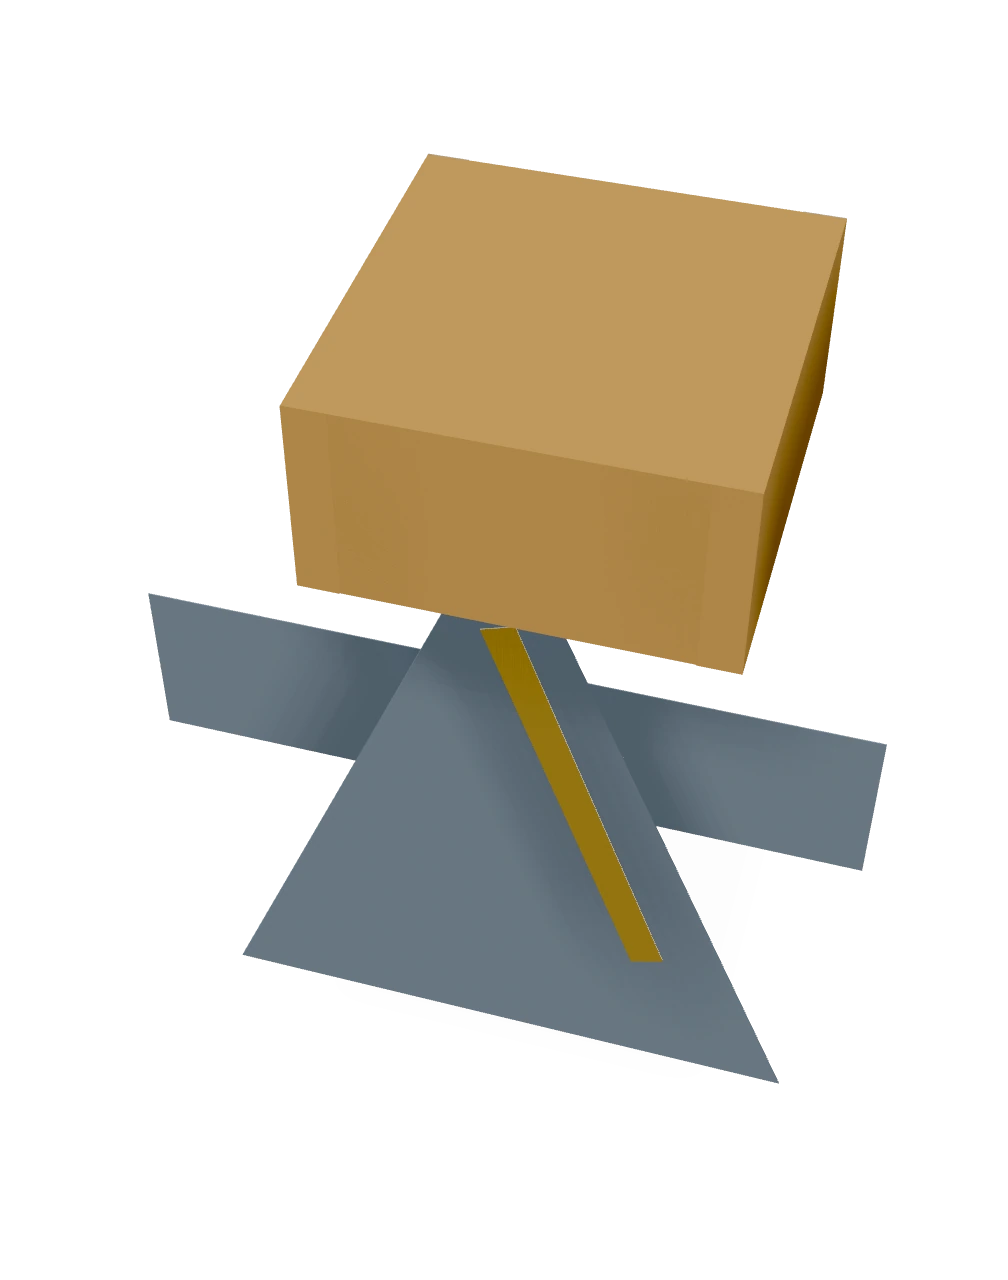
An original Origami Tutor Komuso figure with a long folded robe, broad sleeves, a flute and a square hood. The hood has a closed roof, four walls and glued corner tabs. The ancient figure's exact folding method is unknown; this version uses four pieces, cuts and glue.
- You need
- Two squares and two strips of thin paper in the stated sizes, a ruler, pencil, scissors and paper glue.
- Start
- Use an 18 cm gray square for the robe, a 20 cm tan square for the hood, a 17 × 8.5 cm gray rectangle for the sleeves, and a 1.7 × 11.3 cm tan strip for the flute. Start the robe and strips white side up; keep a robe corner pointing up. Start the hood colored side up with an edge at the top.
- Tips
- Keep every tab 1 cm wide and stop its slit at the roof corner.
- Fold the hood walls underneath the colored roof before gluing the tabs.
- Keep the flute outside the hood when joining the robe.
Your model is ready
The folded robe, sleeves, flute and square hood are joined. Let the glue dry with the hood opening facing down.

Step-by-step diagrams
Steps 1–6
- 1
Fold the robe's left edge in
Bring the upper left sloping edge to the vertical middle of the square.
- 2
Fold the robe's right edge in
Bring the upper right edge in to meet it, making a long kite.
- 3
Fold the hem behind
Fold the lower corner behind along the line joining the kite's widest corners. Keep the long robe pointed at the top.
- 4
Double the sleeves
Fold the rectangle's upper long edge to its lower edge, making a wide sleeve panel.
- 5
Set the sleeves behind the robe
Center the sleeve panel behind the upper robe, with equal lengths projecting on both sides.
- 6
Join the sleeves to the robe
Glue a small overlapping patch behind the robe. Keep the two sleeve ends flat and free.
Steps 7–12
- 7
Narrow the flute strip
Fold the narrow strip in half lengthwise, colored side out.
- 8
Set the flute across the front
Lay the narrow strip across the front of the robe at a slight angle, reaching from the hood opening down across the chest.
- 9
Secure the flute
Put a small glue spot behind the flute where it crosses the robe, and press it down.
- 10
Trim the upper left hood corner
Mark a 5 cm corner square. Keep a 1 cm strip beside the side wall for its glue tab, and cut away the remaining corner block.
- 11
Free the upper left hood tab
Cut the short slit between the tab and the neighbouring wall. Stop at the corner of the middle 10 cm roof square.
- 12
Trim the upper right hood corner
Mark a 5 cm corner square. Keep a 1 cm strip beside the side wall for its glue tab, and cut away the remaining corner block.
Steps 13–18
- 13
Free the upper right hood tab
Cut the short slit between the tab and the neighbouring wall. Stop at the corner of the middle 10 cm roof square.
- 14
Trim the lower left hood corner
Mark a 5 cm corner square. Keep a 1 cm strip beside the side wall for its glue tab, and cut away the remaining corner block.
- 15
Free the lower left hood tab
Cut the short slit between the tab and the neighbouring wall. Stop at the corner of the middle 10 cm roof square.
- 16
Trim the lower right hood corner
Mark a 5 cm corner square. Keep a 1 cm strip beside the side wall for its glue tab, and cut away the remaining corner block.
- 17
Free the lower right hood tab
Cut the short slit between the tab and the neighbouring wall. Stop at the corner of the middle 10 cm roof square.
- 18
Mark the top hood wall
Fold the wall behind along the guide, press, and open it again. The marked lines also crease the tab roots.
Steps 19–24
- 19
Mark the bottom hood wall
Fold the wall behind along the guide, press, and open it again. The marked lines also crease the tab roots.
- 20
Mark the left hood wall
Fold the wall behind along the guide, press, and open it again. The marked lines also crease the tab roots.
- 21
Mark the right hood wall
Fold the wall behind along the guide, press, and open it again. The marked lines also crease the tab roots.
- 22
Fold the four hood walls down
Keep the square roof flat and fold all four walls underneath it to right angles. The narrow tabs stay outside the corners.
- 23
Wrap the corner tabs
Fold the four small tabs around the outside corners so they lie flat on the neighbouring walls.
- 24
Glue hood corner 1
Glue the tab flat against its neighbouring wall and keep the corner square.
Steps 25–29
- 25
Glue hood corner 2
Glue the tab flat against its neighbouring wall and keep the corner square.
- 26
Glue hood corner 3
Glue the tab flat against its neighbouring wall and keep the corner square.
- 27
Glue hood corner 4
Glue the tab flat against its neighbouring wall and keep the corner square.
- 28
Put the robe inside the hood
Keep the hood opening down. Bring the robe upright underneath it, with the flute facing out, then raise the pointed top into the hood and press it against the inside of the front wall.
- 29
Attach the robe to the hood
Glue the upper folded front of the robe to the inside of the hood wall. Keep the pointed top covered and the flute outside below the rim.
- ✓
Finish
The folded robe, sleeves, flute and square hood are joined. Let the glue dry with the hood opening facing down.
Fold next

Shirt ↗
The traditional square-sheet shirt or jacket with two downward sleeves. Folded from alternating corner blintzes with rectangular sleeves and a neat collar.
Fukusuke ↗
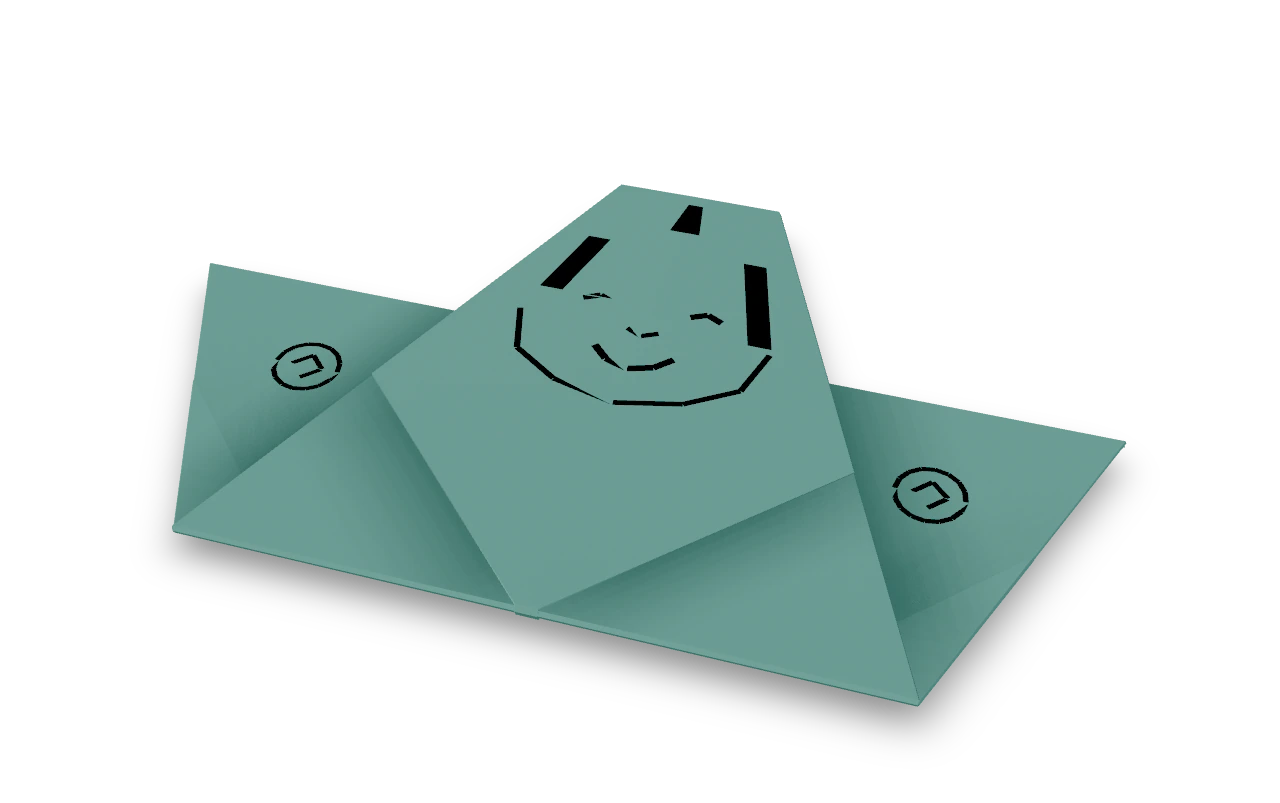
An Origami Tutor Fukusuke figure with broad robe sleeves, a seated lap and a smiling pen face, adapted from the simple blintz-and-kite folk form.

Yakko-san ↗
The traditional Japanese paper figure: a pointed head, two broad sleeves and a short lower flap, made from alternating corner folds.
Hakama trousers ↗
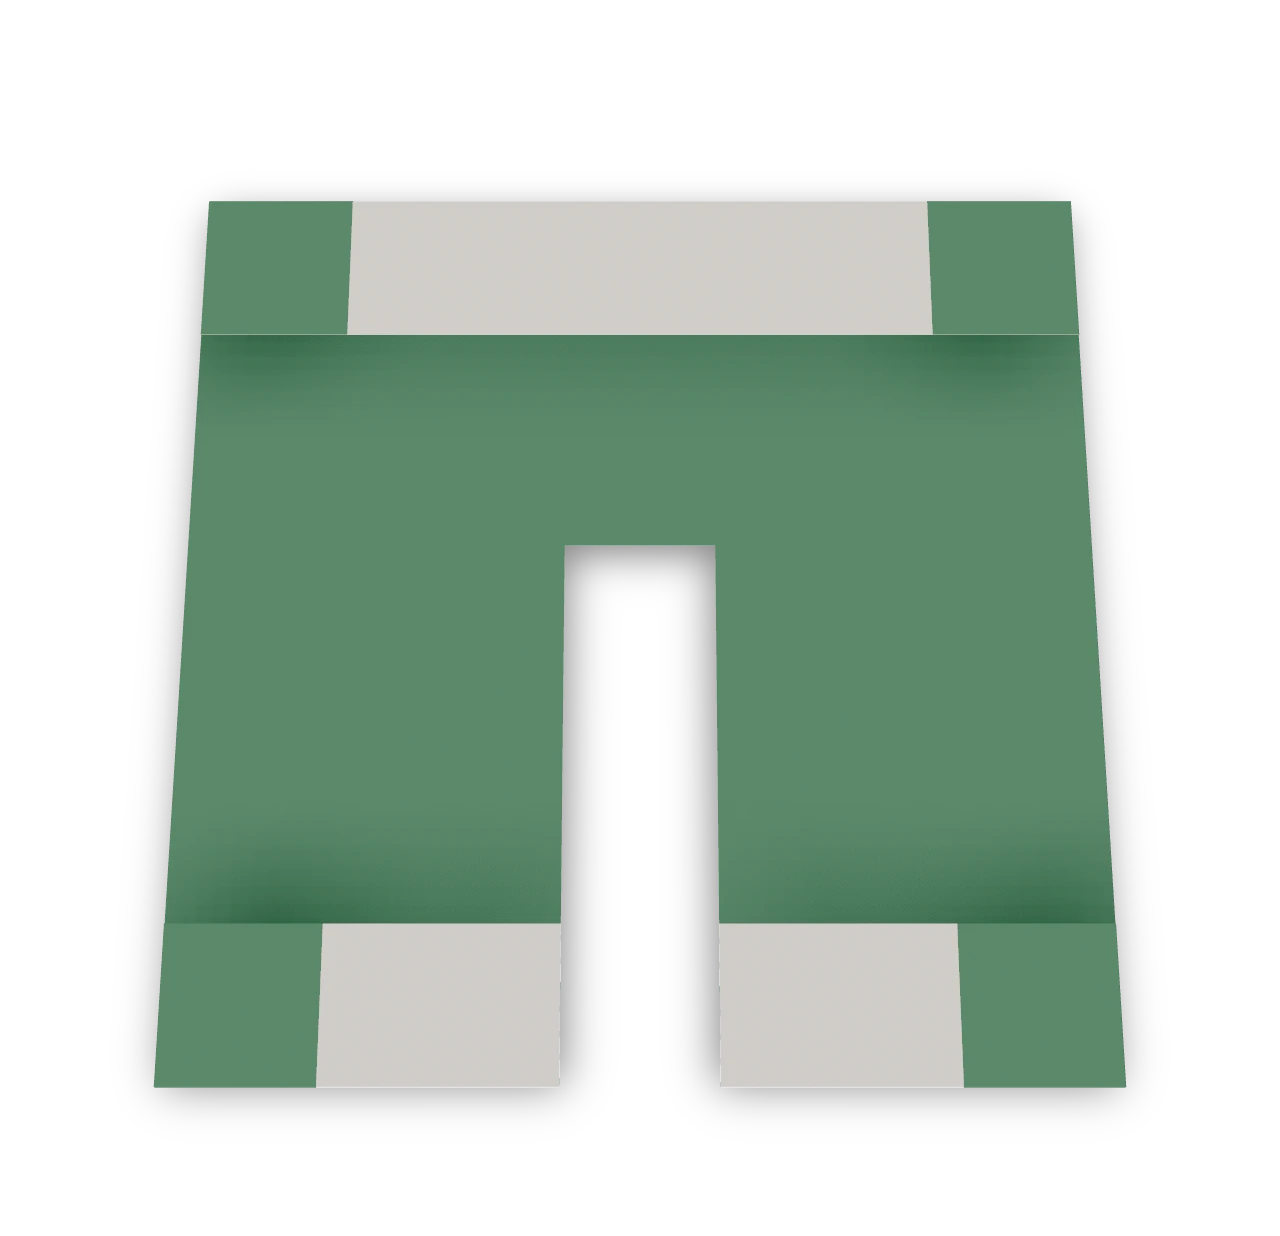
A flat pair of broad paper trousers with a folded waistband, two separate legs and turned-up cuffs. This Origami Tutor cut-and-fold design uses one square; it is our paper-doll adaptation rather than the traditional triple-blintz hakama sequence.