How to make a Yakko-san
Yakko San: try all 20 steps in the 3D player. Turn and replay every move. Print the complete diagram sheet or save it as PDF.
The traditional Japanese paper figure: a pointed head, two broad sleeves and a short lower flap, made from alternating corner folds.
- You need
- One square of thin origami paper. No glue or scissors.
- Start
- Start white side up, with an edge at the top. A larger square makes the small pockets easier to open.
- Tips
- Bring every corner exactly to the middle.
- Press each set of corner folds before turning the paper over.
Your model is ready
Your Yakko-san is ready, with a pointed head, two broad sleeves and a short lower flap. Keep the figure pressed flat. The finished Yakko-san, upright with its pointed head above its broad rectangular sleeves.


Step-by-step diagrams
Steps 1–7
- 1
Find the middle across
Fold the bottom edge to the top edge, press, and open.
- 2
Find the middle lengthwise
Fold the left edge to the right edge, press, and open.
- 3
Fold the top left corner in
Bring the top left corner to the center, where the two creases cross.
- 4
Fold the top right corner in
Bring the top right corner to the center.
- 5
Fold the bottom right corner in
Bring the bottom right corner to the center.
- 6
Fold the bottom left corner in
Bring the bottom left corner to the center.
- 7
Turn over
Turn the diamond over, keeping its top point up.
Steps 8–14
- 8
Fold the top point in again
Bring the top point to the center, taking all its layers with it.
- 9
Fold the right point in again
Bring the right point to the center, taking all its layers with it.
- 10
Fold the bottom point in again
Bring the bottom point to the center, taking all its layers with it.
- 11
Fold the left point in again
Bring the left point to the center, taking all its layers with it.
- 12
Turn over again
Turn the small square over, with an edge at the top.
- 13
Fold the top left corner in once more
Bring the top left corner to the center. This is the third set of corner folds.
- 14
Fold the top right corner in once more
Bring the top right corner to the center. This is the third set of corner folds.
Steps 15–20
- 15
Fold the bottom right corner in once more
Bring the bottom right corner to the center. This is the third set of corner folds.
- 16
Fold the bottom left corner in once more
Bring the bottom left corner to the center. This is the third set of corner folds.
- 17
Show the pockets
Turn the diamond over. Four small pockets meet around the center.
- 18
Open the left sleeve
Part the left square pocket at its middle. Draw its inner point to the left and press the corners out into a rectangle.
- 19
Open the right sleeve
Open the right square the same way. Keep the middle of the figure flat and make the sleeves match.
- 20
Open the lower flap
Open the lower square and draw its inner point down. Flatten it into a short rectangle, leaving the pointed head closed.
- ✓
Finish
Your Yakko-san is ready, with a pointed head, two broad sleeves and a short lower flap. Keep the figure pressed flat. The finished Yakko-san, upright with its pointed head above its broad rectangular sleeves.
Fold next

Hakama trousers ↗
A flat pair of broad paper trousers with a folded waistband, two separate legs and turned-up cuffs. This Origami Tutor cut-and-fold design uses one square; it is our paper-doll adaptation rather than the traditional triple-blintz hakama sequence.
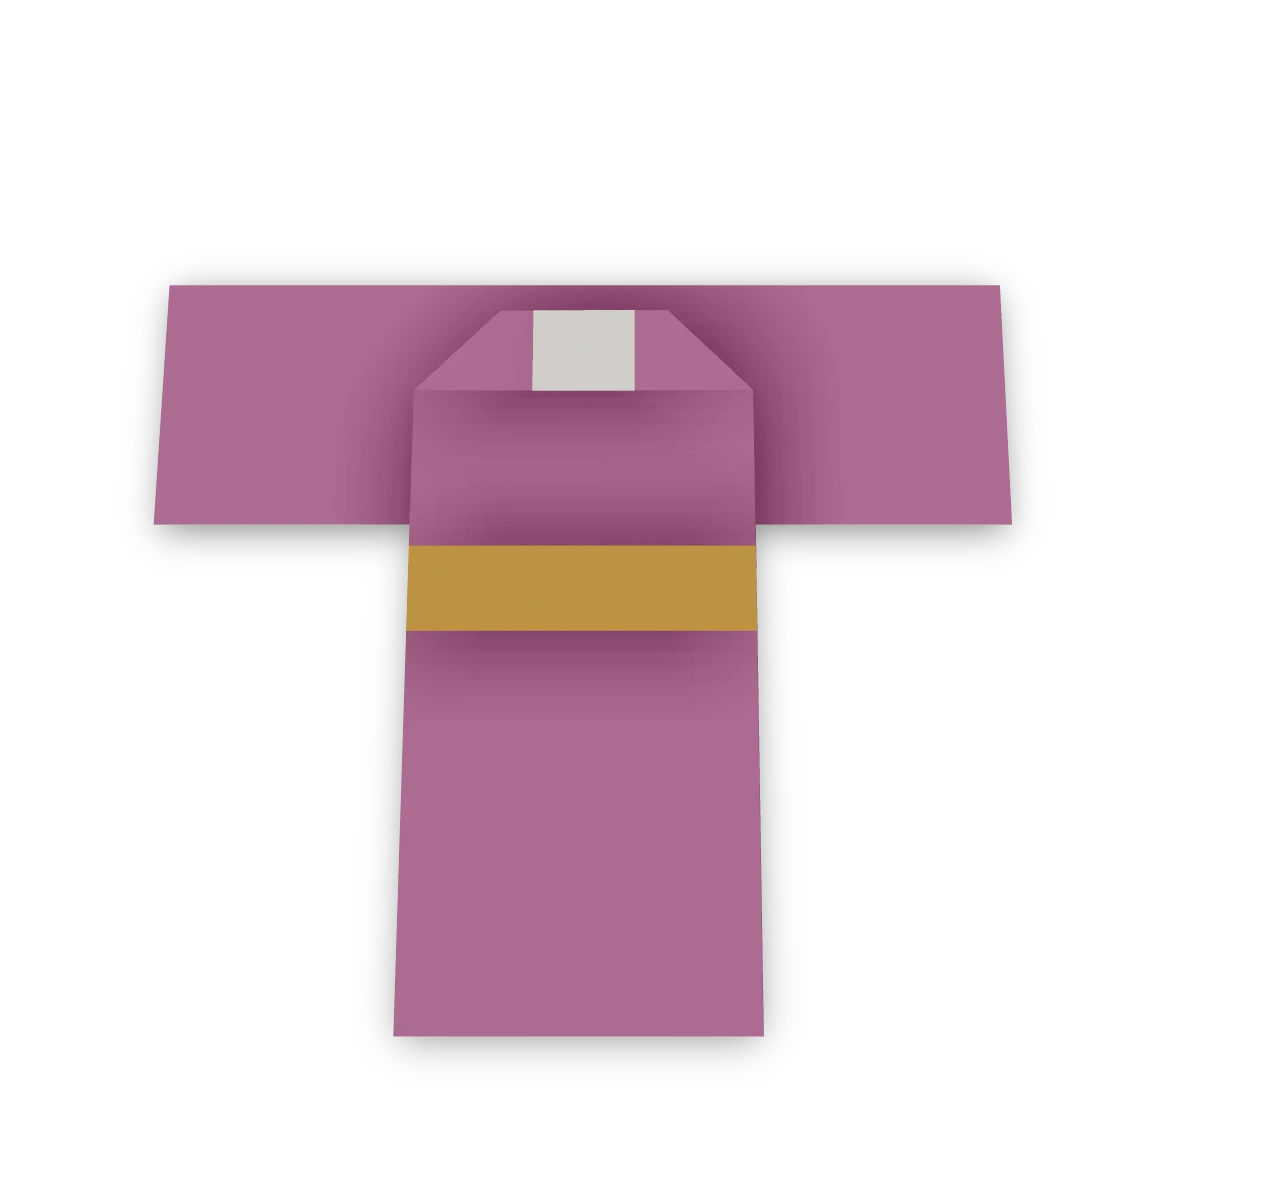
Kimono ↗
An Origami Tutor kimono ornament with wide hanging sleeves, a pale folded collar, a long robe and a contrasting obi. Fold three pieces and glue them together for a flat display.

Shirt ↗
The traditional square-sheet shirt or jacket with two downward sleeves. Folded from alternating corner blintzes with rectangular sleeves and a neat collar.
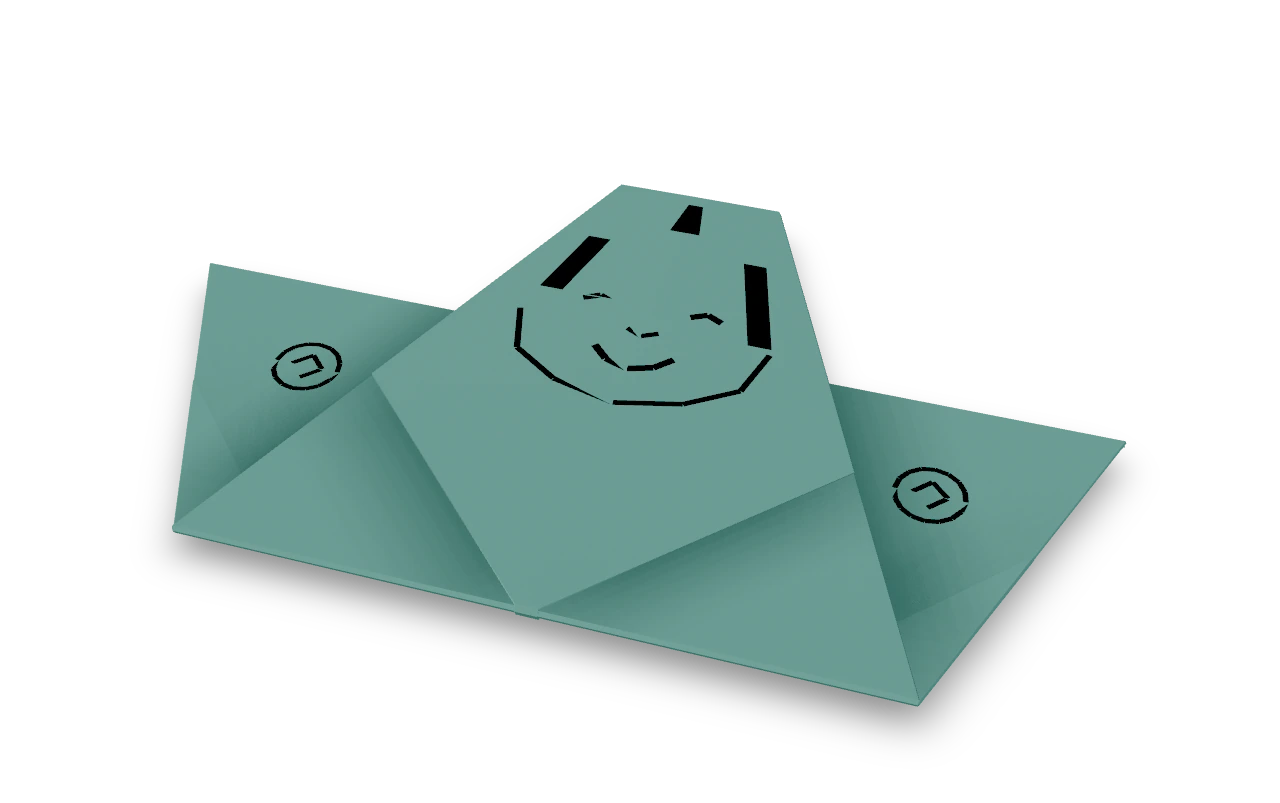
Fukusuke ↗
An Origami Tutor Fukusuke figure with broad robe sleeves, a seated lap and a smiling pen face, adapted from the simple blintz-and-kite folk form.