How to make an origami starburst
Origami Starburst: try all 40 steps in the 3D player. Turn and replay every move. Print the complete diagram sheet or save it as PDF.
An Origami Tutor starburst with ten sharp 36-degree points and a small open centre. Fold ten gold and red triangular rays, then glue their bases together in a ring.
- You need
- Ten equal squares of thin origami paper, five gold and five red, a protractor and a little paper glue. No scissors.
- Start
- Prepare ten equal squares, alternating gold and red, white side up with a corner at the top. Set them in two rows of five. Use a protractor to mark each ray's two 18-degree crease lines from its top point.
- Tips
- Mark both 18-degree lines from the top point before folding.
- Keep the bases the same distance from the centre so all ten points reach equally far.
- Use glue only where neighbouring bases overlap.
Your model is ready
Check that the ten points are evenly spaced. Glue the last base to the first at their overlap to close the ring, keeping the small centre opening clear. Let the glue dry before lifting the starburst. The finished ten-point starburst, with alternating gold and red rays around its open centre.


Step-by-step diagrams
Steps 1–7
- 1
Ray 1: fold the left side in
Make a crease 18° from the vertical middle line, running from the top point to the lower left edge. Fold the upper left edge just past the middle line, along the measured crease.
- 2
Ray 1: fold the right side in
Make the matching 18° crease on the right. Fold the right edge inward to give the ray a 36° point.
- 3
Ray 1: fold the short tail behind
Fold the bottom corner behind along the straight line between the kite's shoulders. Keep the long outer point free.
- 4
Ray 2: fold the left side in
Make a crease 18° from the vertical middle line, running from the top point to the lower left edge. Fold the upper left edge just past the middle line, along the measured crease.
- 5
Ray 2: fold the right side in
Make the matching 18° crease on the right. Fold the right edge inward to give the ray a 36° point.
- 6
Ray 2: fold the short tail behind
Fold the bottom corner behind along the straight line between the kite's shoulders. Keep the long outer point free.
- 7
Ray 3: fold the left side in
Make a crease 18° from the vertical middle line, running from the top point to the lower left edge. Fold the upper left edge just past the middle line, along the measured crease.
Steps 8–14
- 8
Ray 3: fold the right side in
Make the matching 18° crease on the right. Fold the right edge inward to give the ray a 36° point.
- 9
Ray 3: fold the short tail behind
Fold the bottom corner behind along the straight line between the kite's shoulders. Keep the long outer point free.
- 10
Ray 4: fold the left side in
Make a crease 18° from the vertical middle line, running from the top point to the lower left edge. Fold the upper left edge just past the middle line, along the measured crease.
- 11
Ray 4: fold the right side in
Make the matching 18° crease on the right. Fold the right edge inward to give the ray a 36° point.
- 12
Ray 4: fold the short tail behind
Fold the bottom corner behind along the straight line between the kite's shoulders. Keep the long outer point free.
- 13
Ray 5: fold the left side in
Make a crease 18° from the vertical middle line, running from the top point to the lower left edge. Fold the upper left edge just past the middle line, along the measured crease.
- 14
Ray 5: fold the right side in
Make the matching 18° crease on the right. Fold the right edge inward to give the ray a 36° point.
Steps 15–21
- 15
Ray 5: fold the short tail behind
Fold the bottom corner behind along the straight line between the kite's shoulders. Keep the long outer point free.
- 16
Ray 6: fold the left side in
Make a crease 18° from the vertical middle line, running from the top point to the lower left edge. Fold the upper left edge just past the middle line, along the measured crease.
- 17
Ray 6: fold the right side in
Make the matching 18° crease on the right. Fold the right edge inward to give the ray a 36° point.
- 18
Ray 6: fold the short tail behind
Fold the bottom corner behind along the straight line between the kite's shoulders. Keep the long outer point free.
- 19
Ray 7: fold the left side in
Make a crease 18° from the vertical middle line, running from the top point to the lower left edge. Fold the upper left edge just past the middle line, along the measured crease.
- 20
Ray 7: fold the right side in
Make the matching 18° crease on the right. Fold the right edge inward to give the ray a 36° point.
- 21
Ray 7: fold the short tail behind
Fold the bottom corner behind along the straight line between the kite's shoulders. Keep the long outer point free.
Steps 22–28
- 22
Ray 8: fold the left side in
Make a crease 18° from the vertical middle line, running from the top point to the lower left edge. Fold the upper left edge just past the middle line, along the measured crease.
- 23
Ray 8: fold the right side in
Make the matching 18° crease on the right. Fold the right edge inward to give the ray a 36° point.
- 24
Ray 8: fold the short tail behind
Fold the bottom corner behind along the straight line between the kite's shoulders. Keep the long outer point free.
- 25
Ray 9: fold the left side in
Make a crease 18° from the vertical middle line, running from the top point to the lower left edge. Fold the upper left edge just past the middle line, along the measured crease.
- 26
Ray 9: fold the right side in
Make the matching 18° crease on the right. Fold the right edge inward to give the ray a 36° point.
- 27
Ray 9: fold the short tail behind
Fold the bottom corner behind along the straight line between the kite's shoulders. Keep the long outer point free.
- 28
Ray 10: fold the left side in
Make a crease 18° from the vertical middle line, running from the top point to the lower left edge. Fold the upper left edge just past the middle line, along the measured crease.
Steps 29–35
- 29
Ray 10: fold the right side in
Make the matching 18° crease on the right. Fold the right edge inward to give the ray a 36° point.
- 30
Ray 10: fold the short tail behind
Fold the bottom corner behind along the straight line between the kite's shoulders. Keep the long outer point free.
- 31
Place the first ray
Place the first ray with its sharp point up. Its straight base will border the small centre opening.
- 32
Add ray 2
Turn the next ray 36° farther round. Overlap its base with the last ray, leaving the same small opening at the centre. Glue only the overlap; keep the outer point free.
- 33
Add ray 3
Turn the next ray 36° farther round. Overlap its base with the last ray, leaving the same small opening at the centre. Glue only the overlap; keep the outer point free.
- 34
Add ray 4
Turn the next ray 36° farther round. Overlap its base with the last ray, leaving the same small opening at the centre. Glue only the overlap; keep the outer point free.
- 35
Add ray 5
Turn the next ray 36° farther round. Overlap its base with the last ray, leaving the same small opening at the centre. Glue only the overlap; keep the outer point free.
Steps 36–40
- 36
Add ray 6
Turn the next ray 36° farther round. Overlap its base with the last ray, leaving the same small opening at the centre. Glue only the overlap; keep the outer point free.
- 37
Add ray 7
Turn the next ray 36° farther round. Overlap its base with the last ray, leaving the same small opening at the centre. Glue only the overlap; keep the outer point free.
- 38
Add ray 8
Turn the next ray 36° farther round. Overlap its base with the last ray, leaving the same small opening at the centre. Glue only the overlap; keep the outer point free.
- 39
Add ray 9
Turn the next ray 36° farther round. Overlap its base with the last ray, leaving the same small opening at the centre. Glue only the overlap; keep the outer point free.
- 40
Add ray 10
Turn the next ray 36° farther round. Overlap its base with the last ray, leaving the same small opening at the centre. Glue only the overlap; keep the outer point free.
- ✓
Finish
Check that the ten points are evenly spaced. Glue the last base to the first at their overlap to close the ring, keeping the small centre opening clear. Let the glue dry before lifting the starburst. The finished ten-point starburst, with alternating gold and red rays around its open centre.
Fold next
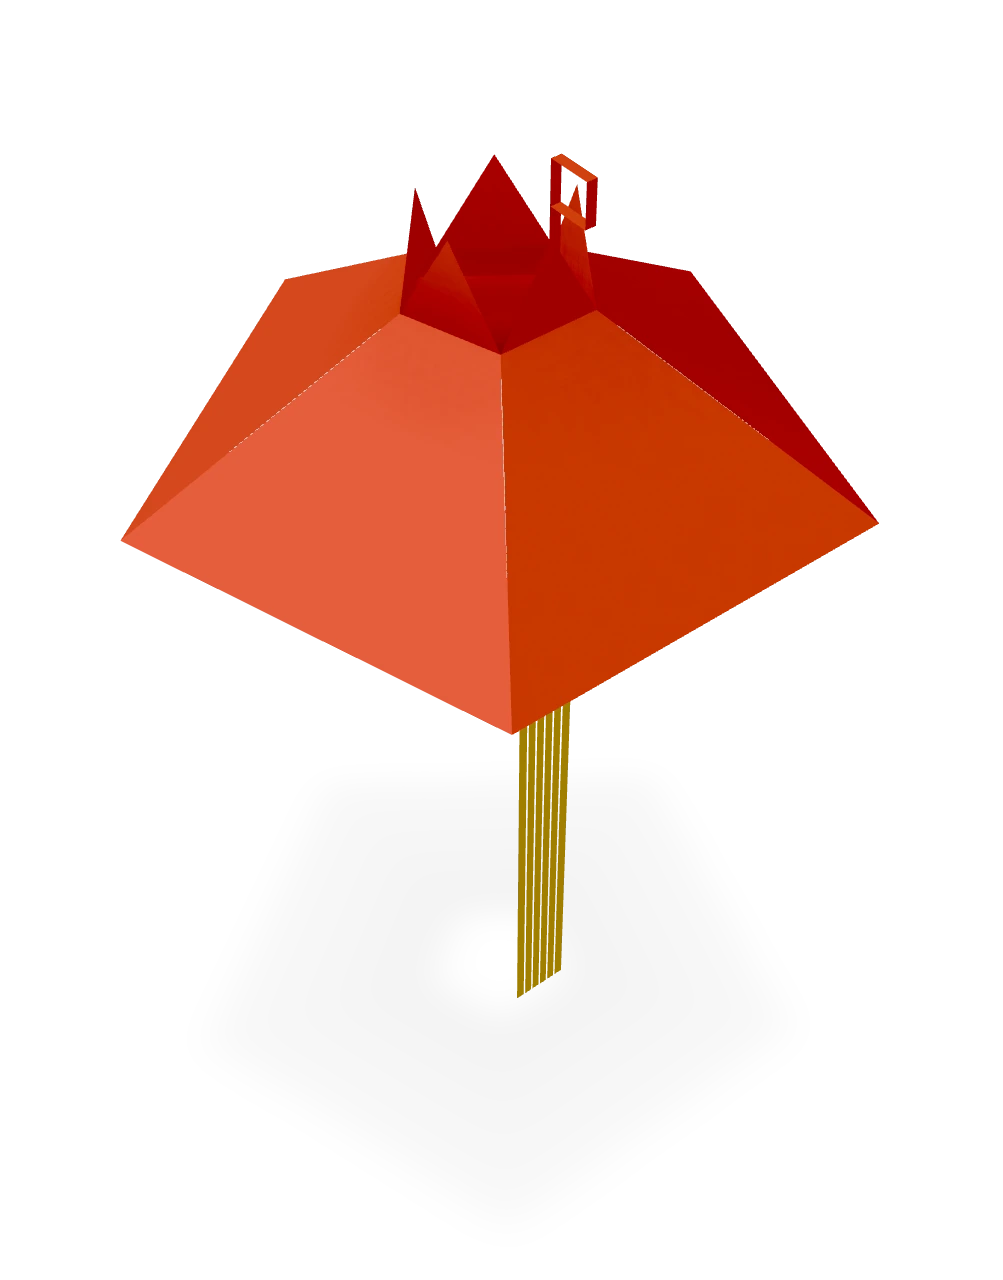
Red-envelope lantern ↗
An Origami Tutor cut-paper lantern with five red panels, open ends, a hanging loop and a gold paper tassel.

Eight-point modular star ↗
An Origami Tutor modular star with eight equal sharp points, alternating blue and white around a small open centre. Fold each square into a triangular ray in three folds, then glue the overlapping bases into a ring.
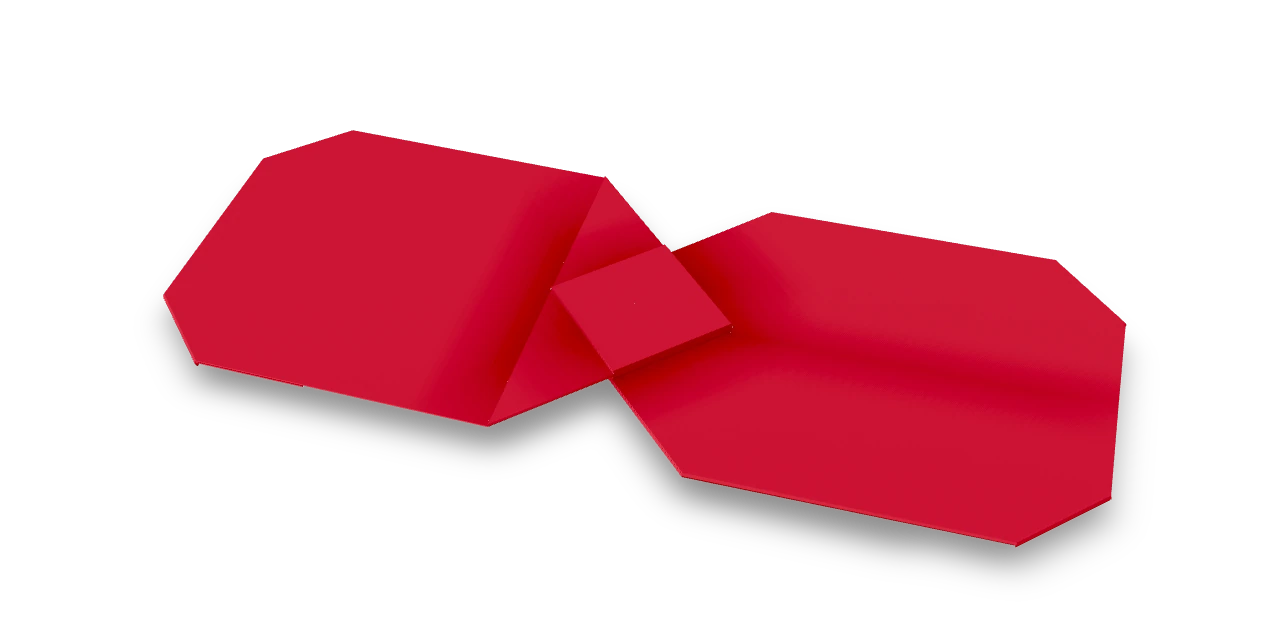
Bow ↗
Fold a bow with two flared wings and a small square centre from one paper rectangle. The tucked inner corners form the knot without glue or scissors. Use it as a flat decoration for a card or present.
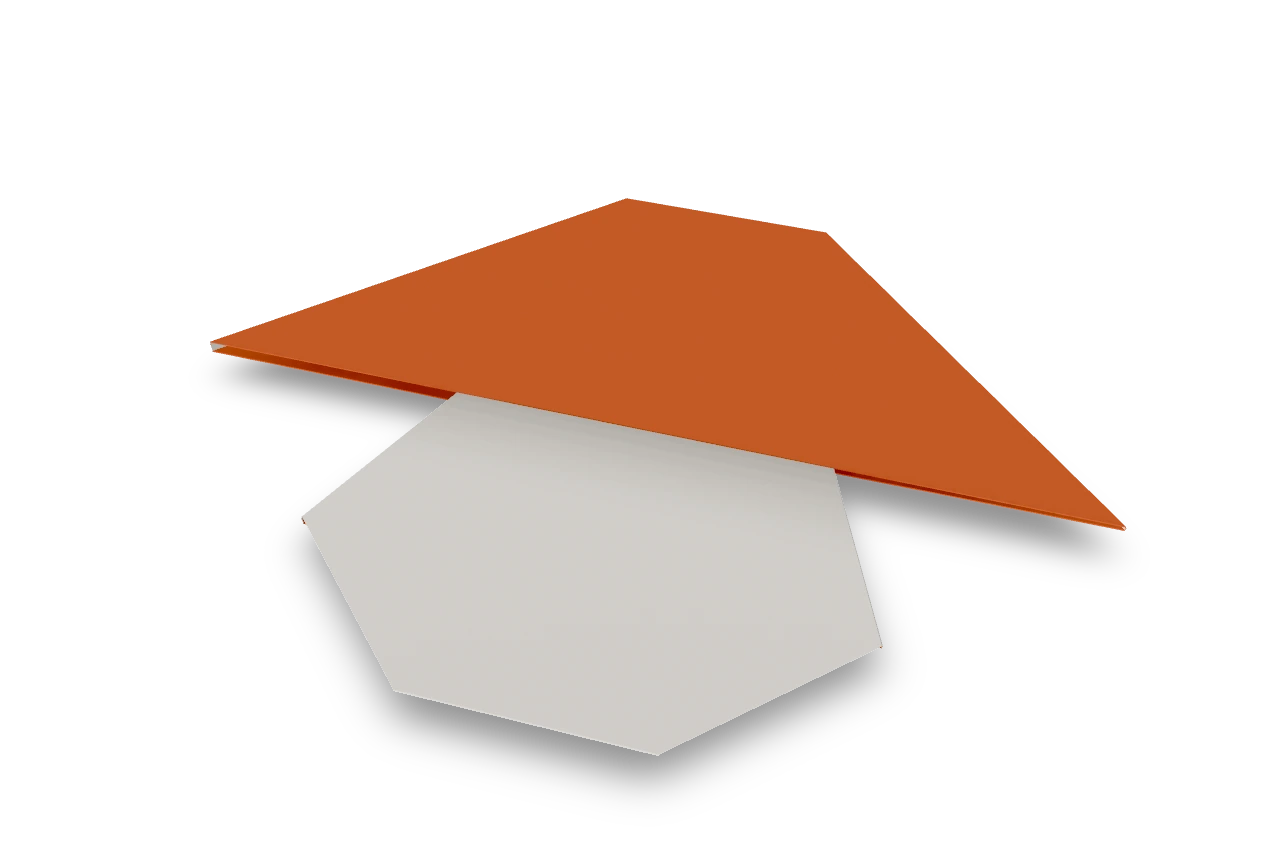
Mushroom ↗
Fold one square into a flat mushroom with a broad coloured cap and a short white stem. Opening two little joined pockets narrows the upper stem while leaving its base flared. Small folds flatten the cap top and stem base. No cutting, glue or drawn details.