How to make an origami piggy
Origami Piggy: try all 18 steps in the 3D player. Turn and replay every move. Print the complete diagram sheet or save it as PDF.
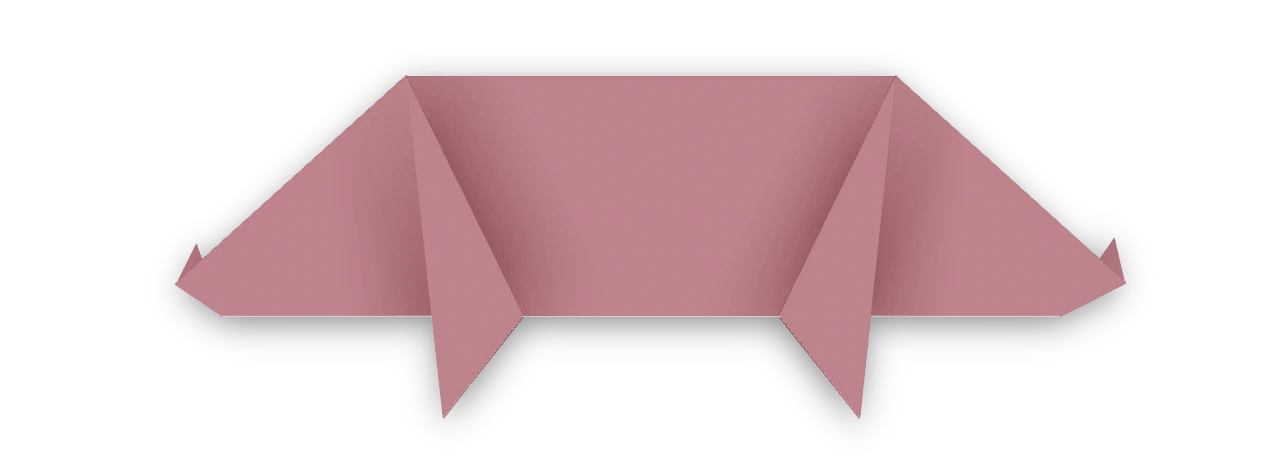
The traditional kindergarten pig, recorded in 1863. It stands on four pointed feet, with a raised tail and a short snout.
- You need
- One square of thin origami paper and a pen for the eye. No glue or scissors.
- Start
- Start white side up, with an edge at the top. The folded body will show the colored side.
- Tips
- Press the four corner pockets flat before folding the body.
- Keep the leg angles alike so the feet reach the same height.
Your model is ready
Your pig is folded. Spread its sides a little so all four feet stand apart, then draw a small eye above the snout if you like.

Step-by-step diagrams
Steps 1–7
- 1
Mark the middle
Fold the top edge down to the bottom edge, press, and open.
- 2
Fold the top edge in
Fold the top edge down to the middle crease.
- 3
Fold the bottom edge in
Fold the bottom edge up to meet it, making a long rectangle.
- 4
Mark the left end
Fold the left end to the middle of the rectangle, press, and open.
- 5
Mark the right end
Fold the right end to the middle the same way, press, and open.
- 6
Flatten the upper left pocket
Open the upper left corner pocket. Swing its outer flap inward along the end crease and press the folded edge flat, making two triangular halves.
- 7
Flatten the upper right pocket
Open the upper right corner pocket. Swing its outer flap inward along the end crease and press the folded edge flat, making two triangular halves.
Steps 8–14
- 8
Flatten the lower left pocket
Open the lower left corner pocket. Swing its outer flap inward along the end crease and press the folded edge flat, making two triangular halves.
- 9
Flatten the lower right pocket
Open the lower right corner pocket. Swing its outer flap inward along the end crease and press the folded edge flat, making two triangular halves.
- 10
Close the body
Fold the lower half behind the upper half along the middle crease, leaving the triangular flaps outside.
- 11
Lower the left leg (front)
Fold the front left triangular flap down along the slanted line. Its point reaches below the body.
- 12
Lower the right leg (front)
Fold the front right triangular flap down to match it.
- 13
Turn over
Turn the pig over to reach the other two leg flaps.
- 14
Lower the left leg (back)
Fold the front left triangular flap down along the slanted line. Its point reaches below the body.
Steps 15–18
- 15
Lower the right leg (back)
Fold the front right triangular flap down to match it.
- 16
Turn back
Turn back so the snout will be at the left and the tail at the right.
- 17
Raise the tail
Open the two sides slightly at the right end. Reverse the small tail point upward between them and press the body closed again.
- 18
Shorten the snout
Push the left tip inward between the two body sides along the short slanted crease. Press the small blunt snout flat.
- ✓
Finish
Your pig is folded. Spread its sides a little so all four feet stand apart, then draw a small eye above the snout if you like.
Fold next
Crane ↗
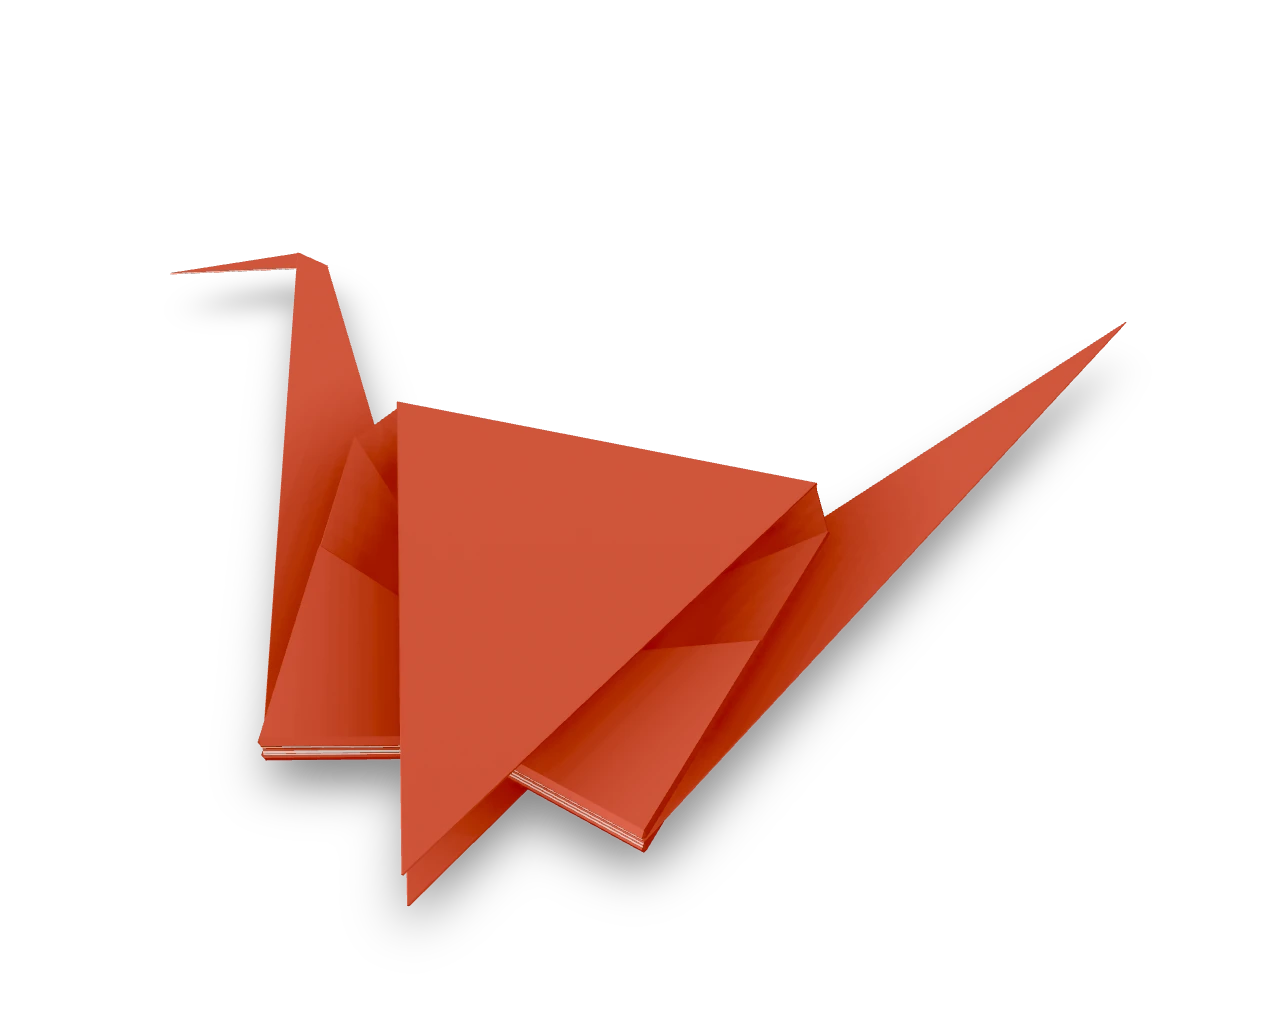
The crane begins with a square base. Two petal folds turn it into a bird base with separate points for the neck and tail; the broad flaps become the wings. Work through one side of the body before repeating the narrowing folds on the back.
Swan ↗
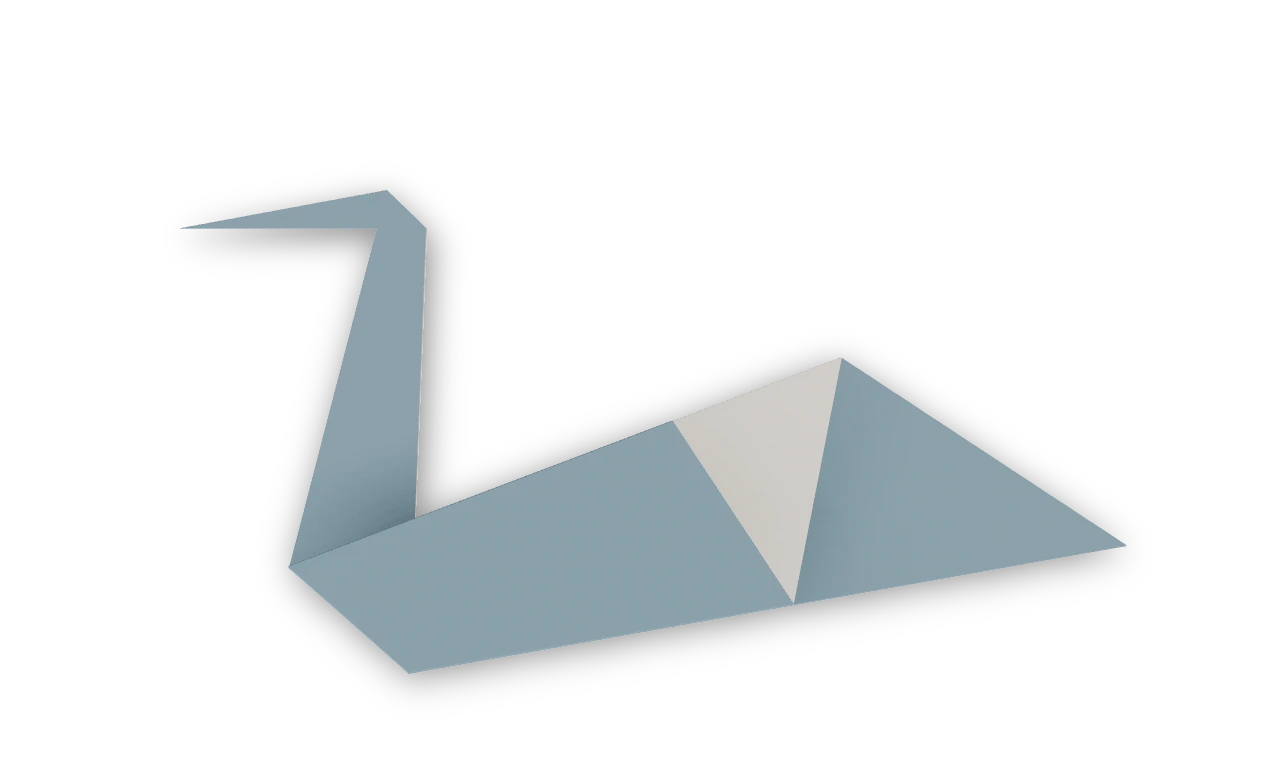
The traditional kite-base swan, with a pointed tail, a long neck and a small head.
Japanese rabbit ↗
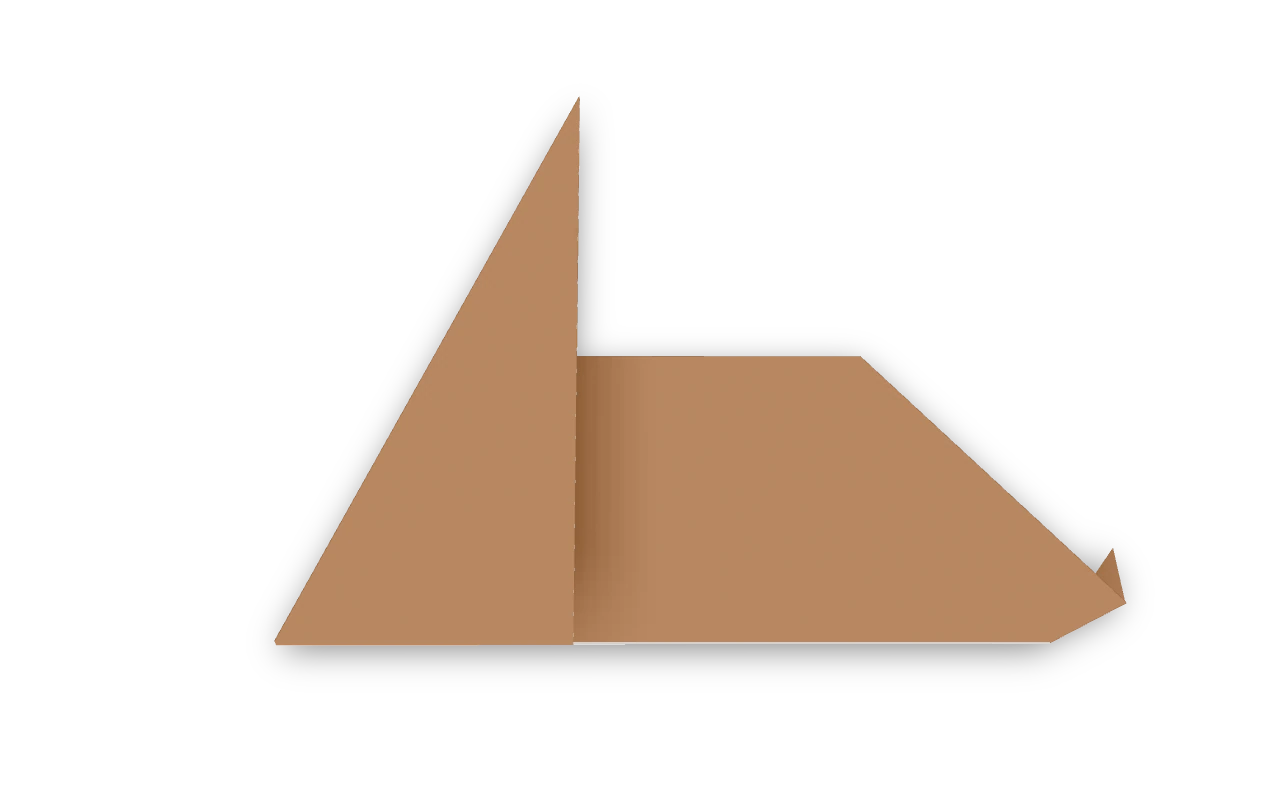
The cupboard-base Japanese rabbit recorded in 1935, with long ears and a small turned-up tail. Fold its broad head, narrow ears, body and reversed tail.
Squid ↗
An Origami Tutor fold-and-slit squid with a long pointed mantle, eight shorter arms and two long tentacles. Fold and cut one tall rectangle, then spread the free strips below its body.