How to make an origami rabbit (Japanese design)
Origami Rabbit (Japanese Design): try all 13 steps in the 3D player. Turn and replay every move. Print the complete diagram sheet or save it as PDF.
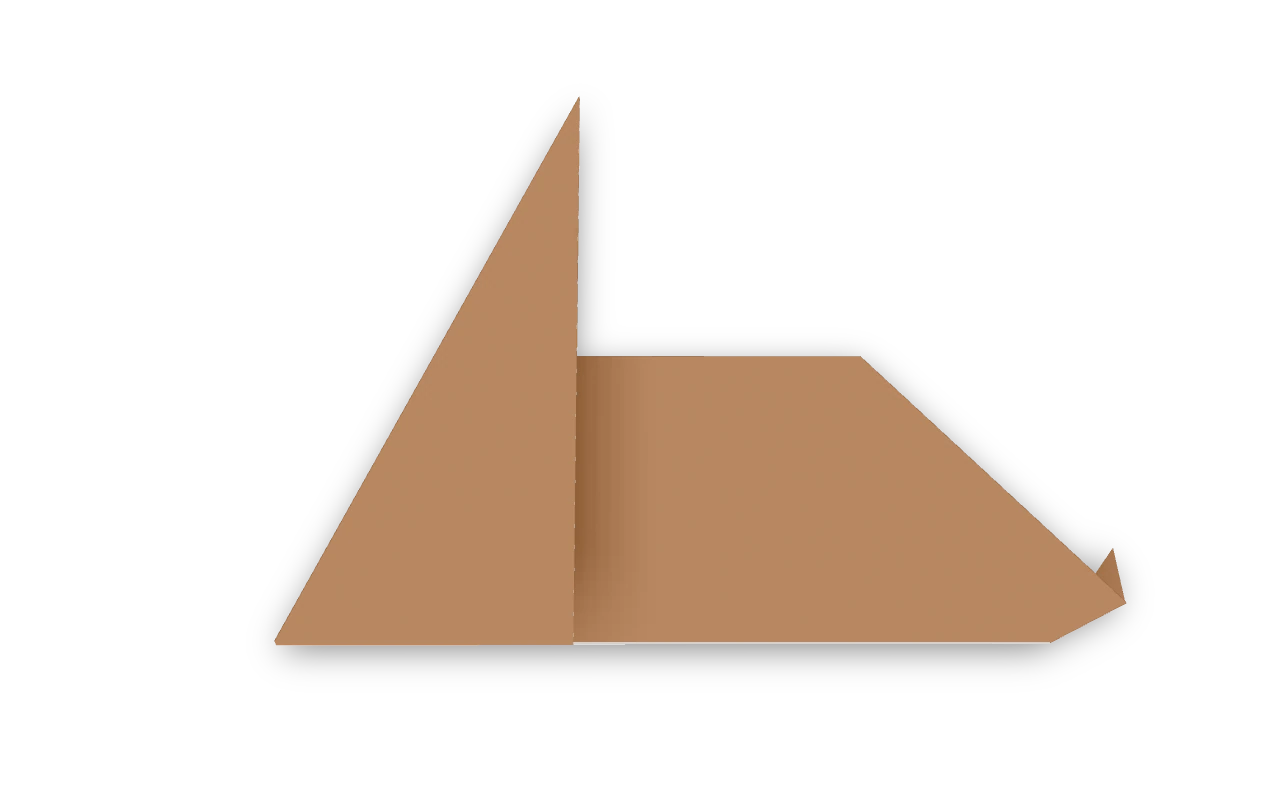
The cupboard-base Japanese rabbit recorded in 1935, with long ears and a small turned-up tail. Fold its broad head, narrow ears, body and reversed tail.
- You need
- One square of thin origami paper. No glue or scissors.
- Start
- Start white side up, with an edge at the top. The folded rabbit will show the colored side.
- Tips
- Match both edges to the middle crease.
- Use thin paper so the folded ears will be easy to shape.
Your model is ready
Your rabbit is ready. Part the two body halves slightly if you want it to stand, keeping the ears together.

Step-by-step diagrams
Steps 1–7
- 1
Mark the middle
Fold the left edge to the right edge, press, and open.
- 2
Fold the left edge in
Fold the left edge to the middle crease.
- 3
Fold the right edge in
Fold the right edge in to meet it, making a tall rectangle.
- 4
Mark the head's root
Fold the top edge down to the middle of the tall rectangle, press, and open.
- 5
Spread the upper end
Draw the two corners inside the upper end sideways. Lower their shared rear panel along the end guide and press both pockets into one broad trapezoid. Keep the middle of the strip flat.
- 6
Turn the head over
Turn the broad head over, keeping the long body below it.
- 7
Narrow the left ear
Fold the left shoulder down along the line from the middle of the top edge to the left point.
Steps 8–13
- 8
Narrow the right ear
Fold the right shoulder down along the matching line to the right point.
- 9
Shape the lower left corner
Fold the lower left corner up to the middle of the body, making a sloping edge below it.
- 10
Shape the lower right corner
Fold the lower right corner in to meet the first one.
- 11
Close the body
Fold the left half over the right along the long middle crease.
- 12
Turn up the tail
Open the pointed rear end a little. Push its tip inward along the short diagonal, bringing the small tail up, and press the body shut again.
- 13
Turn the rabbit upright
Turn the rabbit a quarter turn to the left, so its ears point up and its tail is at the back.
- ✓
Finish
Your rabbit is ready. Part the two body halves slightly if you want it to stand, keeping the ears together.
Fold next
Rabbit face ↗
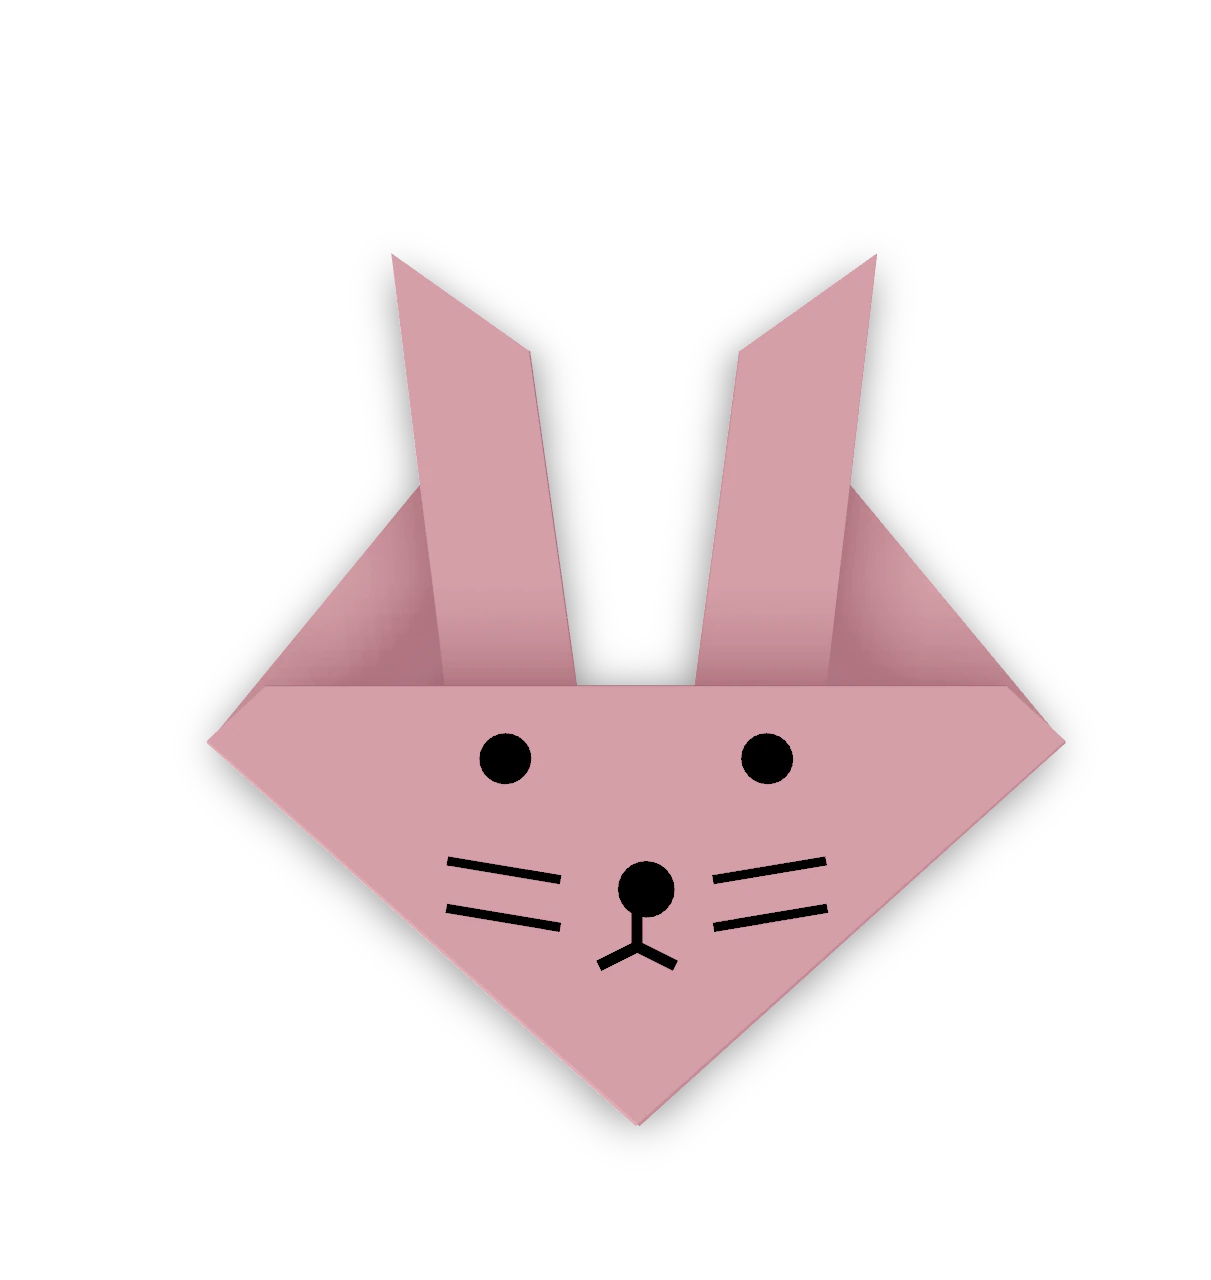
An Origami Tutor bunny face with two tall ears, folded from one square in five easy folds. A thin band along the bottom edge turns into the ears.
Easter bunny ↗
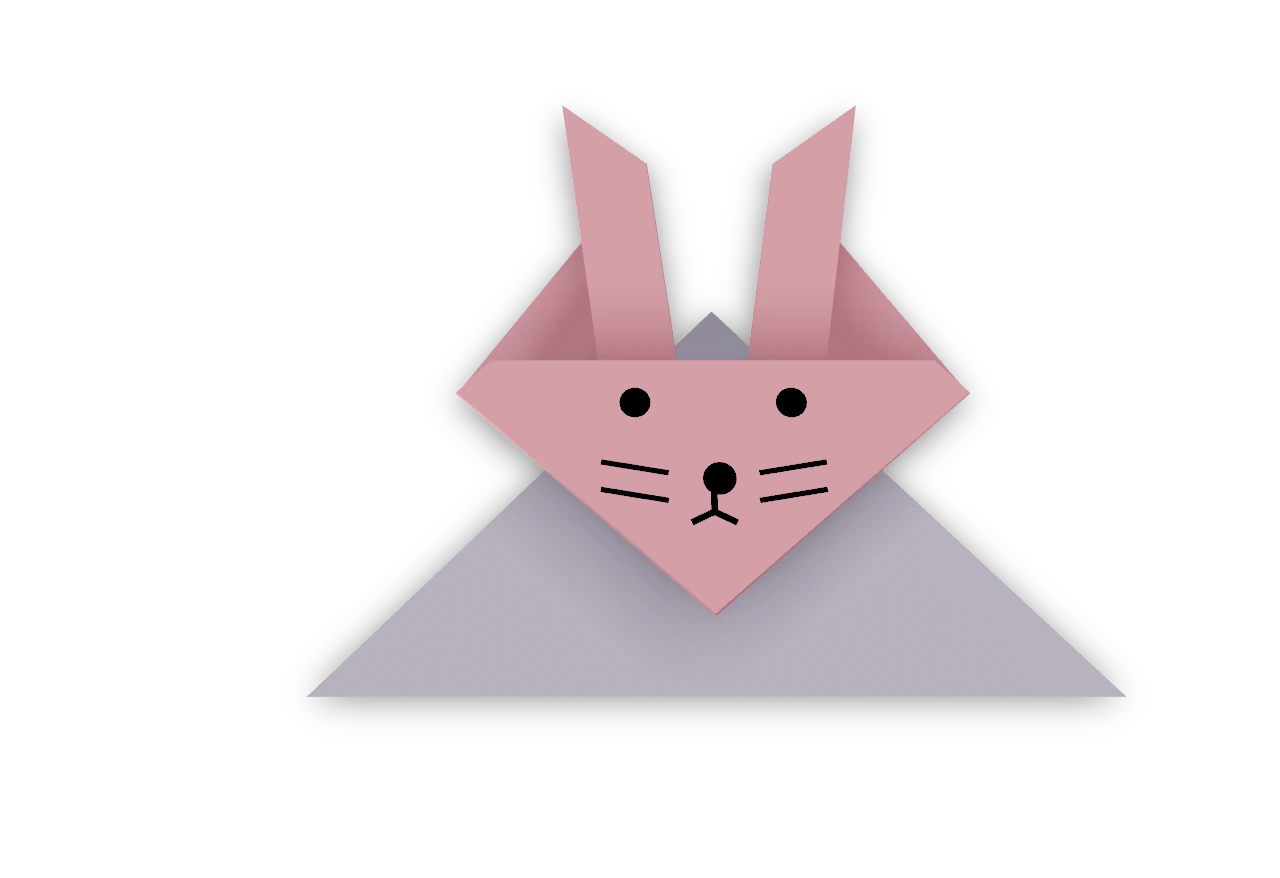
An Origami Tutor Easter bunny sitting up: a rabbit face with two tall ears on a triangle body, from two squares and a dab of glue.
Chick ↗
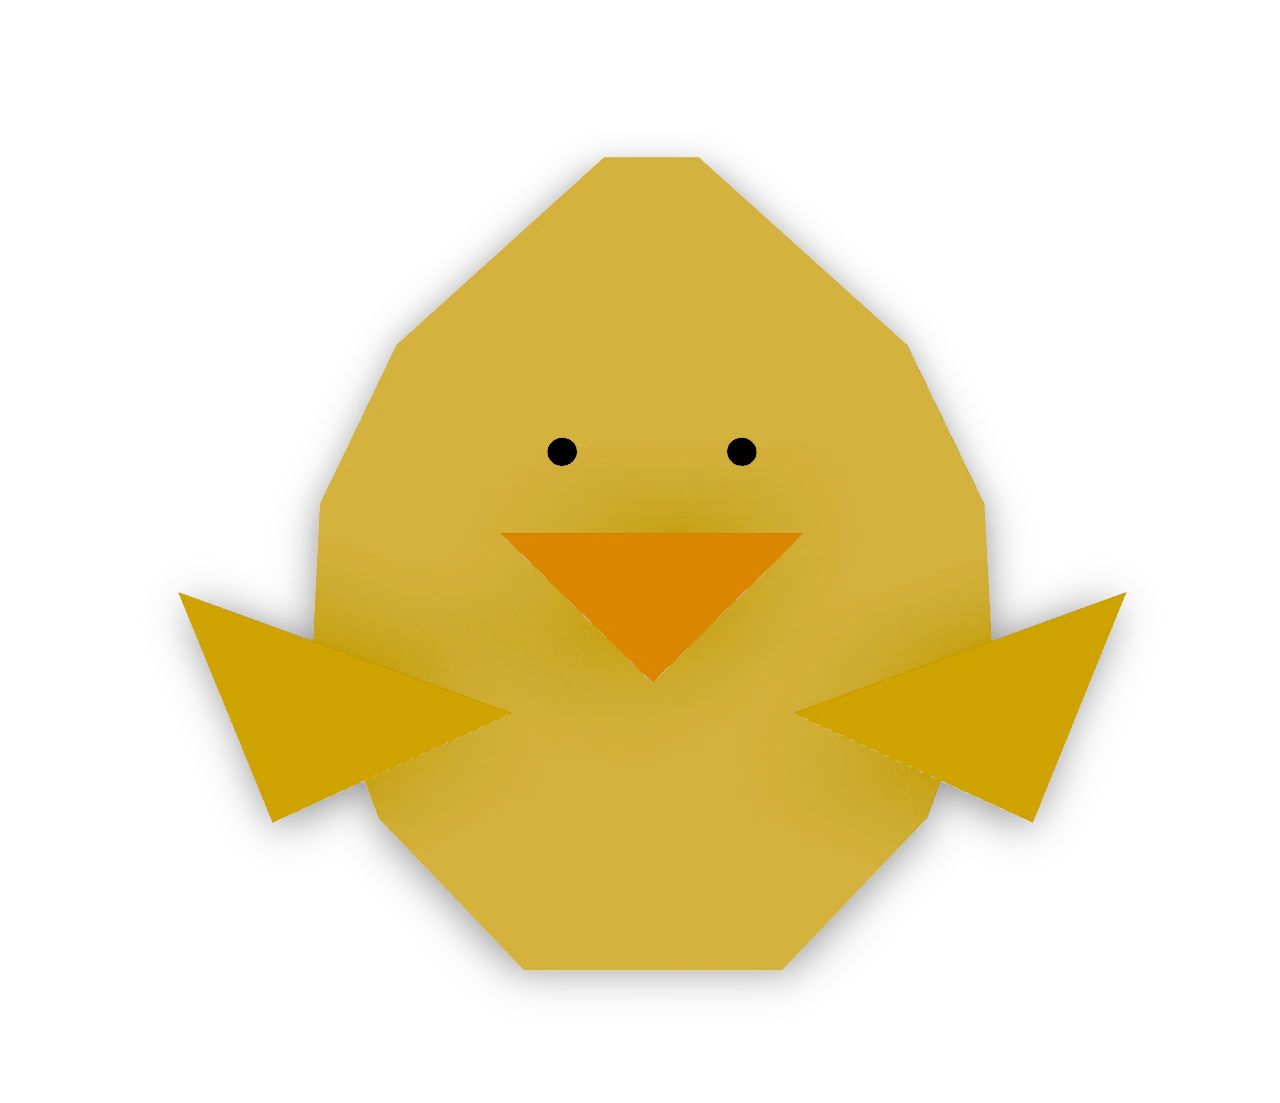
An Origami Tutor Easter chick in four pieces: a round yellow body folded from a square, a small orange beak and two little wings, each folded in half to a triangle. A few dabs of glue hold them on.
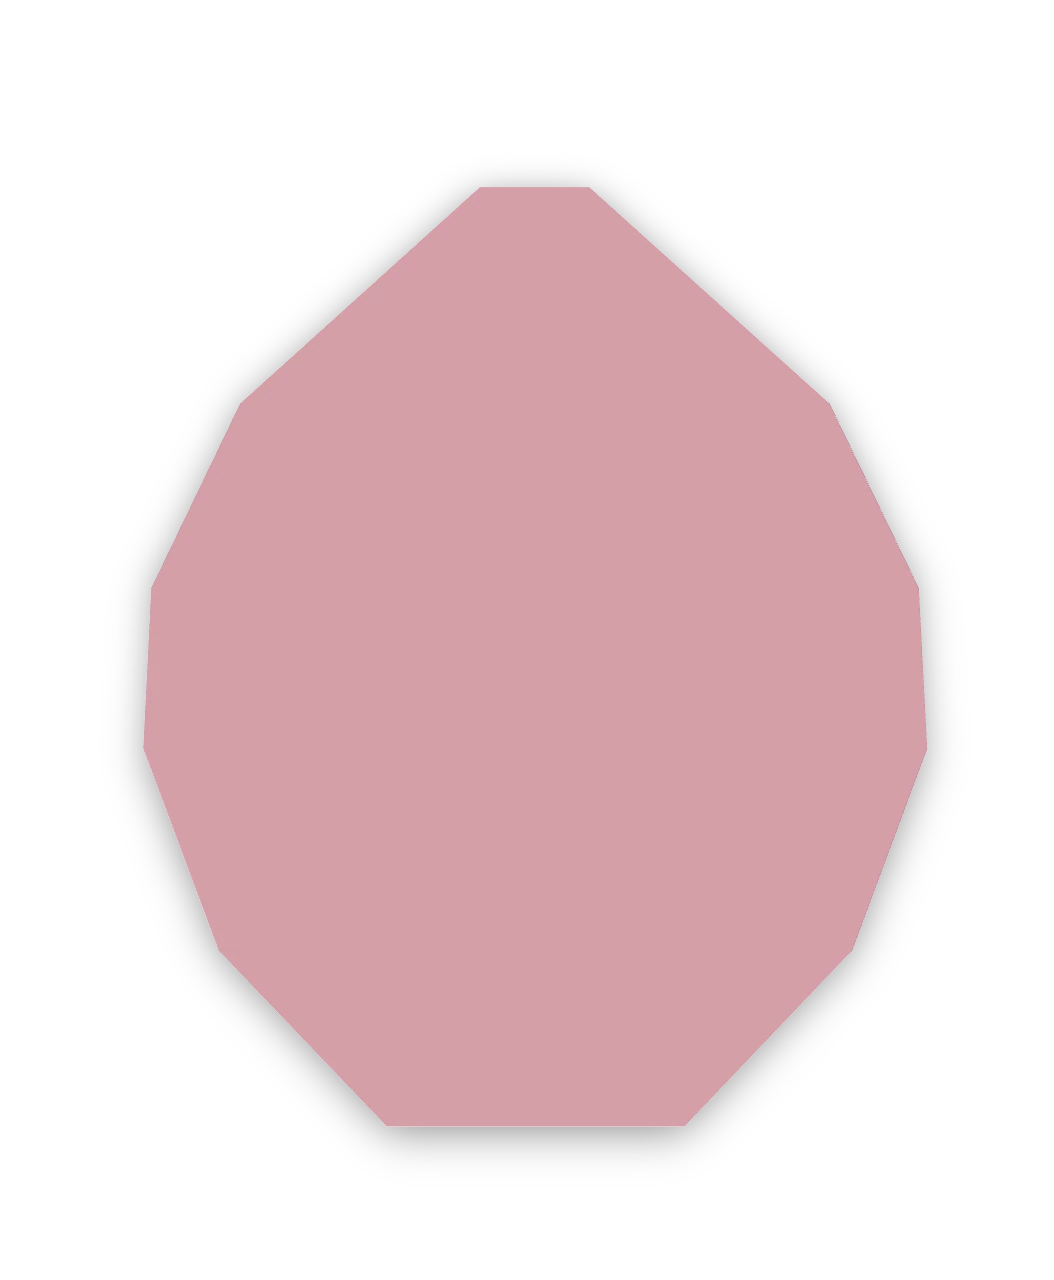
Easter egg ↗
An Origami Tutor flat Easter egg from one square: the points and corners of a diamond fold behind it to round it into an egg, ready to decorate with stripes, dots and zigzags.