How to make an origami Easter bunny
Origami Easter Bunny: try all 8 steps in the 3D player. Turn and replay every move. Print the complete diagram sheet or save it as PDF.
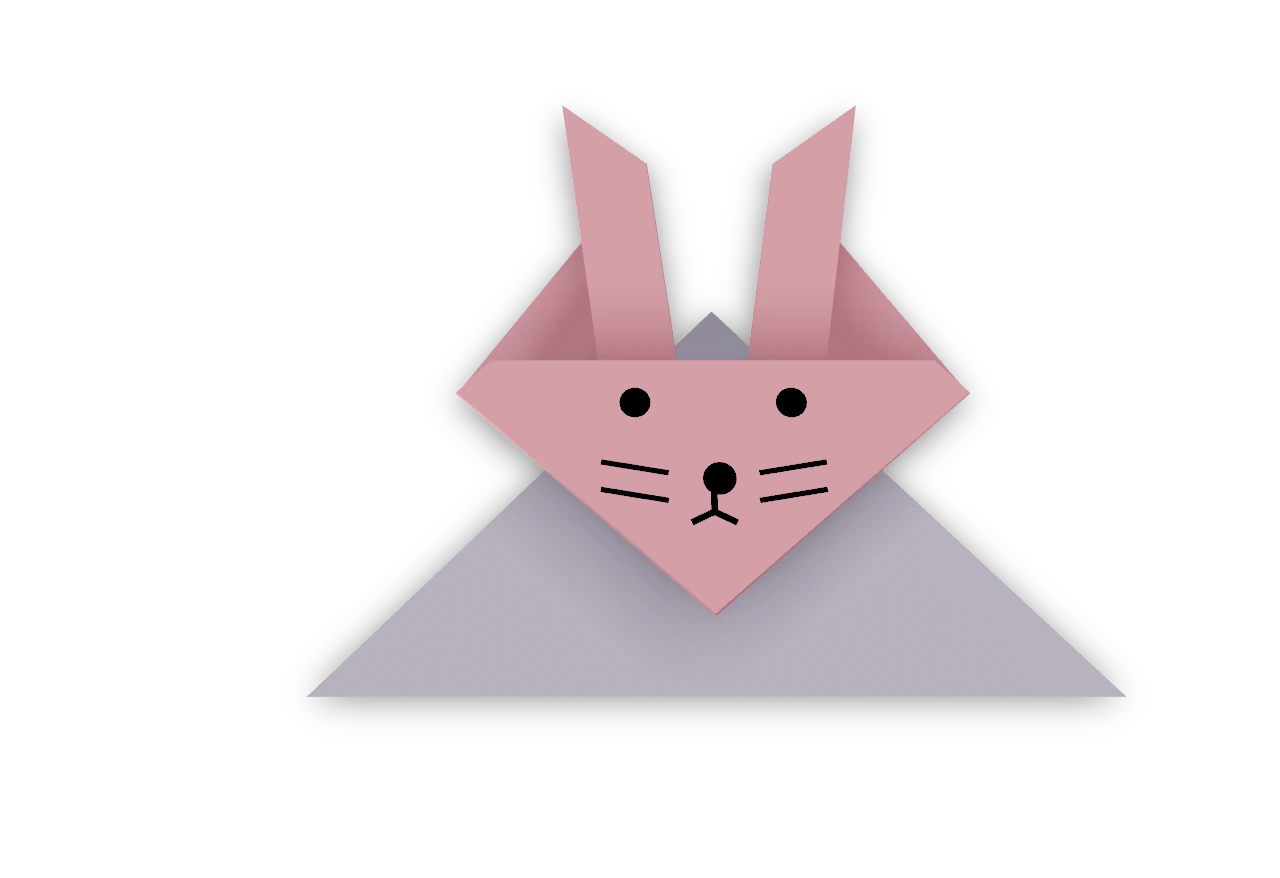
An Origami Tutor Easter bunny sitting up: a rabbit face with two tall ears on a triangle body, from two squares and a dab of glue.
- You need
- One 6 × 6 in and one 4.2 × 4.2 in square of origami paper, a little glue and a pen.
- Start
- Use a 6 in square for the head and a smaller square, seven tenths as wide, for the body. Pink, white or gray paper makes a good bunny. Start both white side up, with a corner pointing up.
- Tips
- Fold the ears at the same angle so the bunny stands up straight.
- Make a family of bunnies from different sizes of square.
Draw the bunny’s face
Glue the head in place. Draw two dot eyes, a little nose, a smile and short whiskers on the smooth face. The finished Easter bunny, sitting with its two tall ears above its face.

Step-by-step diagrams
- 1
Fold the head in half
Fold the bottom corner up to the top corner.
- 2
Fold up a thin band
Fold the long bottom edge up a little, about as wide as your finger. This band will make the ears.
- 3
Fold the top down
Fold the top point down so it almost touches the band.
- 4
Raise the left ear
Fold the left corner up so the band stands up beside the middle as a tall ear. Let it lean out a little.
- 5
Raise the right ear
Fold the right corner up the same way, so the two ears make a narrow V.
- 6
Turn over
Turn the bunny over. Its smooth face is in front, with the ears standing up behind it.
- 7
Fold the body in half
Take the smaller square. Fold the bottom corner up to the top corner to make a triangle pointing up.
- 8
Put the head on the body
Set the bunny's face on the body so its chin covers the body's top point, with the two ears standing up above.
- ✓
Finish
Glue the head in place. Draw two dot eyes, a little nose, a smile and short whiskers on the smooth face. The finished Easter bunny, sitting with its two tall ears above its face.
Fold next
Rabbit face ↗
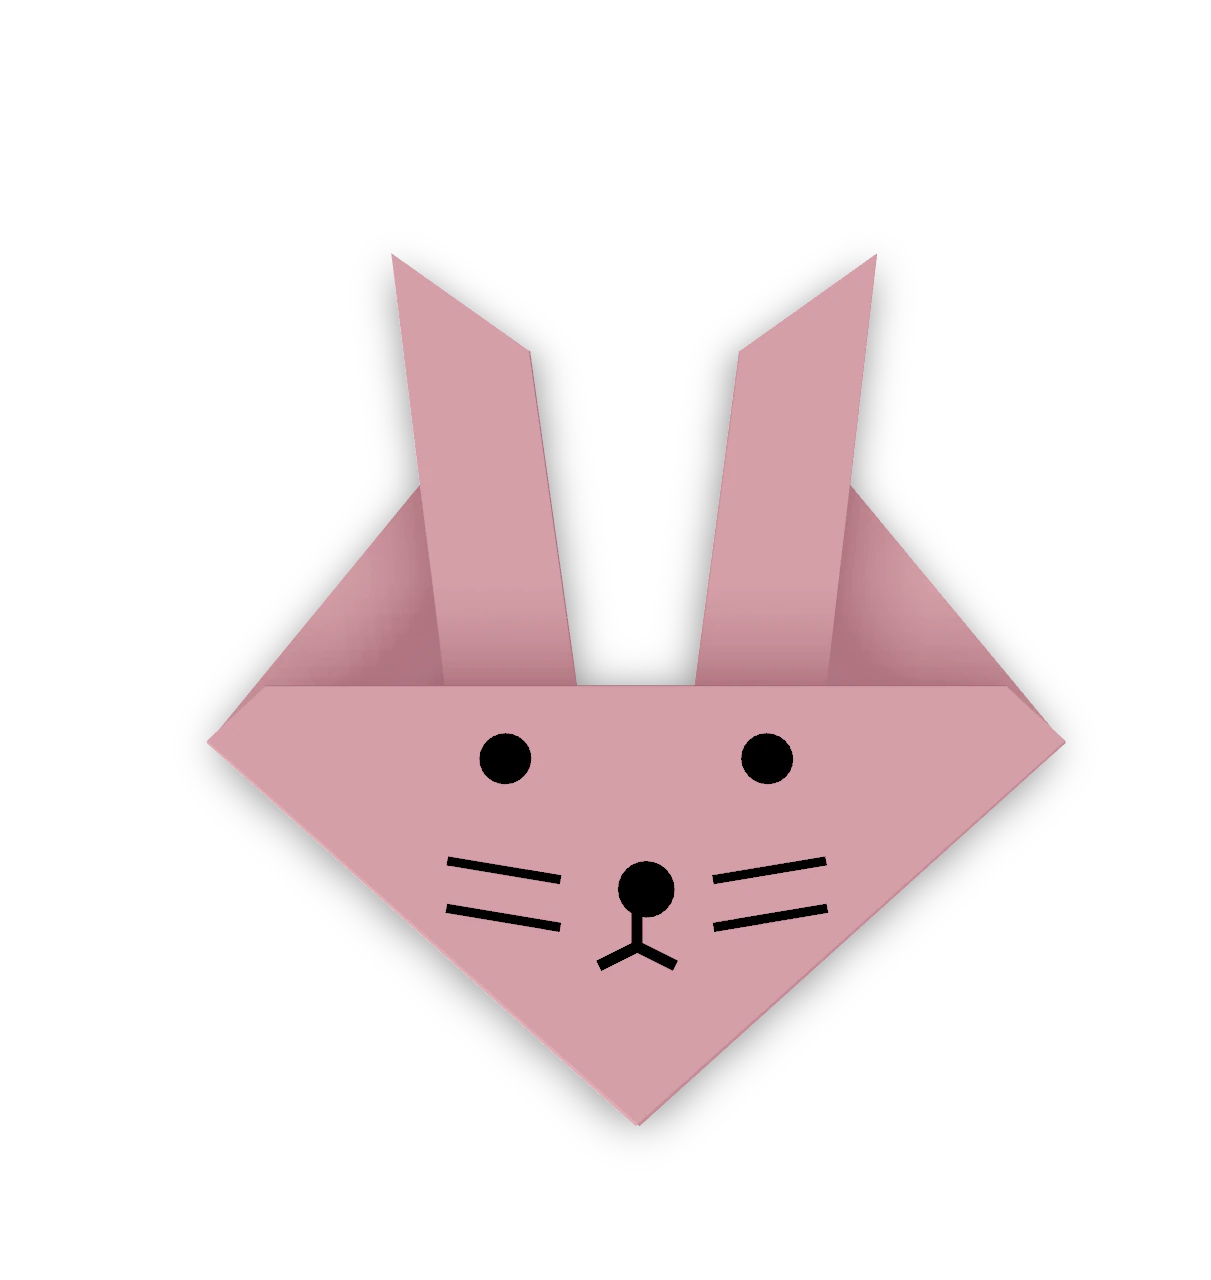
An Origami Tutor bunny face with two tall ears, folded from one square in five easy folds. A thin band along the bottom edge turns into the ears.
Chick ↗
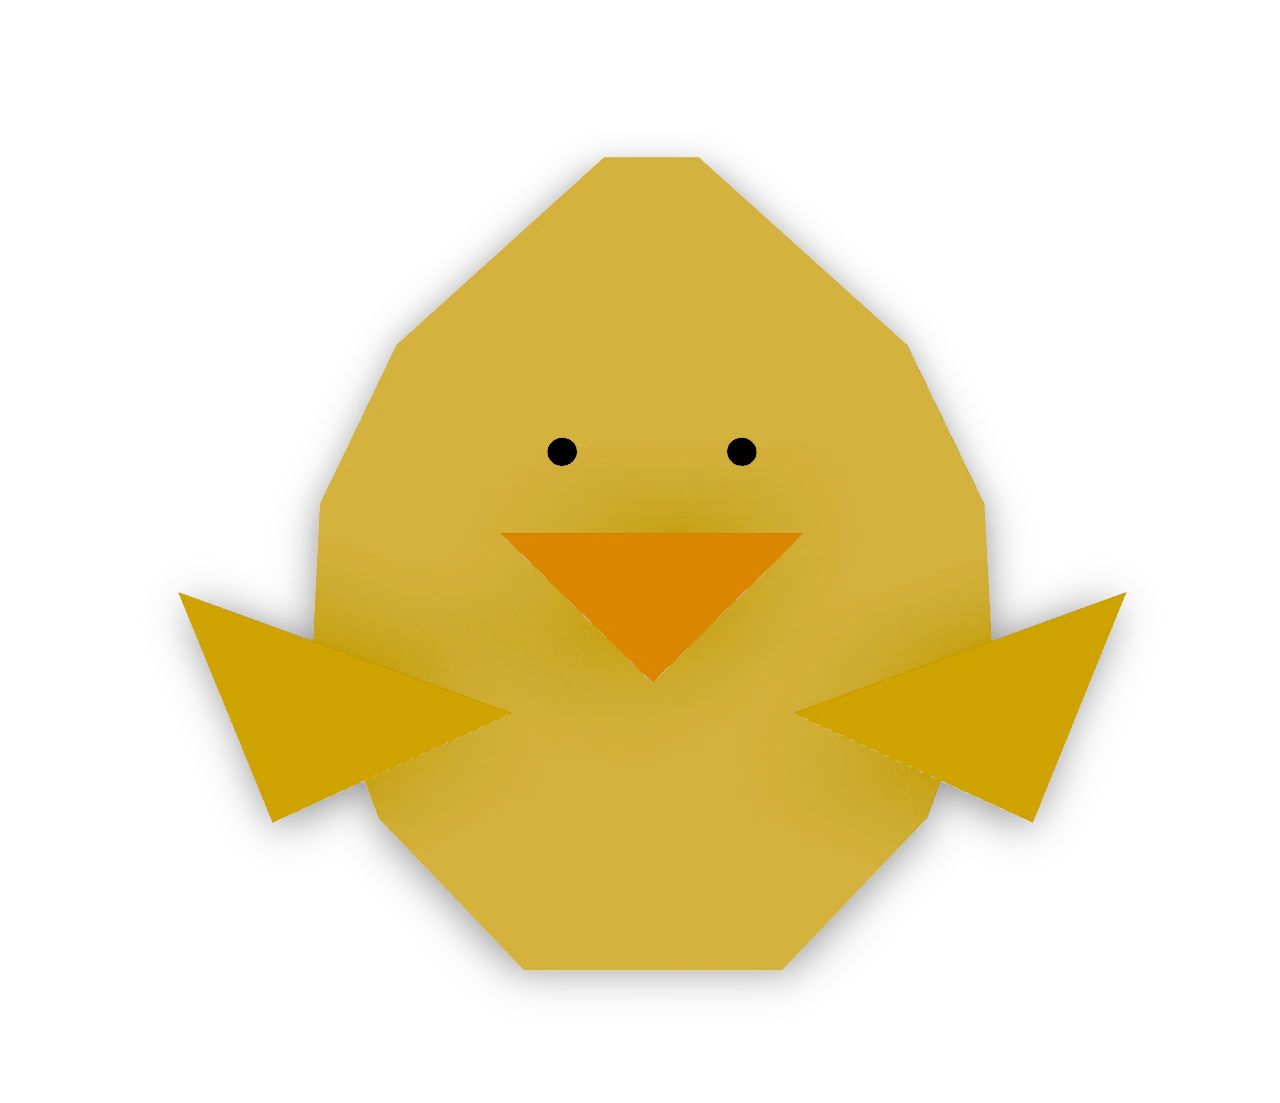
An Origami Tutor Easter chick in four pieces: a round yellow body folded from a square, a small orange beak and two little wings, each folded in half to a triangle. A few dabs of glue hold them on.
Japanese rabbit ↗
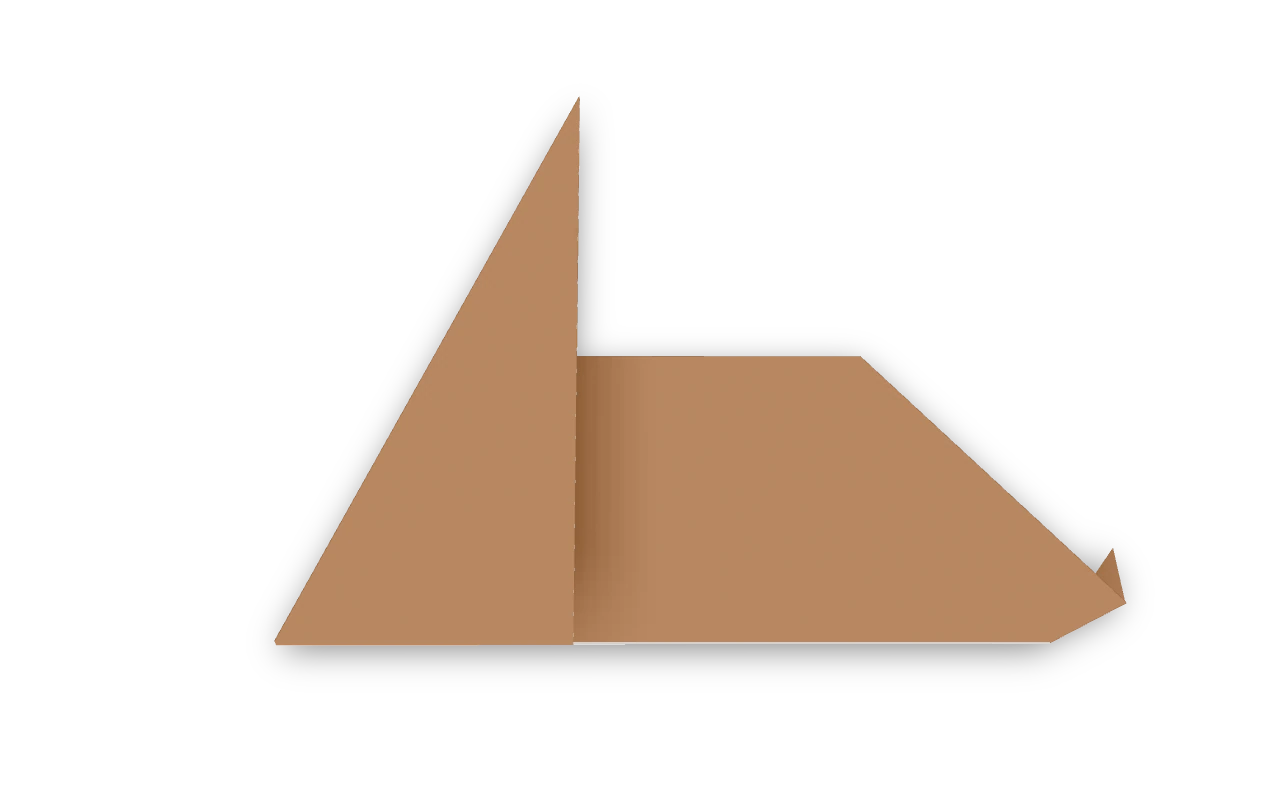
The cupboard-base Japanese rabbit recorded in 1935, with long ears and a small turned-up tail. Fold its broad head, narrow ears, body and reversed tail.
Easter egg ↗
An Origami Tutor flat Easter egg from one square: the points and corners of a diamond fold behind it to round it into an egg, ready to decorate with stripes, dots and zigzags.