How to make an origami seed packet
Origami Seed Packet: try all 11 steps in the 3D player. Turn and replay every move. Print the complete diagram sheet or save it as PDF.
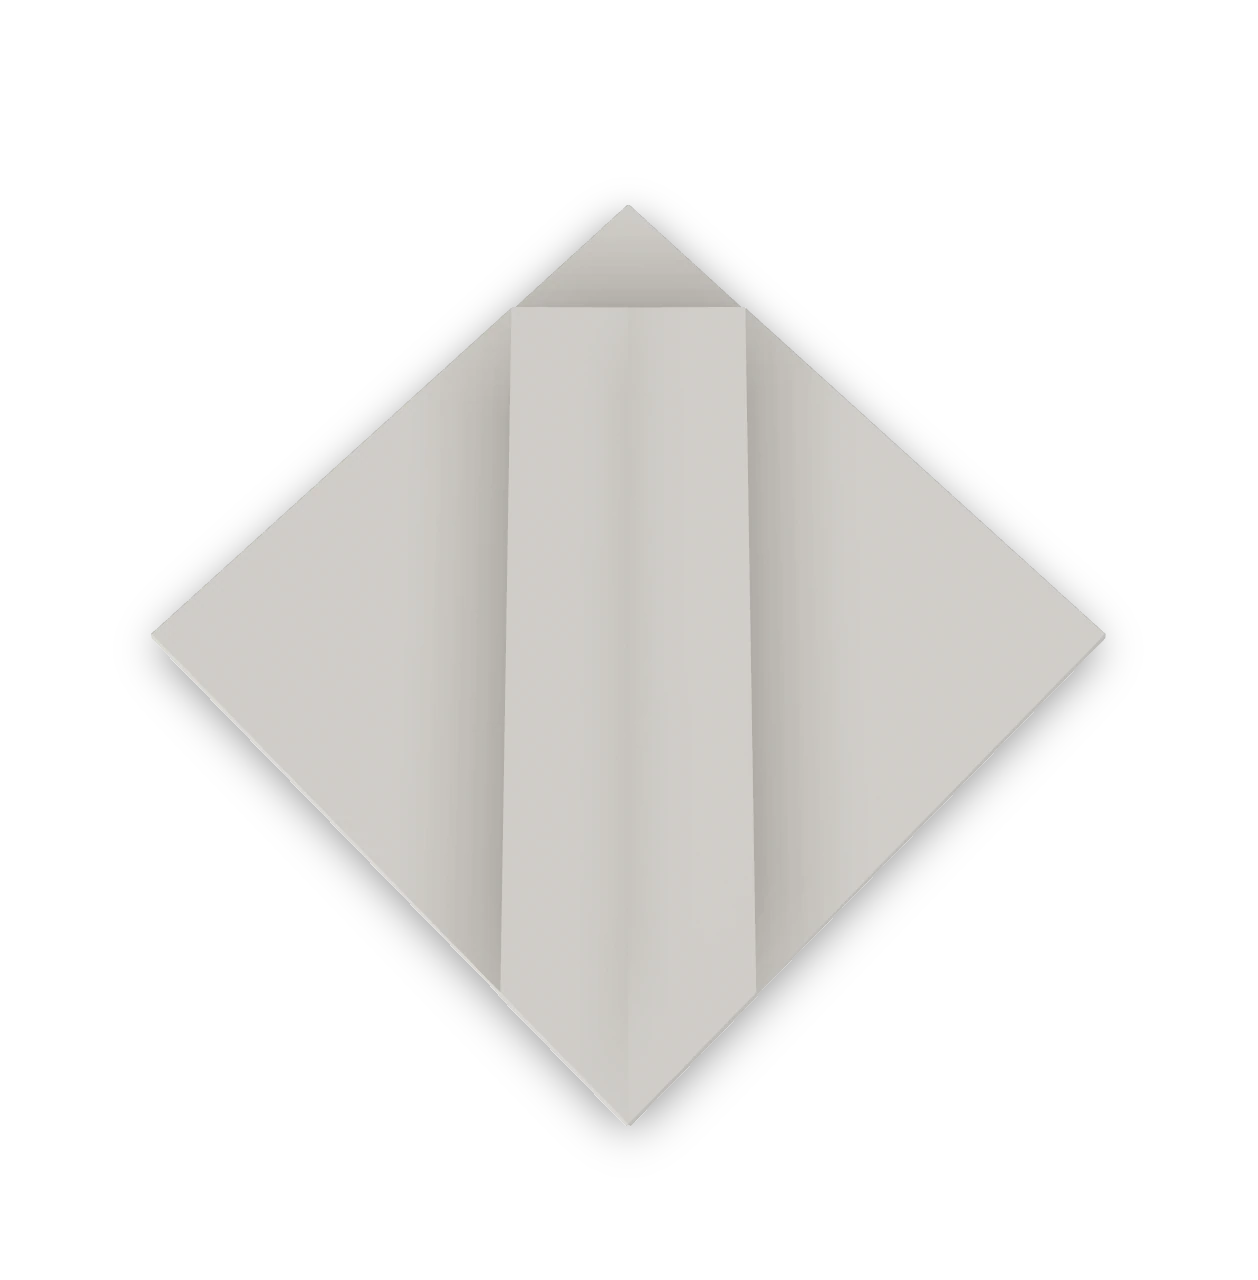
The old diamond-shaped square letterfold, also used as a seed case, with a lip that holds the corner locks.
- You need
- One sheet of thin letter paper. No glue or scissors.
- Start
- Use a letter sheet, short edge at the top and colored side up. Write your note on this side before folding.
- Tips
- Write the note before folding it shut.
- Keep the lip straight so both locking corners can fit.
Your model is ready
Your square letterfold is closed. To read the note, release the two corners from the lip and unfold the sheet. The closed diamond with the doubled lip running across its middle, as in the historical finished letter.

Step-by-step diagrams
Steps 1–6
- 1
Double the sheet
Fold the top edge down to the bottom edge, keeping the corners together.
- 2
Fold the lip
Fold a narrow strip of the doubled bottom edge up. Its new free edge meets the height where the corner folds will end.
- 3
Turn over
Turn the packet over, keeping its folded long edge at the top.
- 4
Mark the middle
Bring the left edge to the right edge, press, and open.
- 5
Fold the left corner down
Fold the upper left corner down to the middle line. Its upper edge now follows the middle crease.
- 6
Fold the right corner down
Fold the upper right corner down to meet it. Leave the narrow lip below the triangle.
Steps 7–11
- 7
Turn the triangle over
Turn the triangle over, keeping its tip at the top. The corner flaps face away from you.
- 8
Prepare the top tip
Fold the small top tip down along the marked line, press, and open again. The corner locks will reach this crease.
- 9
Lock the left corner
Fold the lower left corner diagonally upward to the tip guide. Ease the lip open and slide the corner beneath it, taking the joined layers with the fold.
- 10
Lock the right corner
Fold the lower right corner up to the same guide and slip it under the other half of the lip. Press both locks flat.
- 11
Turn the closed note over
Turn the diamond over. Write an address on the broad face if you are sending the note.
- ✓
Finish
Your square letterfold is closed. To read the note, release the two corners from the lip and unfold the sheet. The closed diamond with the doubled lip running across its middle, as in the historical finished letter.
Fold next
Three-cornered note ↗
The traditional cocked-hat note: a rectangular letter folded into a small triangular packet.
Love-knot letterfold ↗
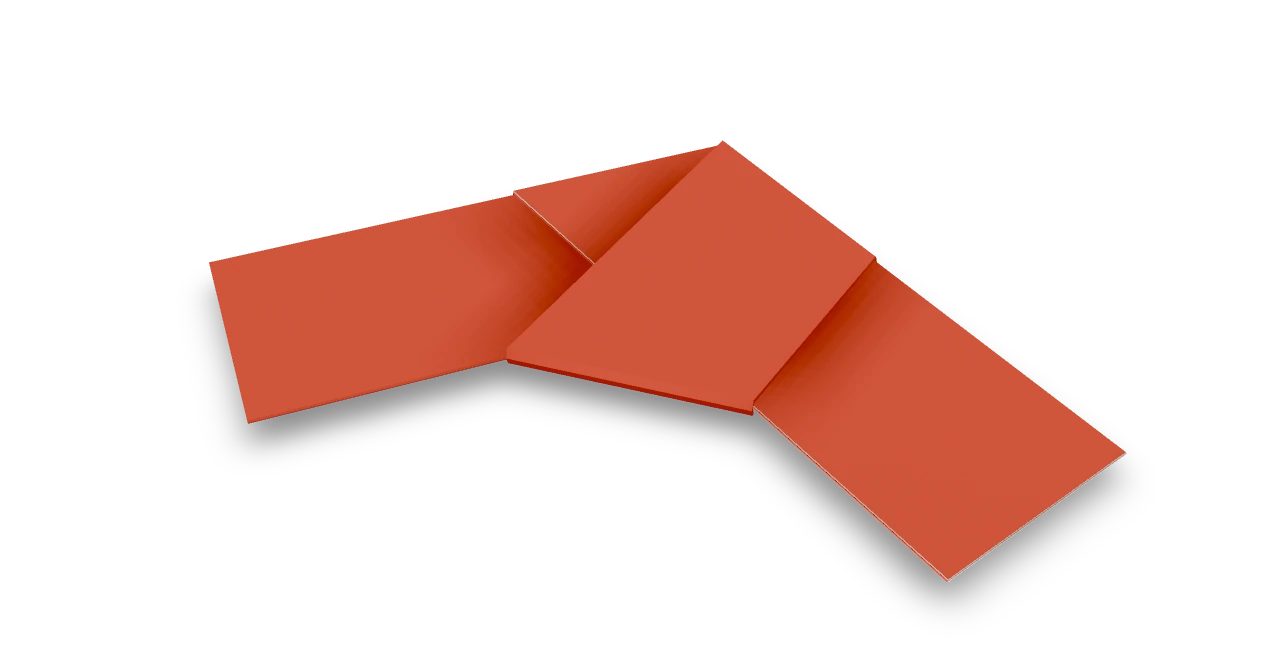
An Origami Tutor letterfold with a closed pentagonal knot and two tails. Fold the note into a narrow band, cross one end and pass it through the loop.
Puzzle purse ↗
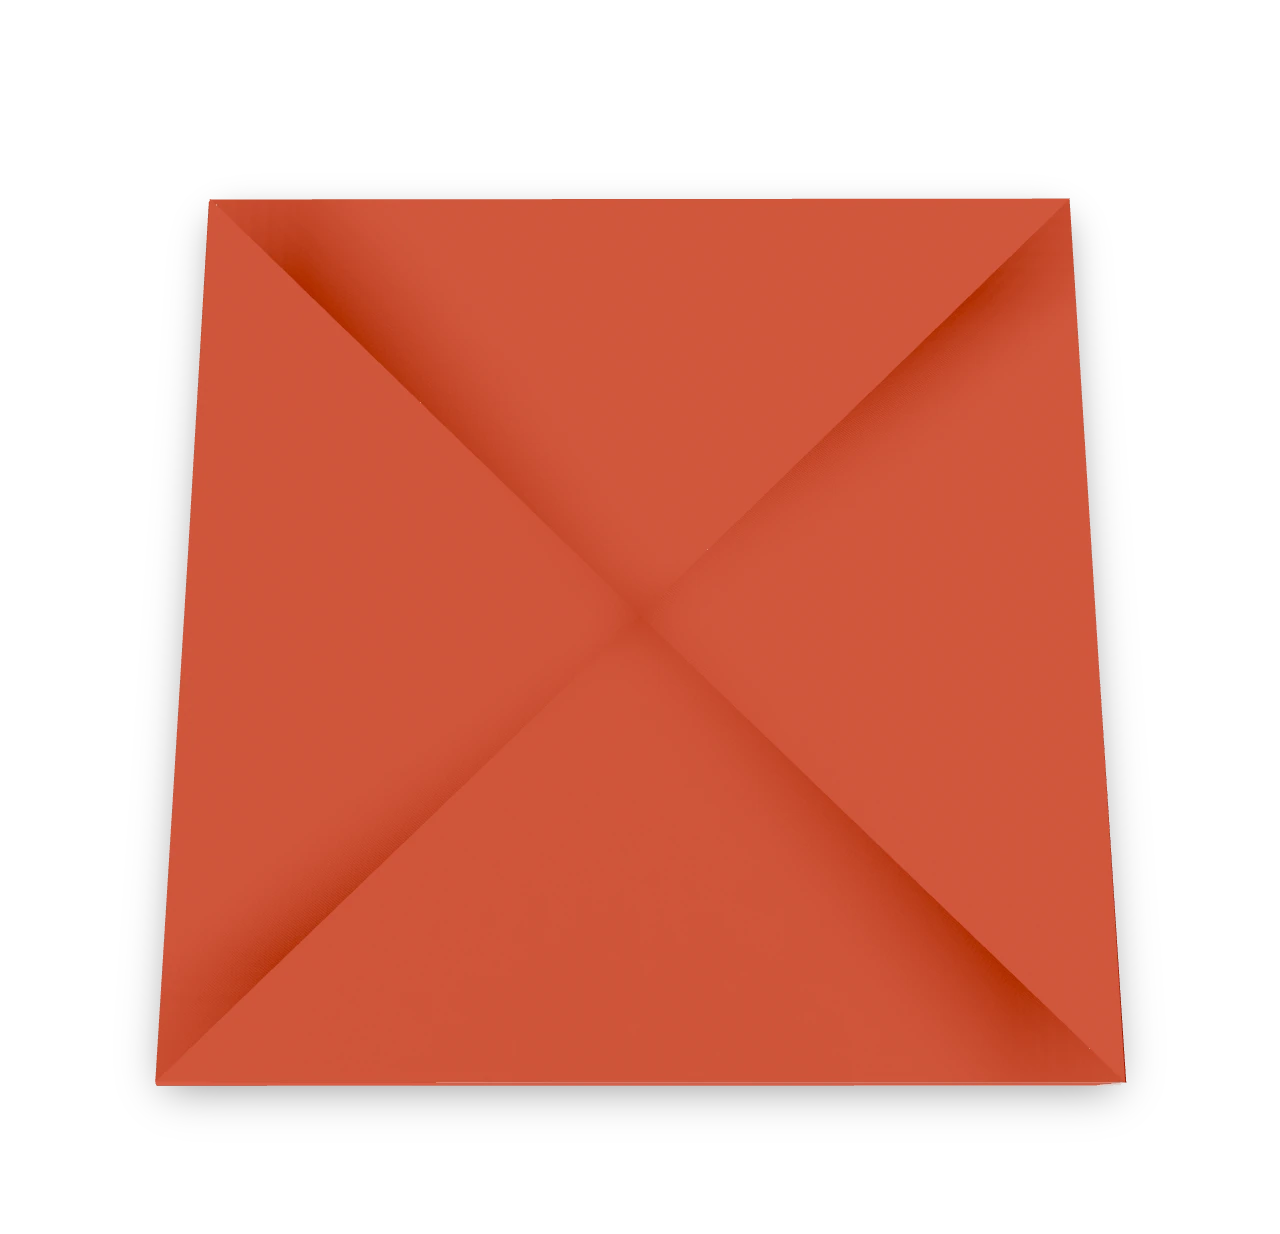
A puzzle letter with four overlapping flaps, also called a Tato thread wrapper. Open the arms to reveal messages or hold small dry items.
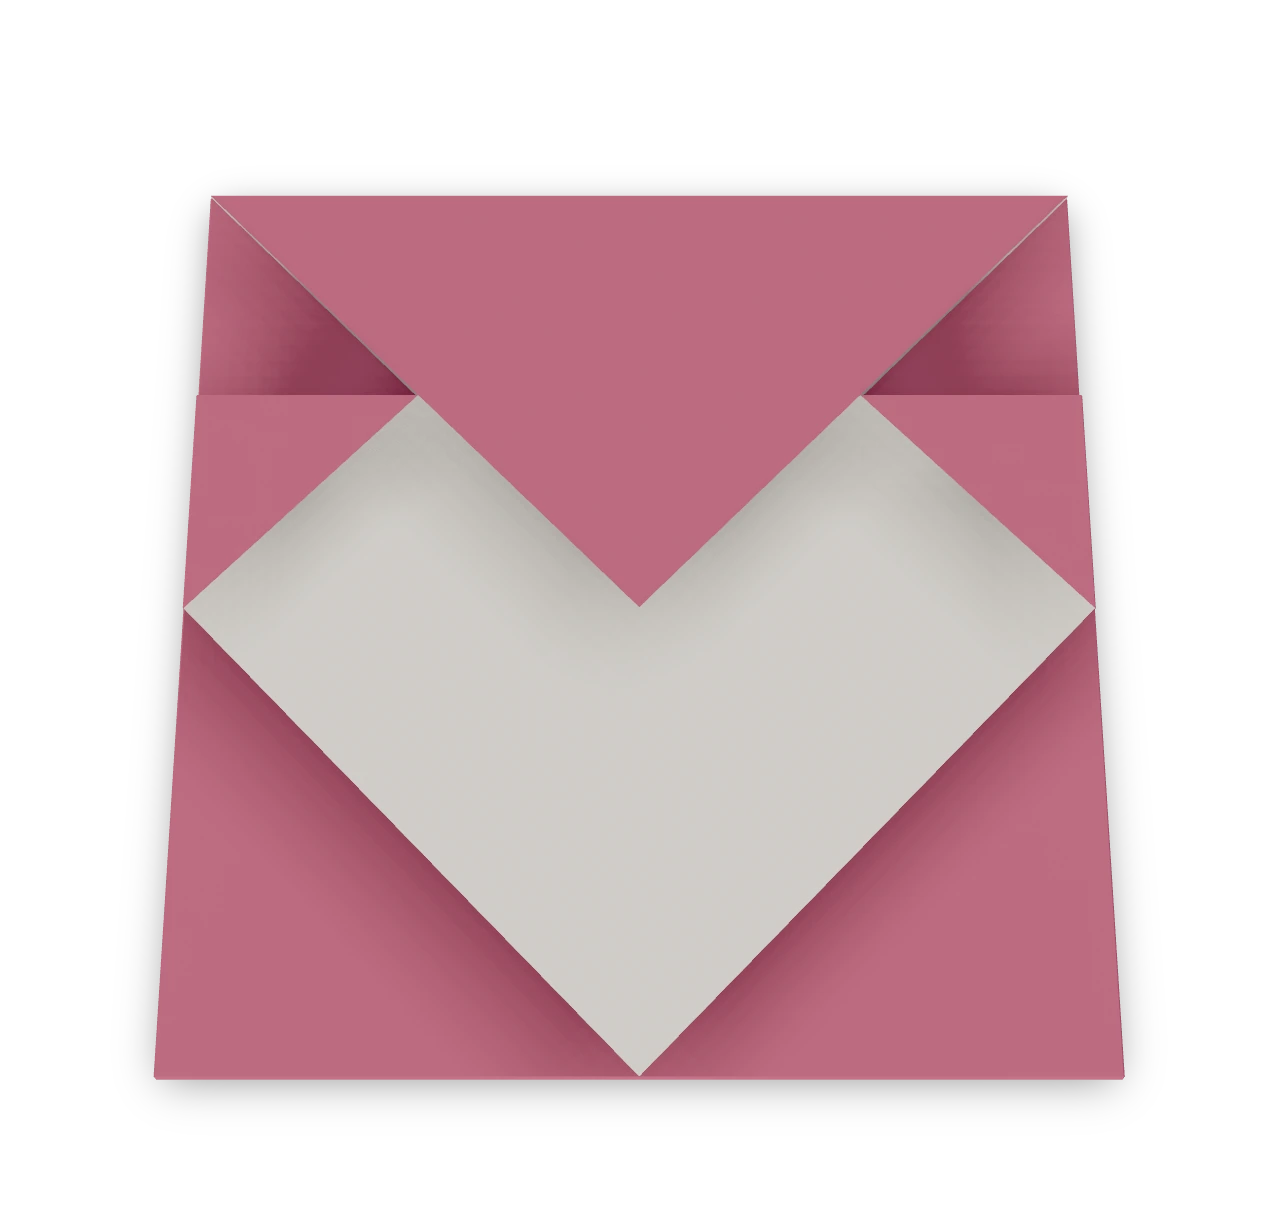
Envelope ↗
A square-sheet envelope with overlapping side pockets and a triangular closing flap.