How to make an origami envelope
Origami Envelope: try all 5 steps in the 3D player. Turn and replay every move. Print the complete diagram sheet or save it as PDF.
A square-sheet envelope with overlapping side pockets and a triangular closing flap.
- You need
- One square of paper. Optional tape to seal the top flap. No cuts.
- Start
- Start white side up, with a corner at the top. The colored side will cover the outside of the envelope.
- Tips
- Keep the two side folds equally far from the middle.
- Use a larger square if you want room for a card.
Your model is ready
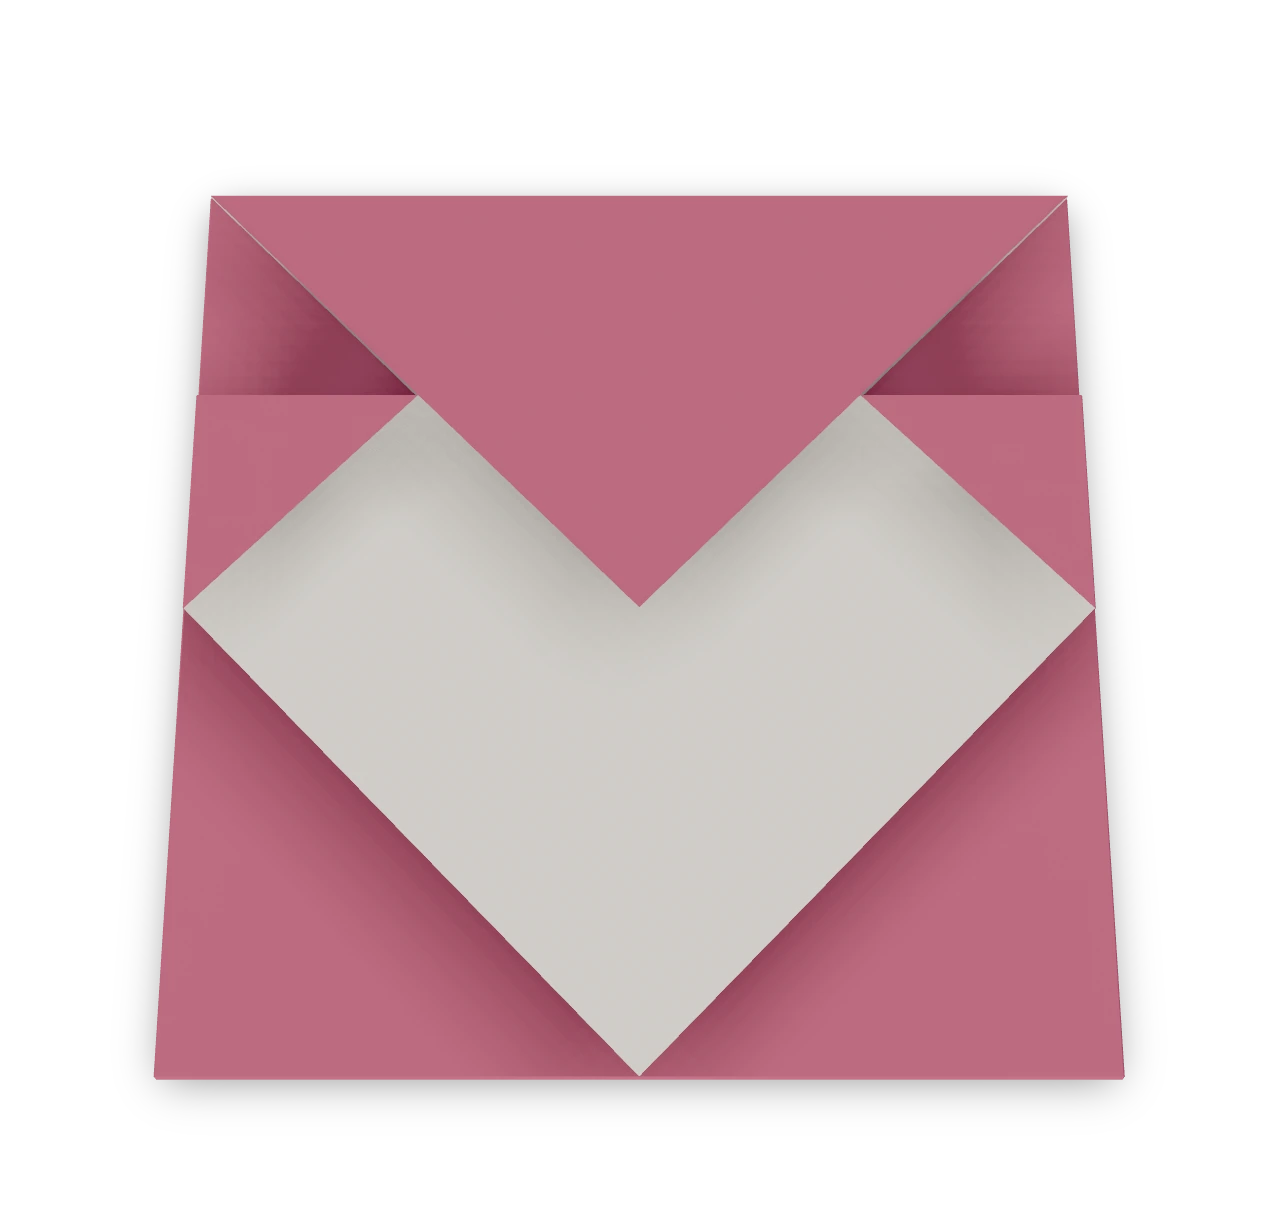
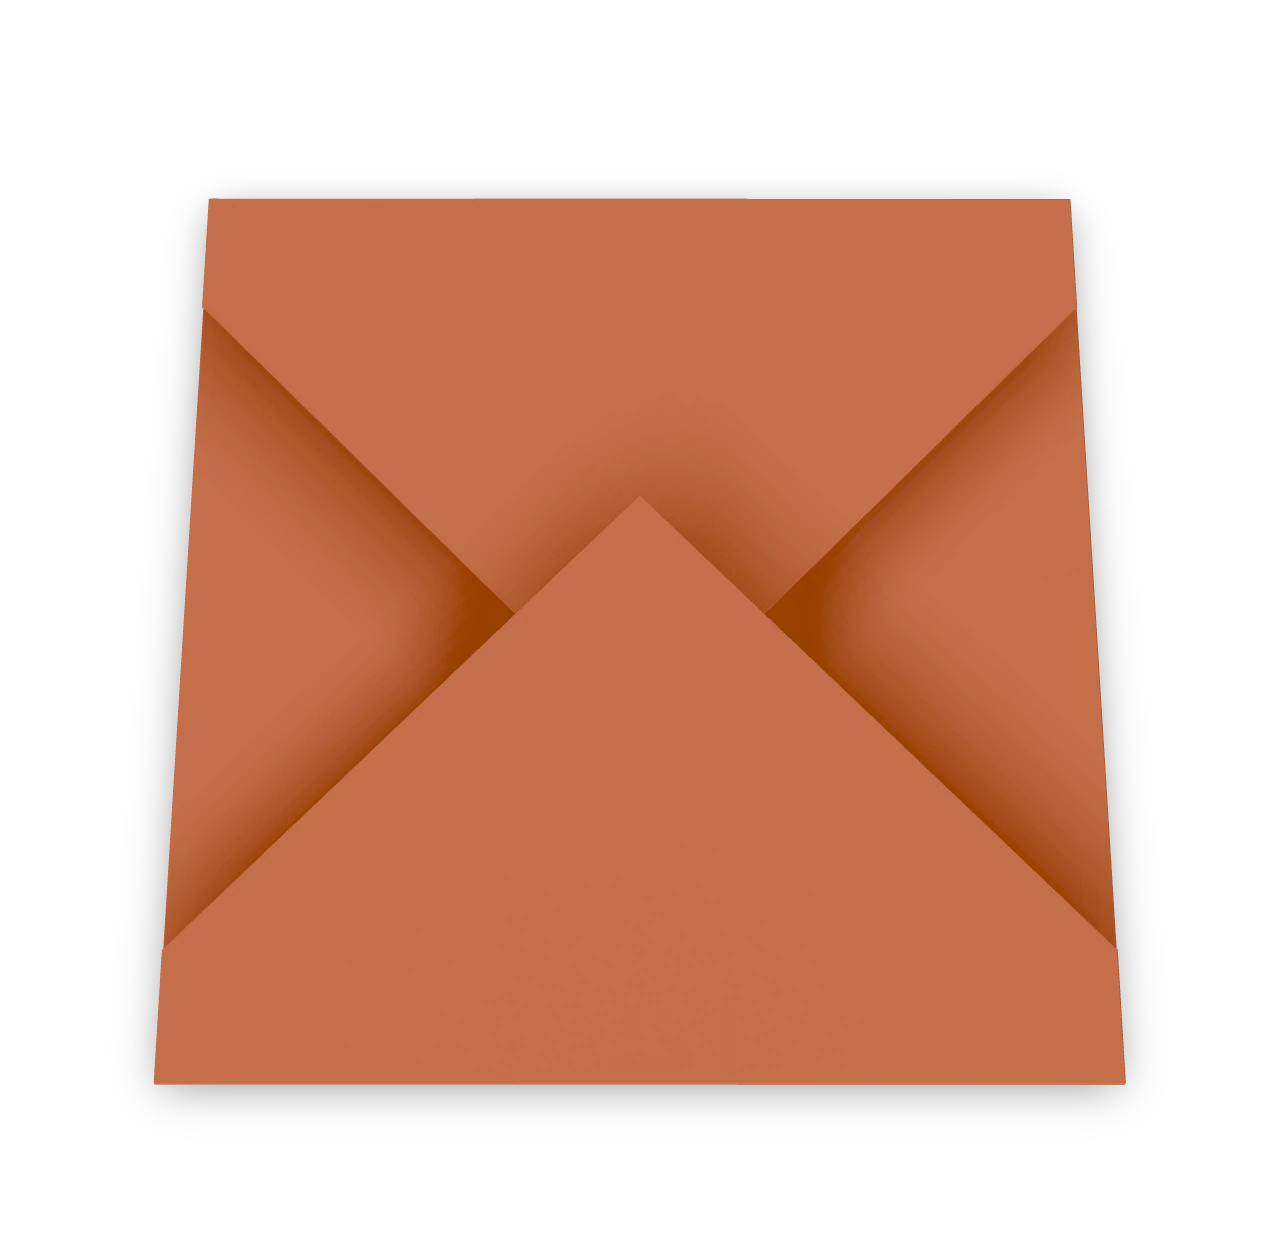
Your envelope is ready. Lift the top flap to slip a small card inside, then close it. The side point stays locked in its pocket. The closed square envelope, with its triangular lid over the front.

Step-by-step diagrams
- 1
Fold the right side in
Fold the right point across, one third of the way along the bottom edge from the left end.
- 2
Fold the left side in
Fold the left point across to the right side fold. Keep the lower edges lined up.
- 3
Double the paper and lock the sides
Bring the bottom corner up to the top. The right cover folds around the left point, leaving that point inside its pocket.
- 4
Lower the front point
Fold only the front top point down to the middle of the long bottom edge.
- 5
Close the envelope
Fold the remaining top flap down level with the upper ends of the side folds, making a square packet.
- ✓
Finish
Your envelope is ready. Lift the top flap to slip a small card inside, then close it. The side point stays locked in its pocket. The closed square envelope, with its triangular lid over the front.
Fold next
Red envelope ↗
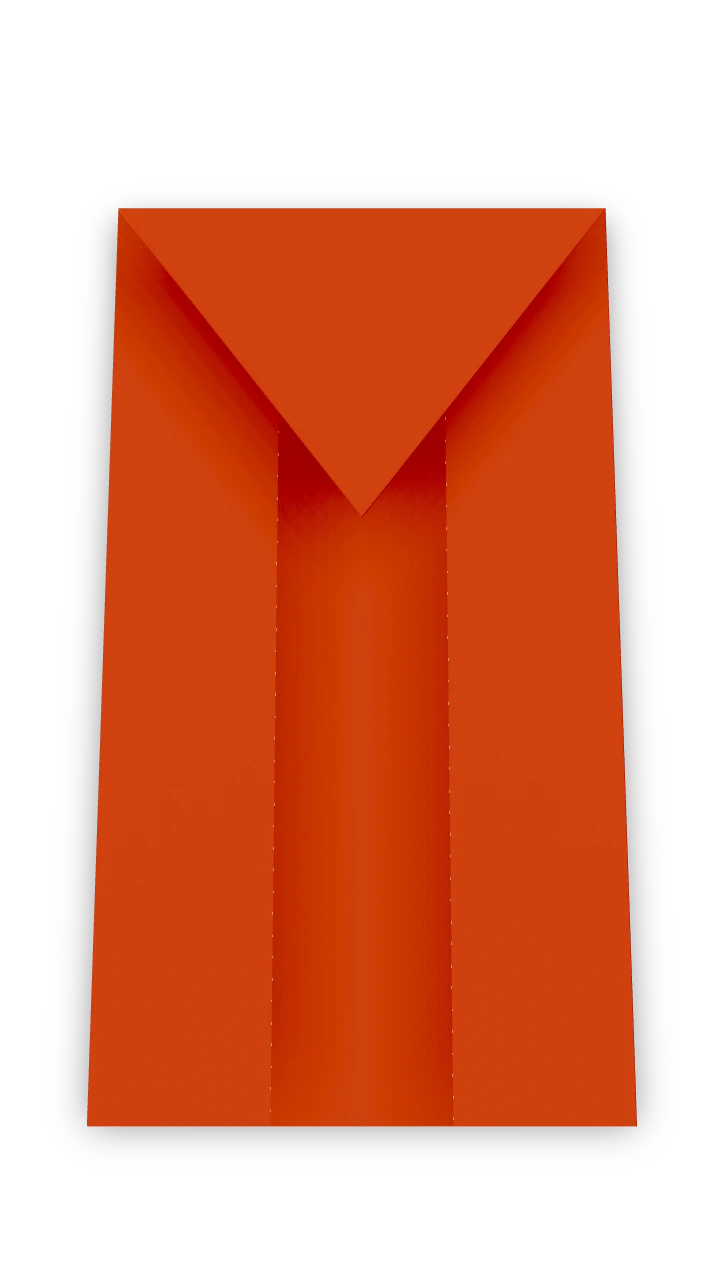
A slim Lunar New Year red envelope folded from a single strip of paper: a deep pocket for the gift, folded sides and a pointed flap that closes it. No glue or scissors.
Money envelope ↗
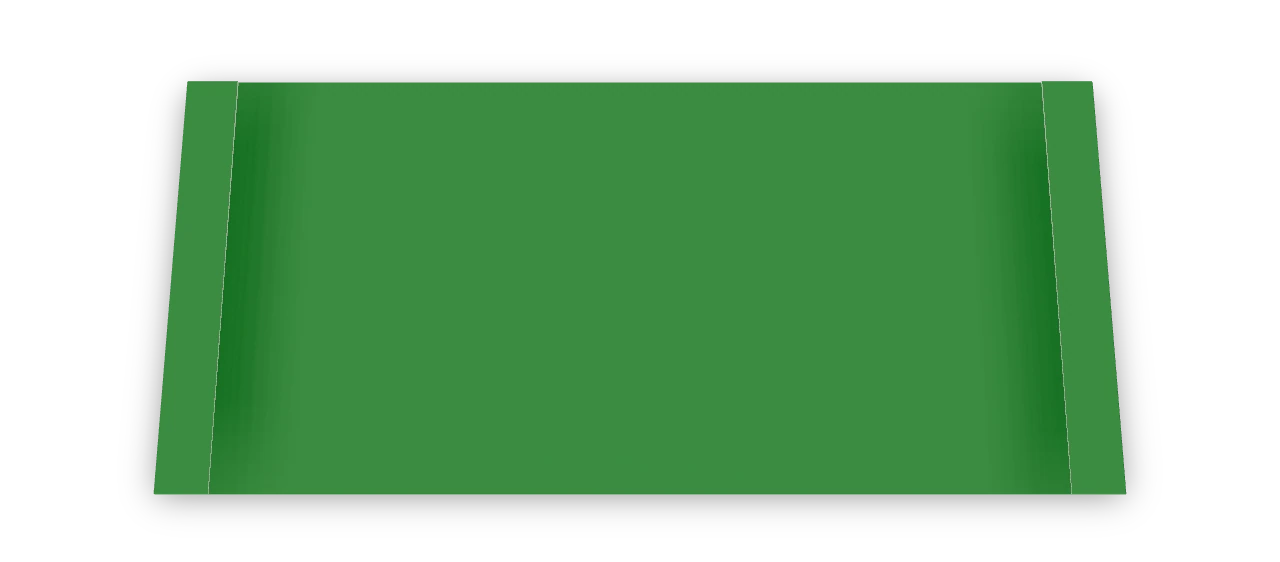
A flat envelope for a gift of money, folded from one square of paper. A deep pocket holds banknotes lying flat, and the flap tucks inside and two folded sides close the ends.
Letter paper envelope ↗
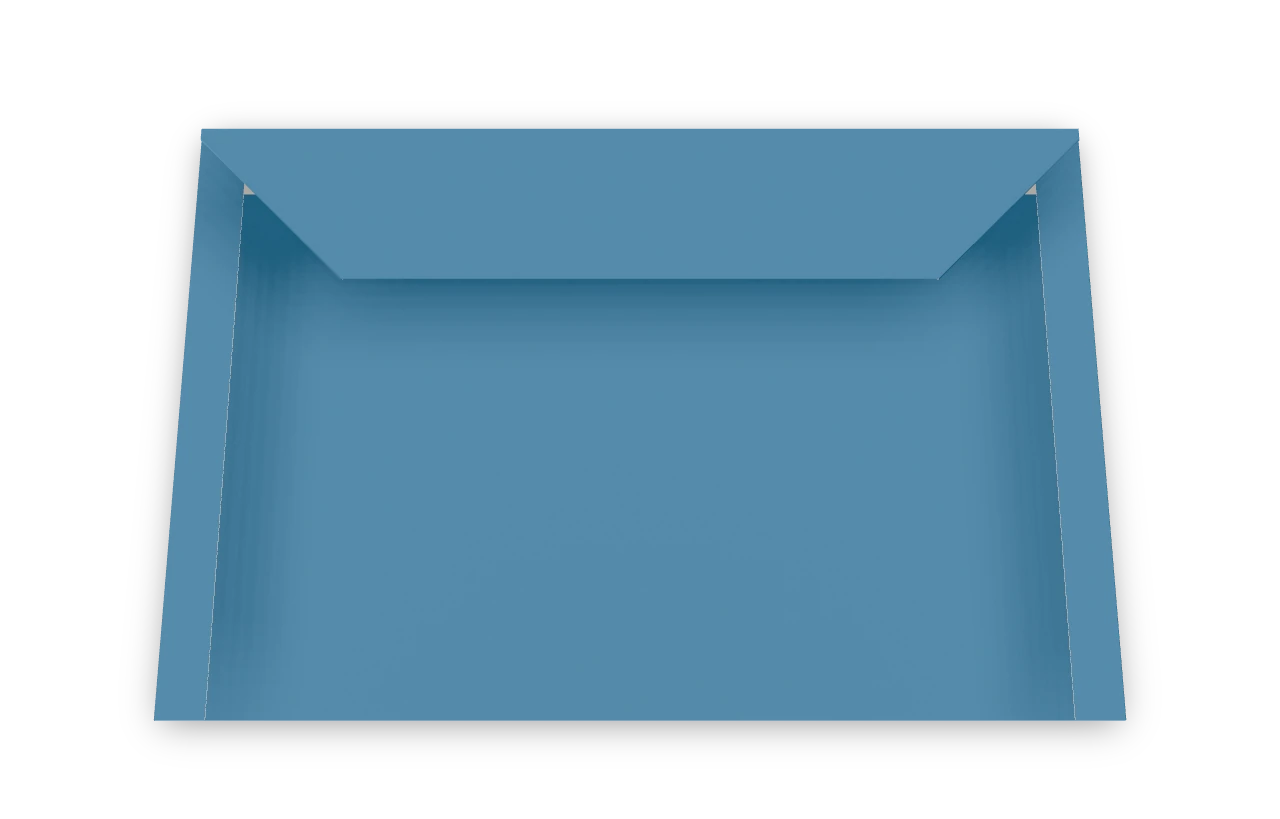
An Origami Tutor mailing envelope folded from one sheet of letter paper, with hemmed sides and a pointed closing flap. It holds a letter folded in quarters and needs no glue or scissors.
Square card envelope ↗
An Origami Tutor square envelope for a greeting card: four corners fold over the card and the last point tucks under the bottom one, so it stays shut without glue.