How to make an envelope from rectangular paper (US Letter)
Origami Envelope from Rectangular Paper: try all 6 steps in the 3D player. Turn and replay every move. Print the complete diagram sheet or save it as PDF.
An Origami Tutor mailing envelope folded from one sheet of letter paper, with hemmed sides and a pointed closing flap. It holds a letter folded in quarters and needs no glue or scissors.
- You need
- One sheet of US letter paper (8.5 × 11 in) or A4. A sticker seals the flap for posting. No glue or scissors.
- Start
- Lay a sheet of letter paper in front of you, short edge at the top. If one side is printed or colored, put it face down: it becomes the outside of the envelope.
- Tips
- Press the side hems firmly: they are what keeps the pocket shut.
- On A4 paper (210 × 297 mm), fold the bottom edge up to 5.5 cm below the top edge and keep the 1 cm hems.
Your model is ready
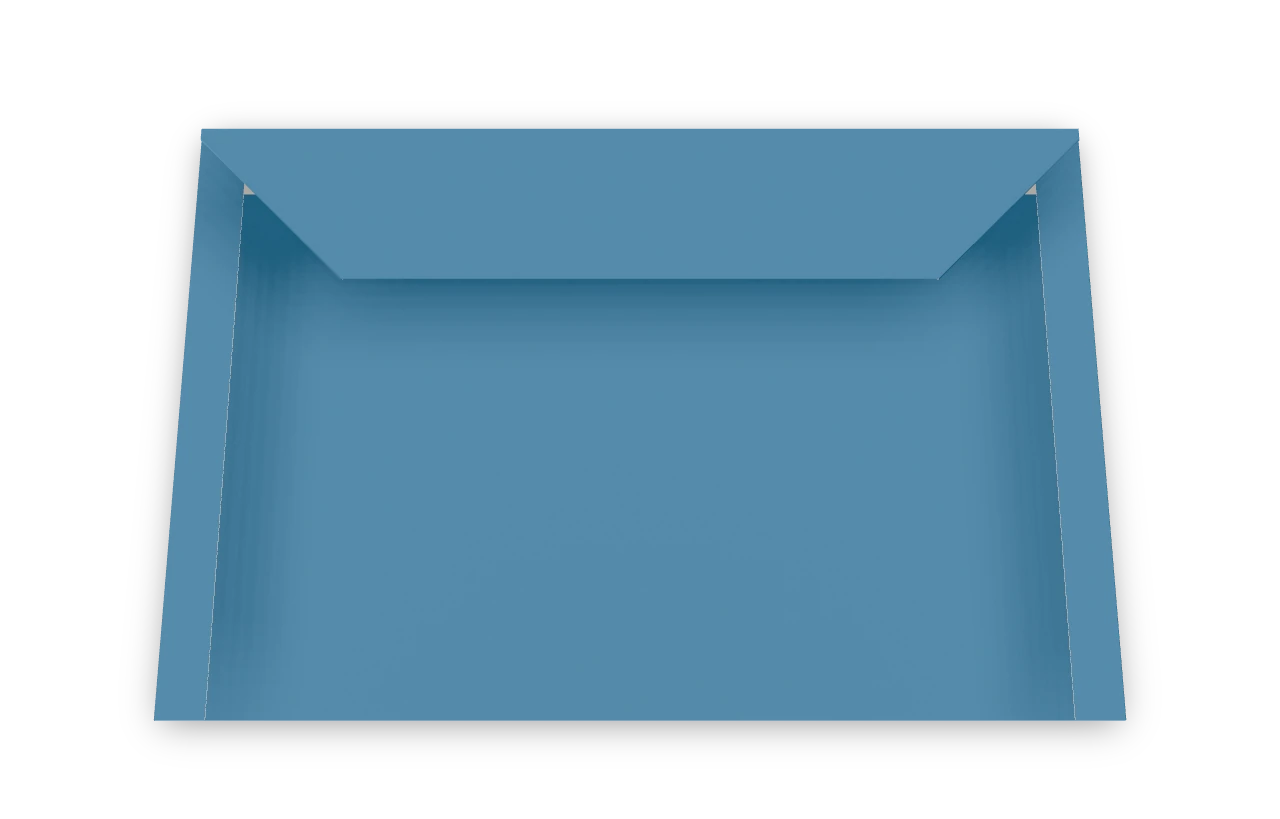
Your envelope is ready. Lift the flap, slip in a letter folded in quarters, and fold the flap down again. Seal it with a sticker for posting and write the address on the smooth back. The closed envelope, with its blunt flap folded over the pocket.

Step-by-step diagrams
- 1
Fold up the pocket
Fold the bottom edge up until it lies 2 in (5 cm) below the top edge. Press the bottom fold flat: this is the pocket.
- 2
Hem the left side
Fold a narrow strip along the left edge over to the front, about 0.4 in (1 cm) wide, through all the layers.
- 3
Hem the right side
Fold the same strip along the right edge over to the front. The hems close both sides of the pocket.
- 4
Fold the left flap corner
Above the pocket, fold the top left corner down at a slant, about 1.3 in (3.3 cm) along the top edge and down the side.
- 5
Fold the right flap corner
Fold the top right corner down the same way. The flap now has a broad, blunt point.
- 6
Close the flap
Fold the flap down along a line about 1.4 in (3.5 cm) below the top edge, so it covers the pocket's open edge.
- ✓
Finish
Your envelope is ready. Lift the flap, slip in a letter folded in quarters, and fold the flap down again. Seal it with a sticker for posting and write the address on the smooth back. The closed envelope, with its blunt flap folded over the pocket.
Fold next
Envelope ↗
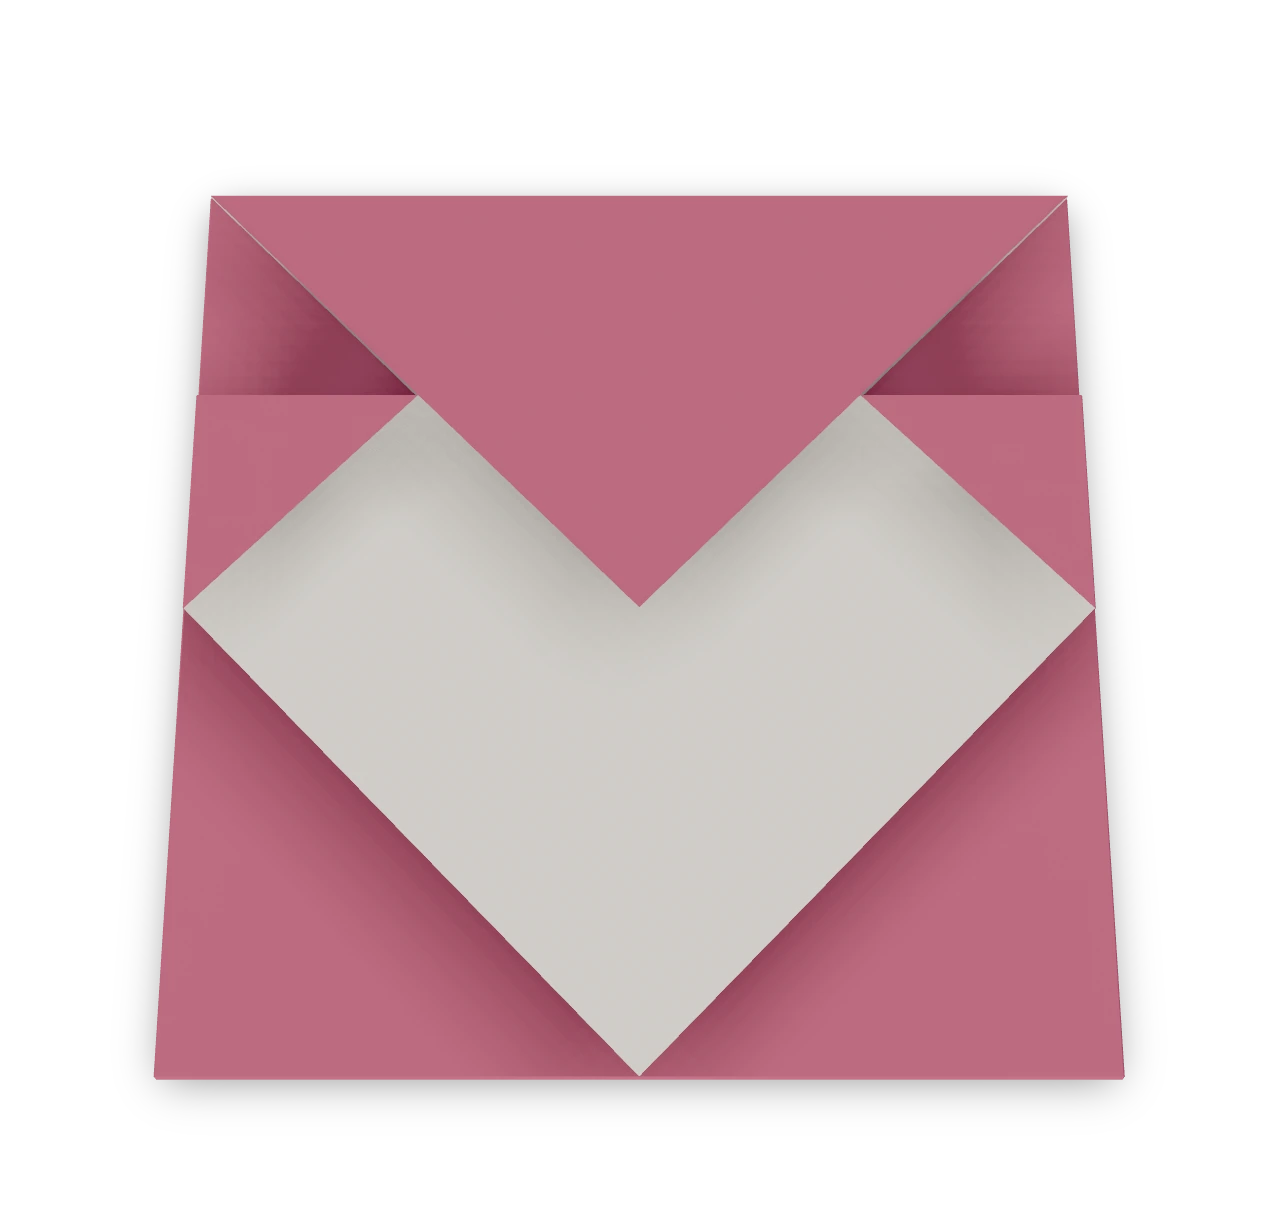
A square-sheet envelope with overlapping side pockets and a triangular closing flap.
Red envelope ↗
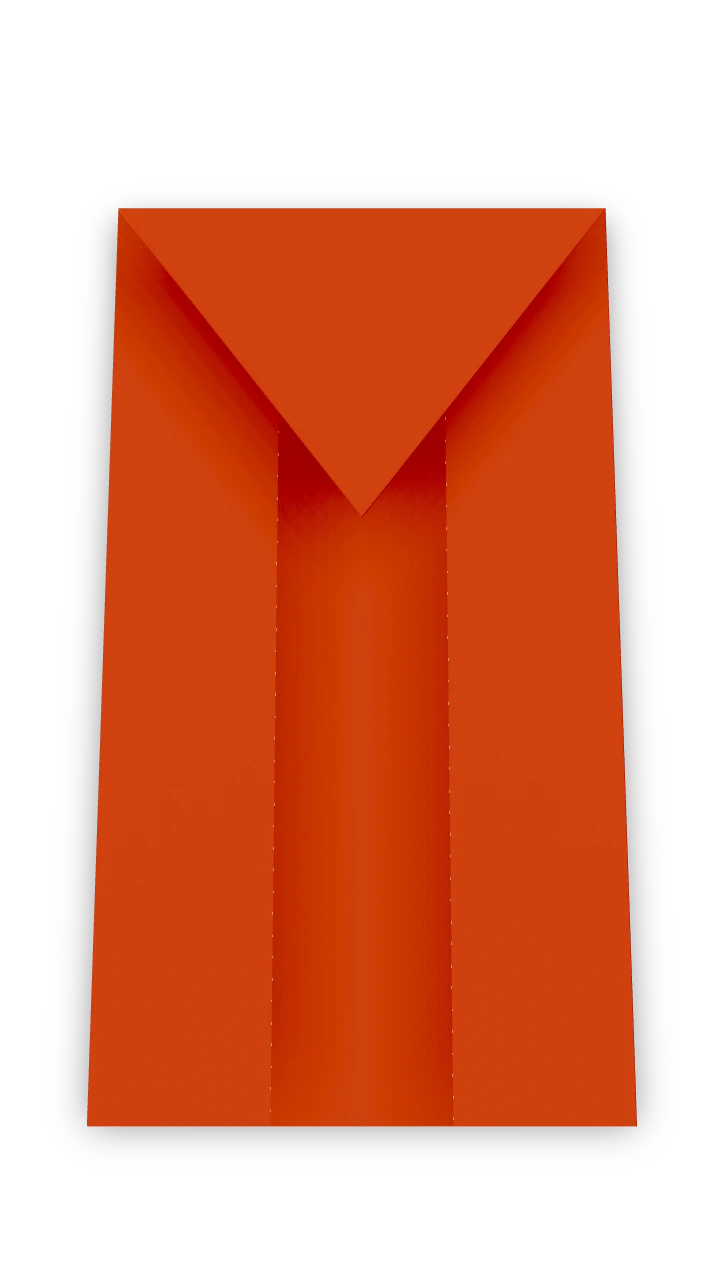
A slim Lunar New Year red envelope folded from a single strip of paper: a deep pocket for the gift, folded sides and a pointed flap that closes it. No glue or scissors.
Money envelope ↗
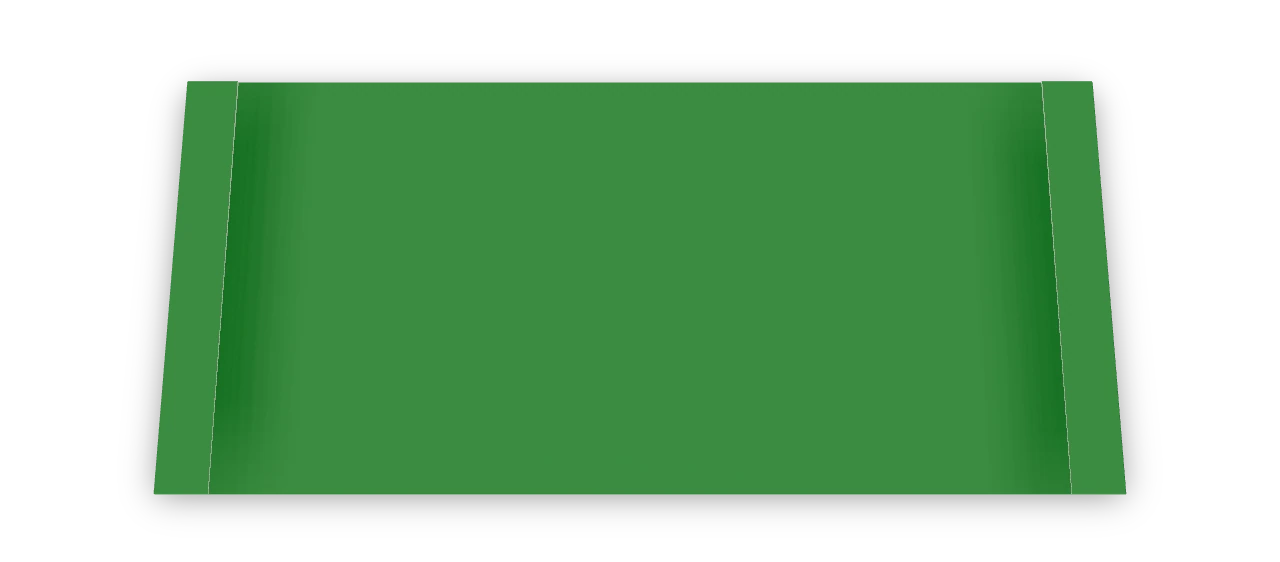
A flat envelope for a gift of money, folded from one square of paper. A deep pocket holds banknotes lying flat, and the flap tucks inside and two folded sides close the ends.
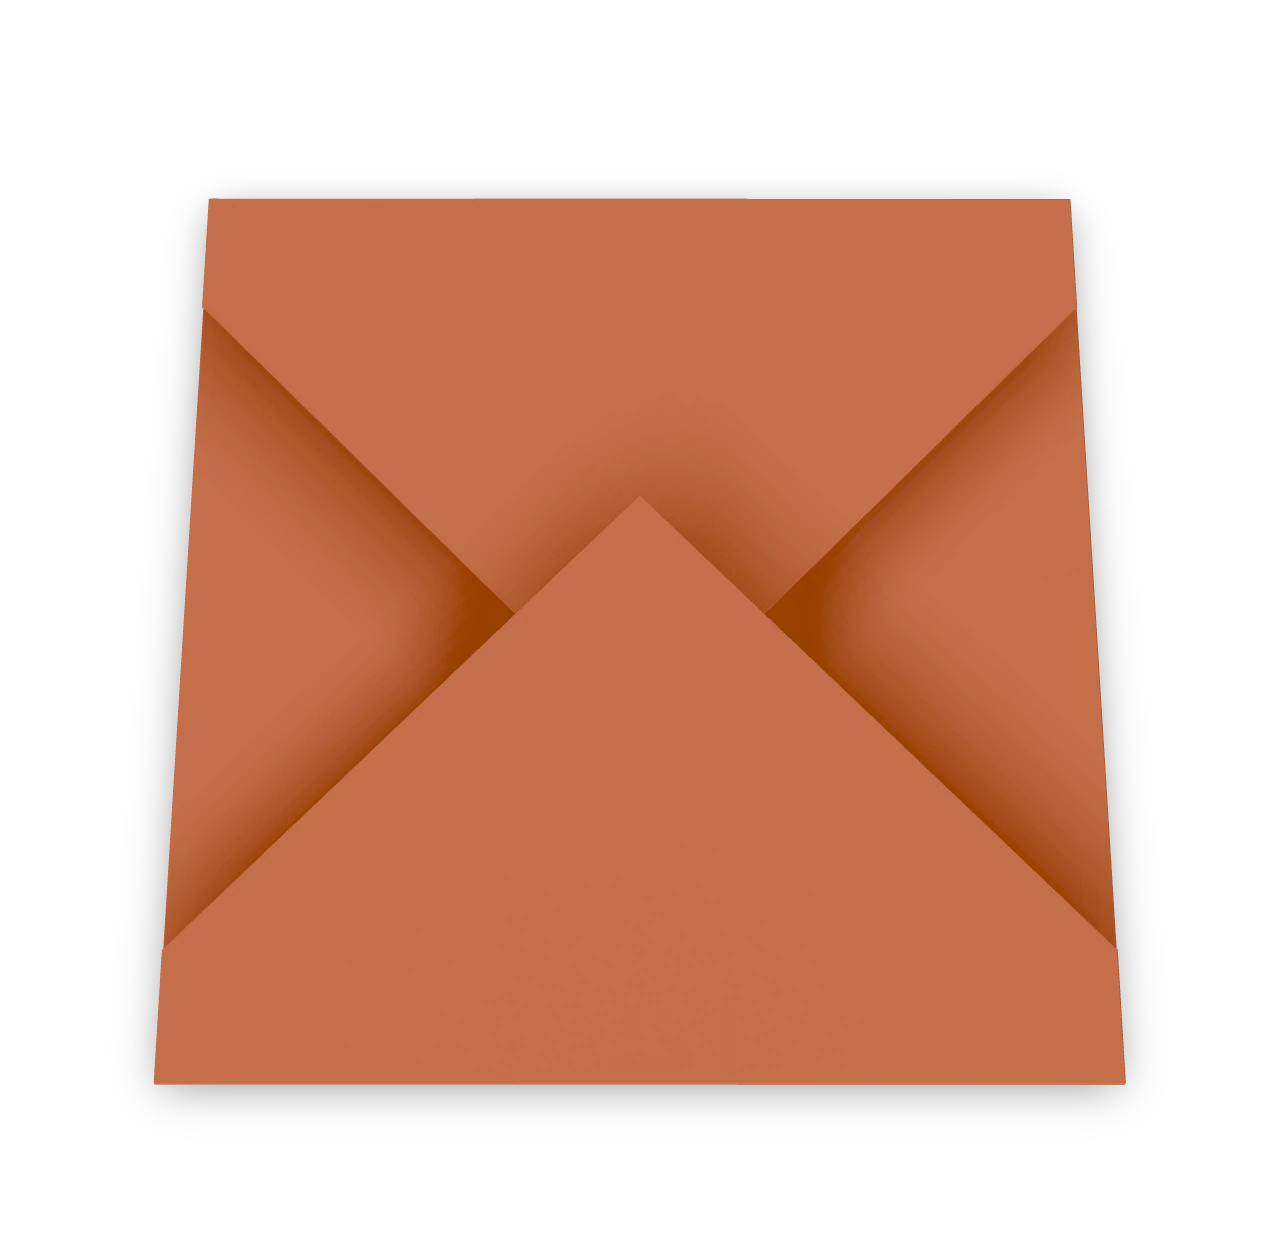
Square card envelope ↗
An Origami Tutor square envelope for a greeting card: four corners fold over the card and the last point tucks under the bottom one, so it stays shut without glue.