How to make a paper thank-you card with a window
Paper Thank-You Card With A Window: try all 13 steps in the 3D player. Turn and replay every move. Print the complete diagram sheet or save it as PDF.
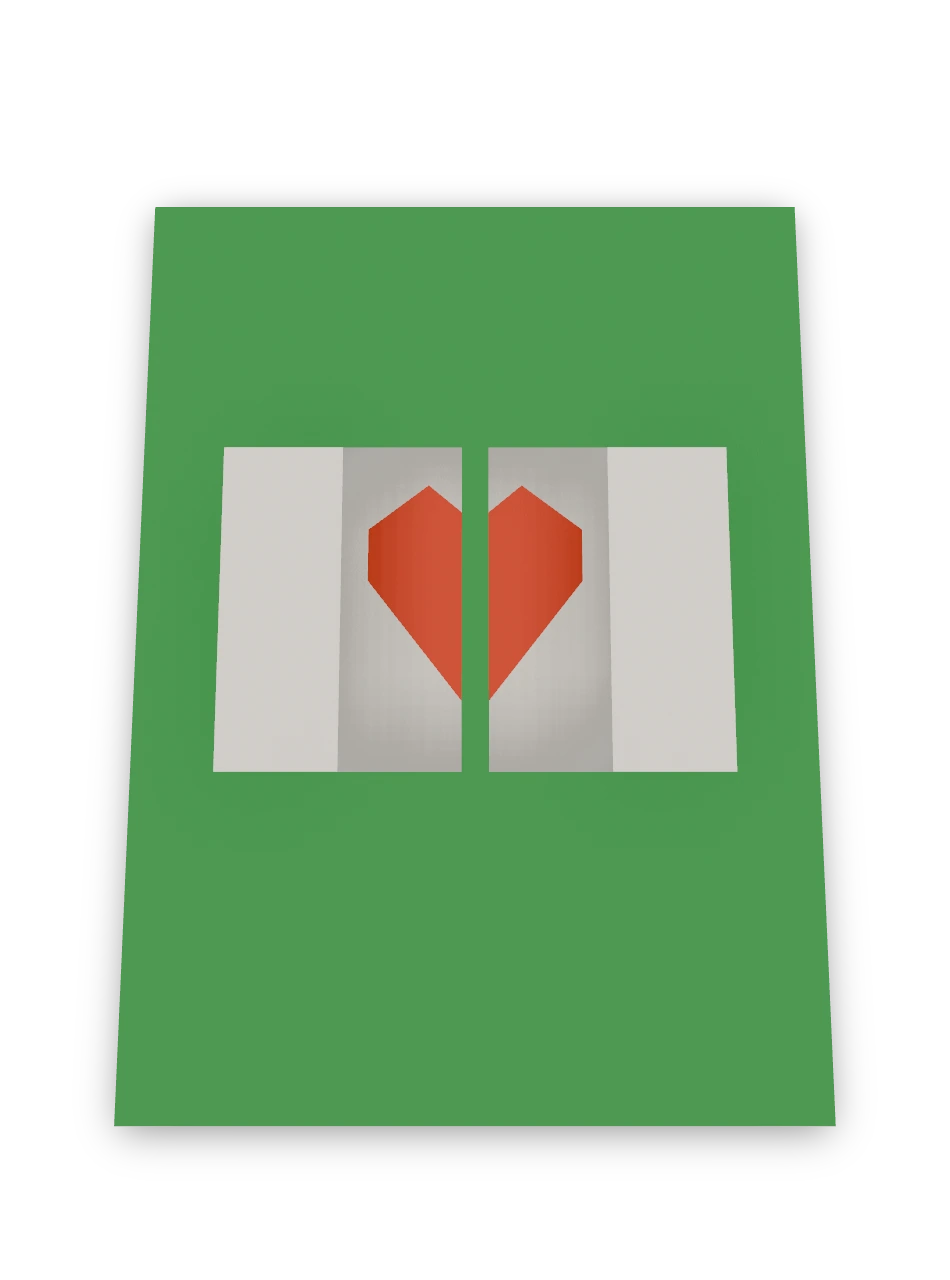
An Origami Tutor thank-you card with two opening shutters and a red heart visible through the window. The back stays uncut, with room to write your message around the heart.
- You need
- One 20 × 14 cm sheet of colored paper or thin card, a contrasting 4 cm square, scissors or a craft knife, a cutting mat, glue, a ruler and a pen.
- Start
- Begin with a 20 × 14 cm sheet of coloured paper or thin card, white side up, with a long edge at the top. Keep a 4 cm square of contrasting paper beside it, colored side up.
- Tips
- Measure the window from the spine so both shutters match.
- Cut the shutters with a craft knife on a cutting mat for clean corners.
Your model is ready
The open shutters reveal the red heart on the uncut inside back. Fold them closed to hide it, then let the recipient open them to discover your thank-you.

Step-by-step diagrams
Steps 1–7
- 1
Fold the heart square in half
Fold the small square from left to right. Keep its fold on the left.
- 2
Cut half a heart
Start on the folded edge below the top. Cut up to a rounded shoulder, around the outside lobe and down to a point on the fold. Keep the heart beside the fold.
- 3
Open the heart
Open the small folded piece to reveal a whole heart.
- 4
Mark the card spine
Fold the left half over the right, crease the spine, then open the sheet flat again. The left half will be the front cover.
- 5
Mark the window top
With the card open, lightly crease across the sheet 4 cm below its top edge. This is the top of the window.
- 6
Mark the window bottom
Make a second light crease 9 cm below the top edge. The two guides are 5 cm apart.
- 7
Cut the left shutter
Lay the open card on a cutting mat. In its left half, mark a window 5 cm tall and 4 cm wide, centered 5 cm from the left edge. Cut the three free sides of the shutter nearest the spine: across the top for 1.8 cm, down beside the middle and back across the bottom. Leave the side hinge uncut.
Steps 8–13
- 8
Cut the right shutter
Cut the right shutter the same way, leaving a 4 mm bar between the two shutters. Its uncut side, nearest the right edge, is its hinge.
- 9
Set the heart inside
Set the heart on the right half of the open card, centered 5 cm from the right edge, with its point facing down. This will be behind the window.
- 10
Glue the heart to the back
Glue the heart to the white inside back. Write a short thank-you around it before closing the card.
- 11
Close the card over the heart
Fold the left half over the right half along the spine. The heart is hidden inside, behind the two cut shutters.
- 12
Open the left shutter
Fold the left shutter back along its uncut side, so it lies flat on the front of the card, left of the window. Move the front layer only. The white inside of the shutter shows.
- 13
Open the right shutter
Fold the right shutter back the same way, so it lies flat on the front of the card, right of the window. The window now shows the inside of the card.
- ✓
Finish
The open shutters reveal the red heart on the uncut inside back. Fold them closed to hide it, then let the recipient open them to discover your thank-you.
Fold next
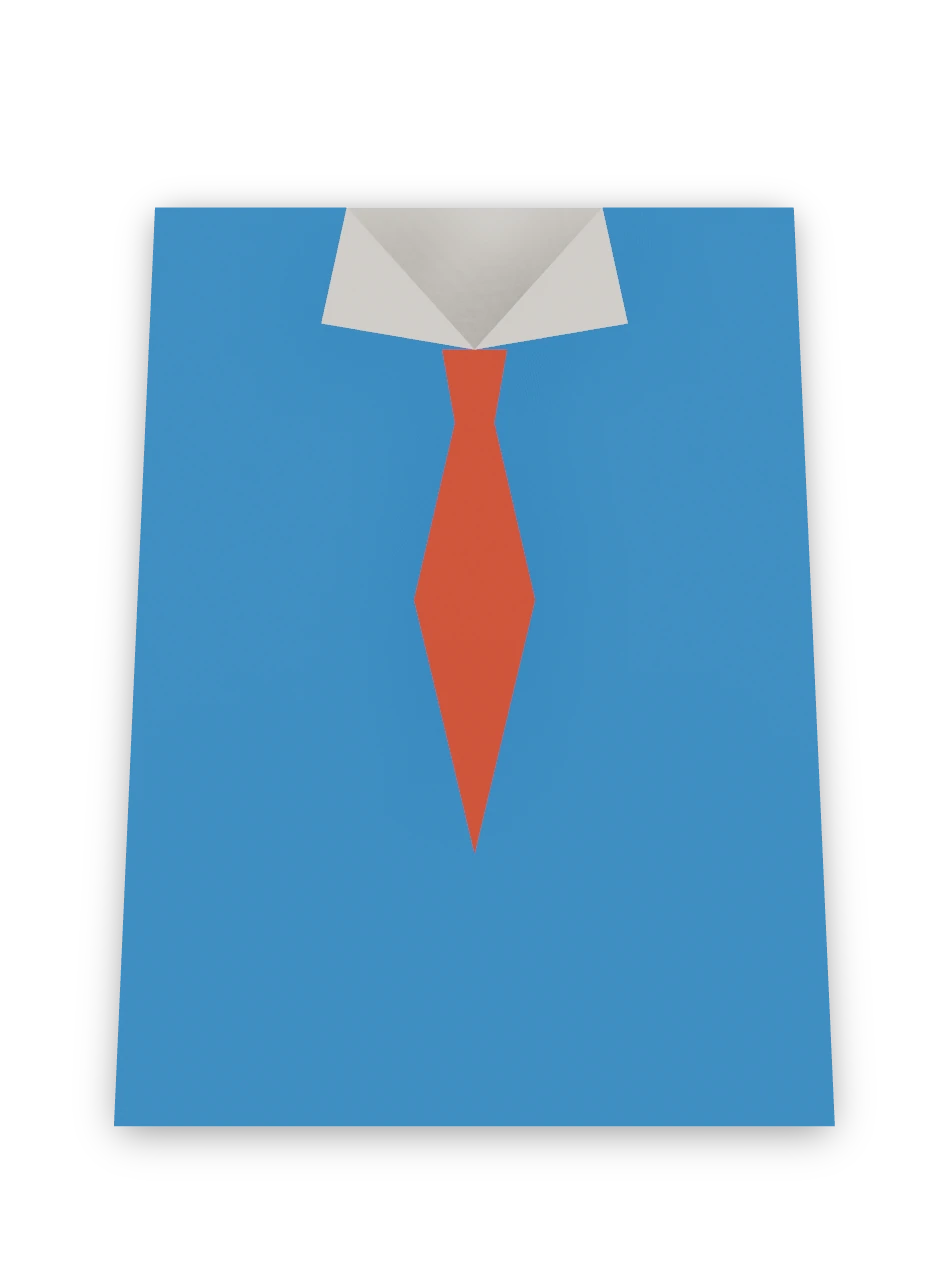
Shirt and tie card ↗
A card for Father's Day folded into a shirt: a V neck cut at the top, two white collar flaps folded down and a red tie glued below the neck. An Origami Tutor design with our own measurements.
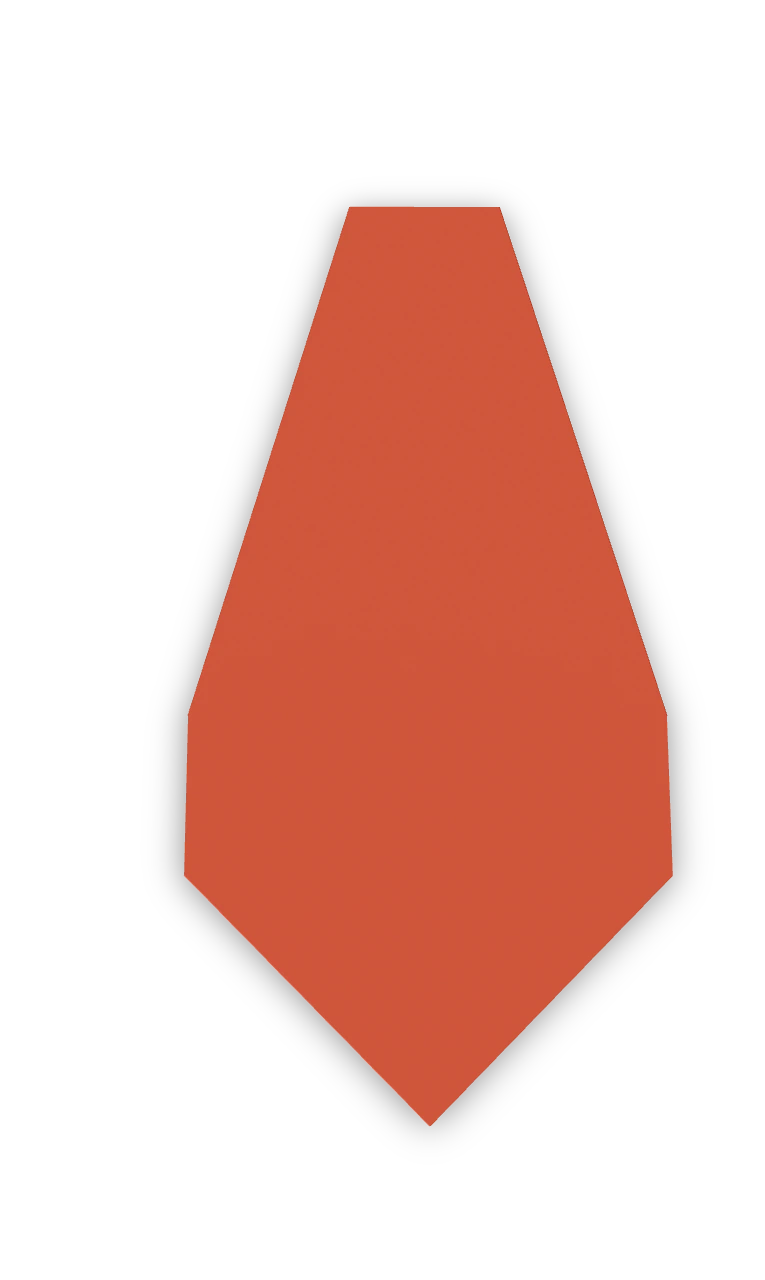
Necktie ↗
A small paper necktie folded from one narrow rectangle, with a pointed tail and a narrow knot. Tie it to a Father's Day gift as a tag, or glue it on a card. An Origami Tutor design.
Gate-fold card ↗
A folded card whose two doors meet in the middle and swing open like gates, from one 20 × 14 cm sheet. Good for thank-you notes, invitations and gifts, with a wide inside to write or glue a picture on.
Heart ↗
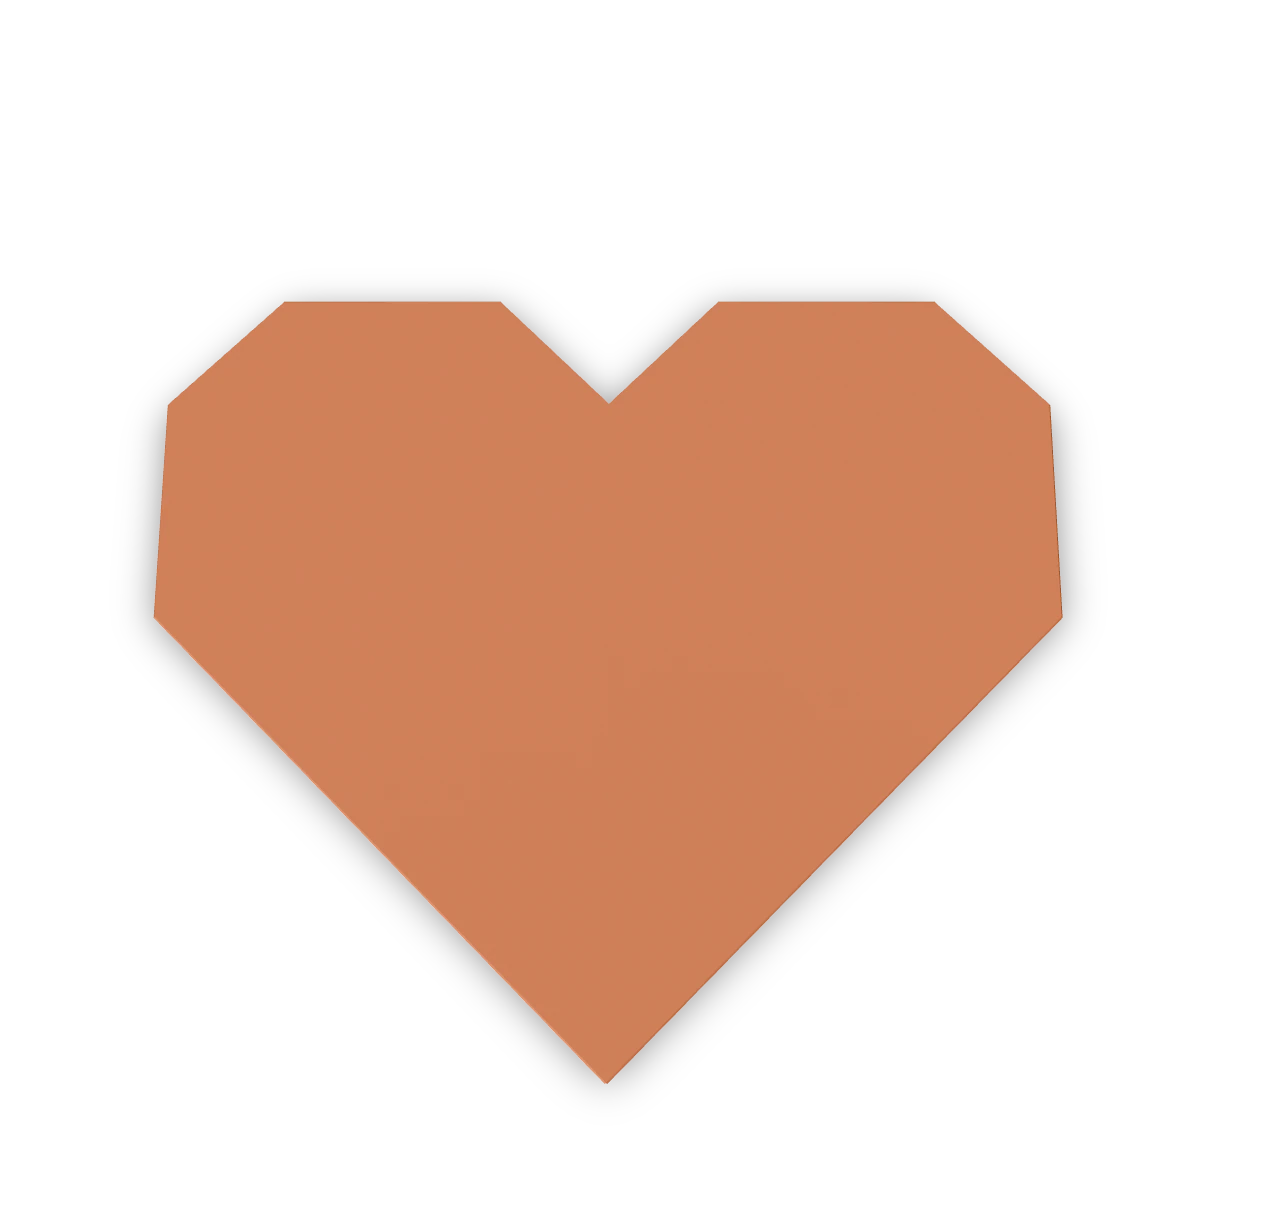
This heart stays flat, so it fits inside a greeting card or on the front of a folded note. The colored side makes the face; small folds hidden behind the left edge, right edge and two top tips soften the outline.