How to make an origami witch hat
Origami Witch Hat: try all 7 steps in the 3D player. Turn and replay every move. Print the complete diagram sheet or save it as PDF.
Fold the traditional flat witch’s hat from one square. Two corner folds form the pointed crown, while the doubled lower band makes a broad brim. This is a flat paper decoration.
- You need
- One 15 cm square of paper colored dark on both sides. No scissors or glue.
- Start
- Use paper colored dark purple or black on both sides. Start with an edge at the top.
Your model is ready
Your flat witch’s hat is finished. Press the two crown folds and the brim smooth. Use the hat as a small Halloween paper decoration.


Step-by-step diagrams
- 1
Find the horizontal middle
Bring the bottom edge to the top edge, press the fold, and open the square again.
- 2
Fold the brim band
Bring the bottom edge up to the middle crease. Leave the band folded; it covers the lower quarter of the square.
- 3
Turn to the plain face
Turn the shortened sheet over from side to side. Keep the folded band at the bottom.
- 4
Find the vertical middle
Bring the right edge to the left edge, press, and open the sheet again. The vertical crease marks the top midpoint.
- 5
Fold the right crown corner
Fold the top right corner diagonally down and left. Run the crease from the top midpoint to the bottom right corner. Turn only the front skin, leaving the band behind it still.
- 6
Fold the left crown corner
Fold the top left corner diagonally down and right along the matching line. Keep the lower band flat behind both corner flaps.
- 7
Show the front
Turn the whole hat over. The pointed crown rises above one unbroken rectangular brim.
- ✓
Finish
Your flat witch’s hat is finished. Press the two crown folds and the brim smooth. Use the hat as a small Halloween paper decoration.
Fold next
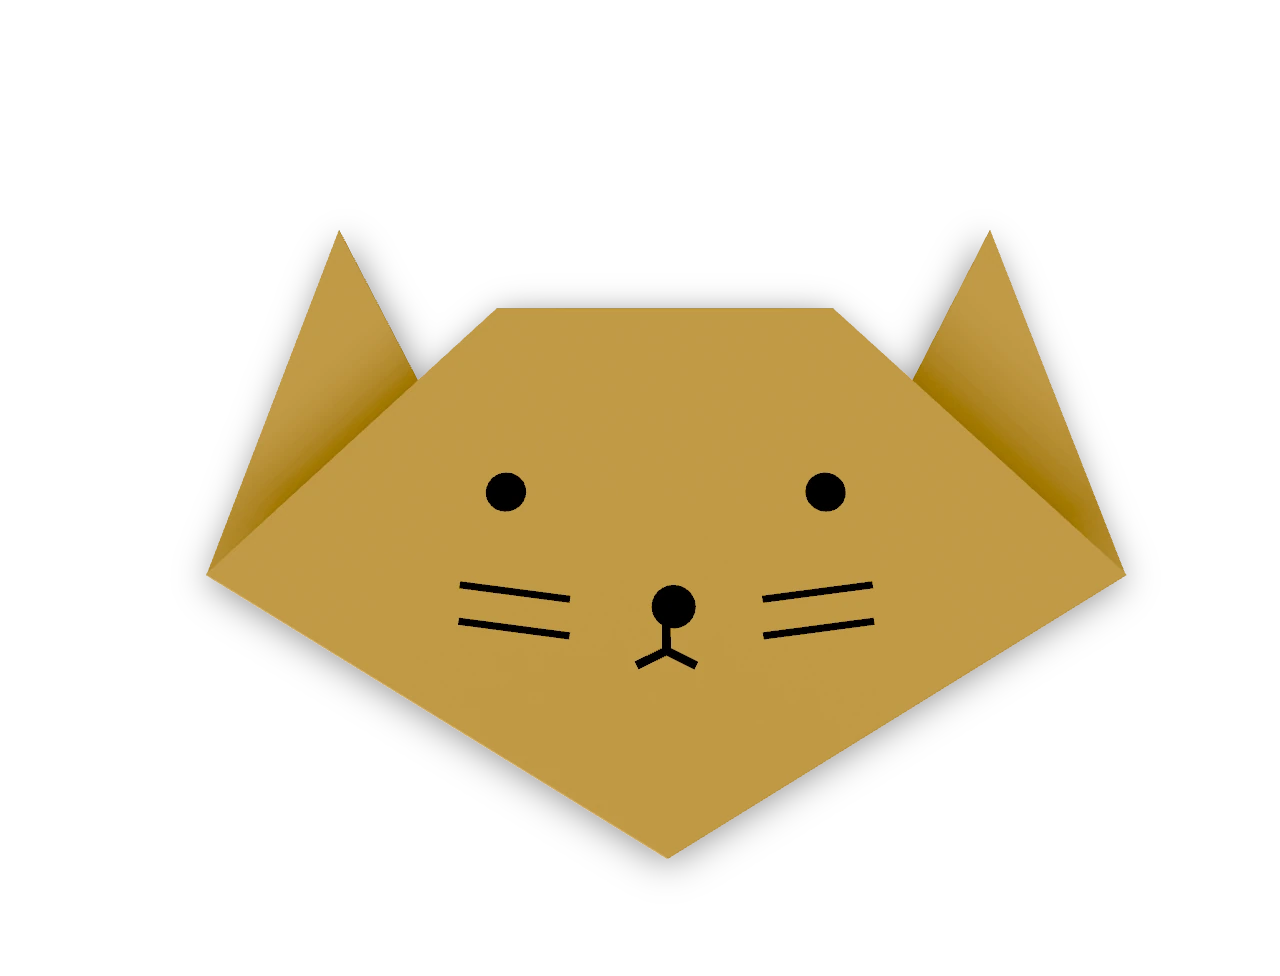
Cat face ↗
A traditional triangle cat head with two pointed ears and a straight forehead.
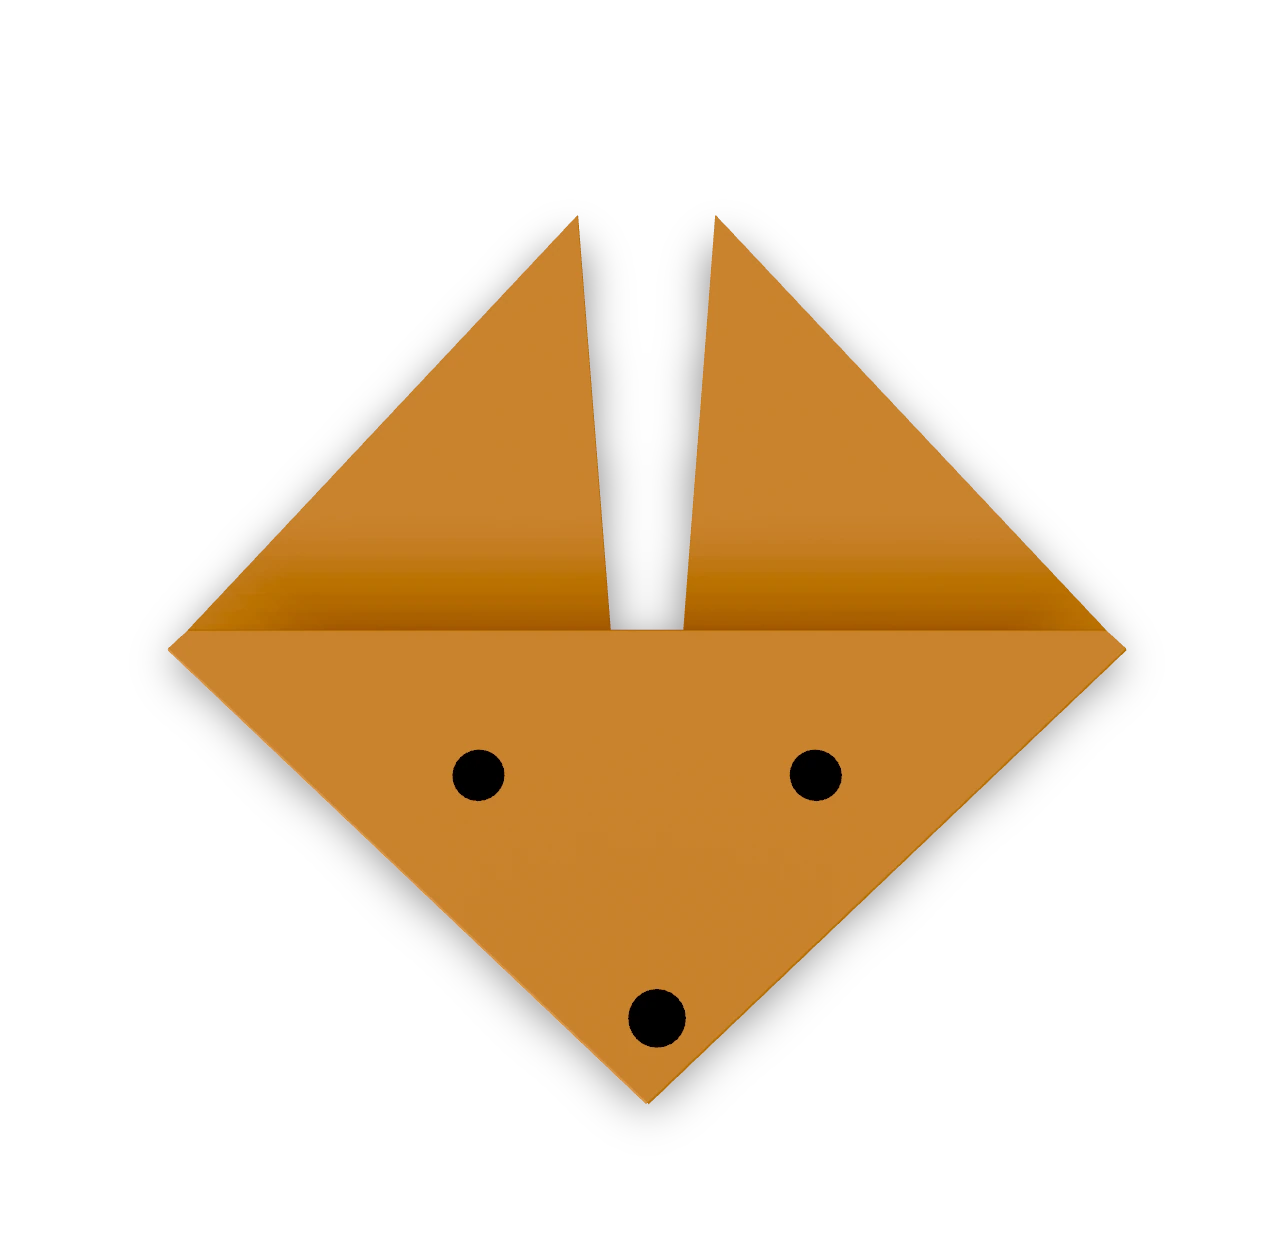
Fox face ↗
The traditional pointed fox face, recorded in Japan in 1878, with two tall ears.
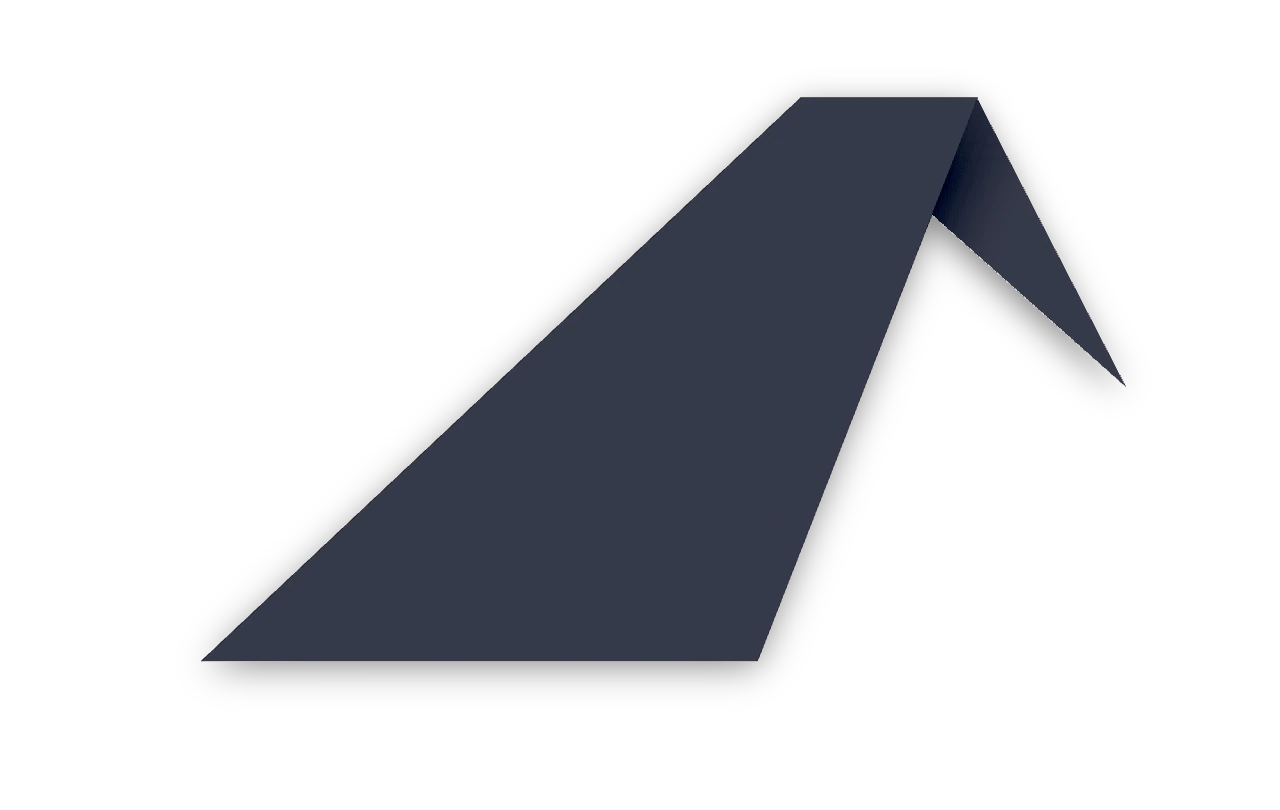
Simple crow ↗
The traditional simple crow: a long kite-shaped body and a short beak folded over its head.
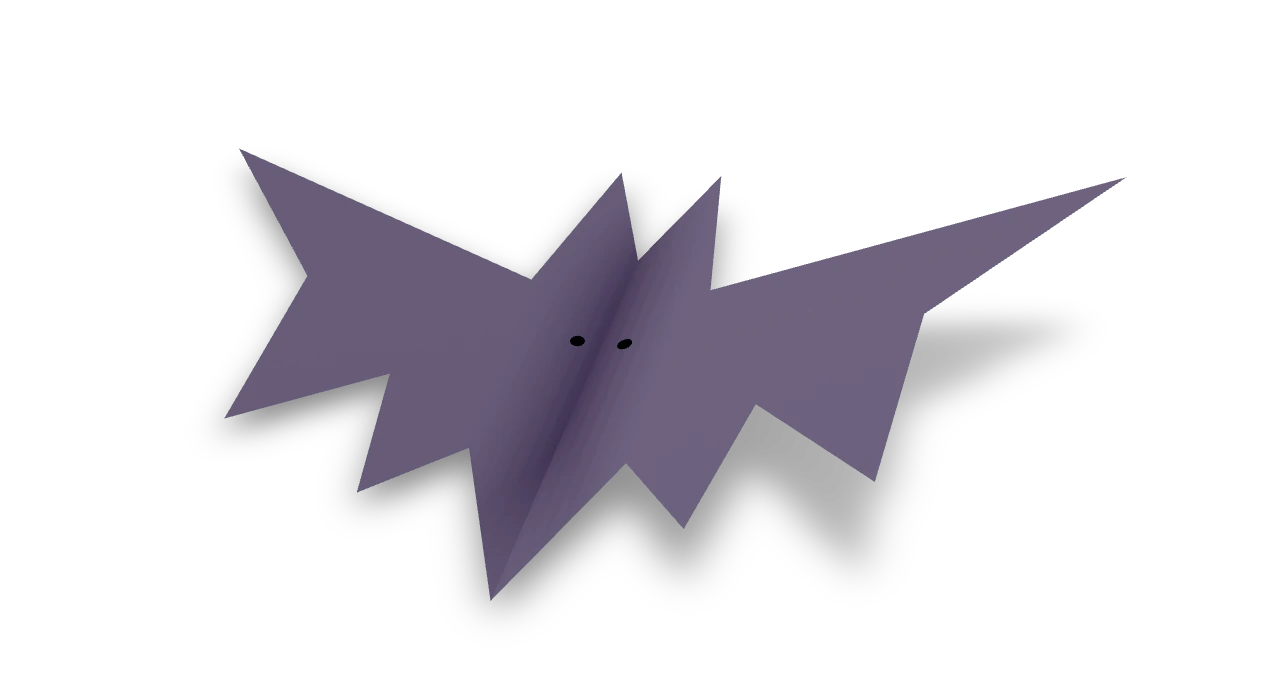
Bat ↗
An original Origami Tutor cut-and-fold bat with two pointed ears, matching scalloped wings and a narrow pointed body. Its middle fold gives the wings a shallow V.