How to make a paper bat garland
Paper Bat Garland: try all 6 steps in the 3D player. Turn and replay every move. Print the complete diagram sheet or save it as PDF.
Accordion-fold three wide panels and cut three bats with tall paired ears and broad scalloped wings. Their wing tips stay joined, so the opened strip makes a clear bat garland.
- You need
- Thin paper, a pencil, a ruler and scissors.
- Start
- Use a 28.8 × 6 cm strip of thin black or purple paper. Mark three equal 9.6 cm panels.
Your model is ready
Open and smooth both folds. The three bats stay joined at their wing tips. Tape the ends across a window, or make another strip for a longer garland. The finished garland: three broad bats with paired ears and scalloped wings.


Step-by-step diagrams
- 1
Fold panel 1 over the next
Measure another 96 mm panel. Fold the entire left packet over the paper to its right, lining up the edges. Keep all panels the same width.
- 2
Fold panel 2 behind the next
Measure another 96 mm panel. Fold the entire left packet under the paper to its right, lining up the edges. Keep all panels the same width.
- 3
Cut the wings and paired ears
Start on one folded side 10 mm below the top. Cut over the broad wing and its shoulder, then around the two tall ears with a dip between them. Continue over the other wing to the opposite folded side.
- 4
Cut the large wing scallops
Start 8 mm below the first cut at the folded side. Cut two broad scallops under the wing, then down around the short body and pointed tail. Repeat the scallops on the other wing, keeping both wing-tip bridges uncut.
- 5
Open pleat 2
Open this crease gently, leaving the earlier folds closed. Keep the uncut joins together.
- 6
Open pleat 1
Open this crease gently, leaving the earlier folds closed. Keep the uncut joins together.
- ✓
Finish
Open and smooth both folds. The three bats stay joined at their wing tips. Tape the ends across a window, or make another strip for a longer garland. The finished garland: three broad bats with paired ears and scalloped wings.
Fold next
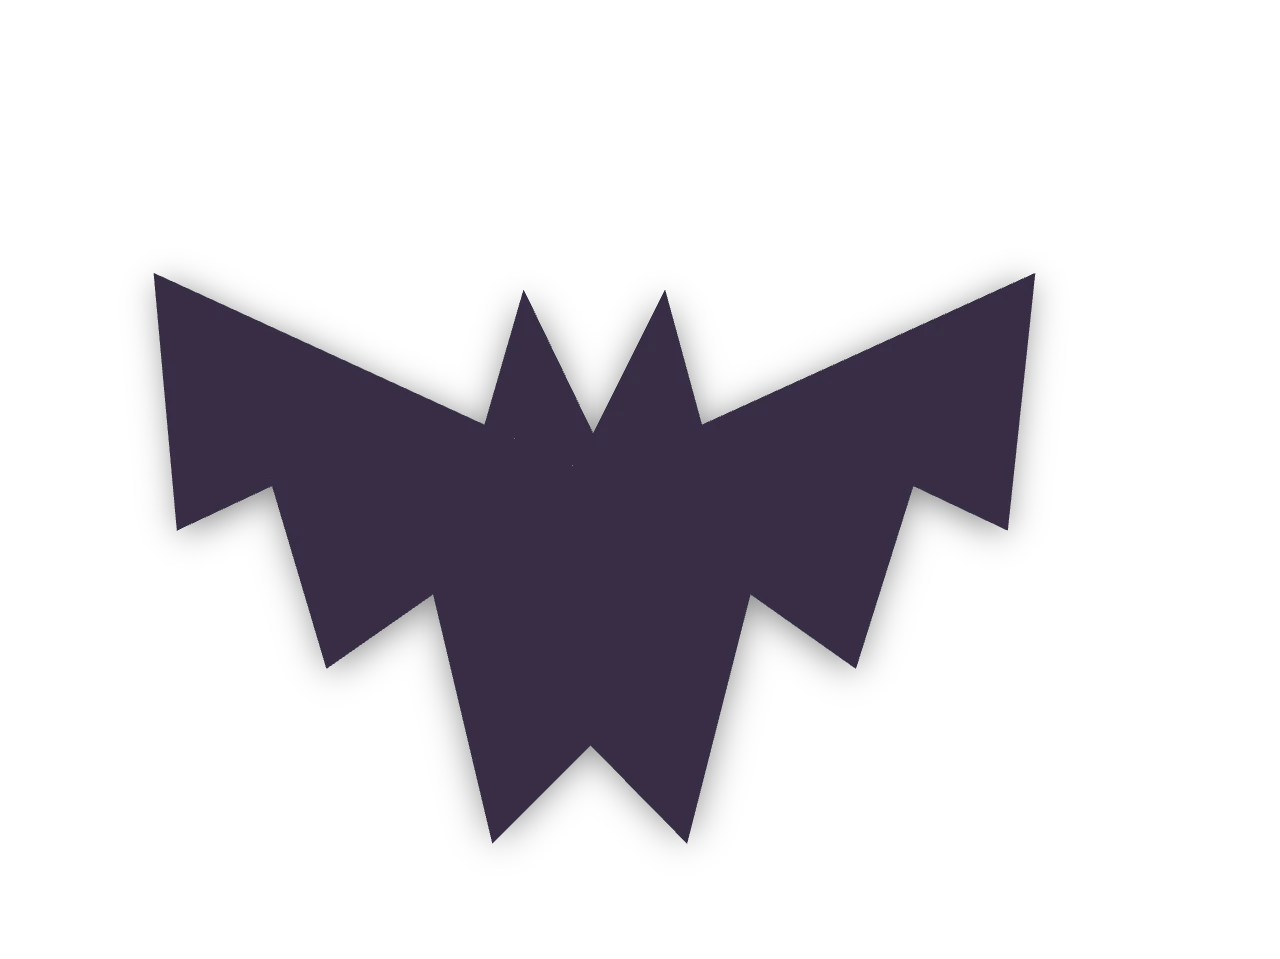
Fold-and-cut paper bat ↗
Fold one book crease, cut two ears and matching scalloped wings through both layers, then open a flat Halloween bat.
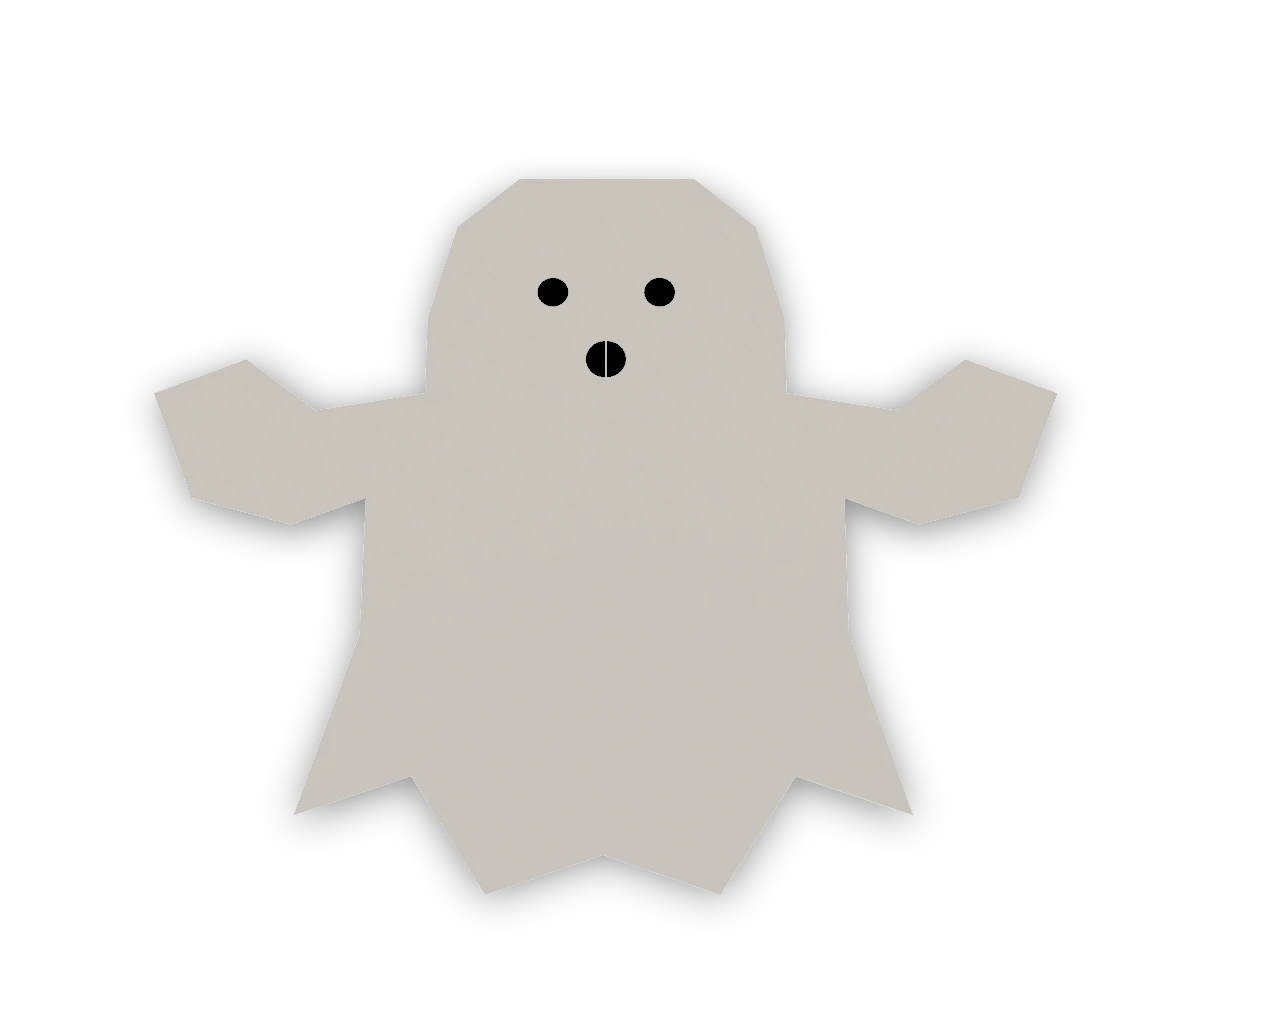
Fold-and-cut paper ghost ↗
A book fold and three cuts make a single white ghost with raised arms and a pointed sheet hem. Open it flat and draw a face.
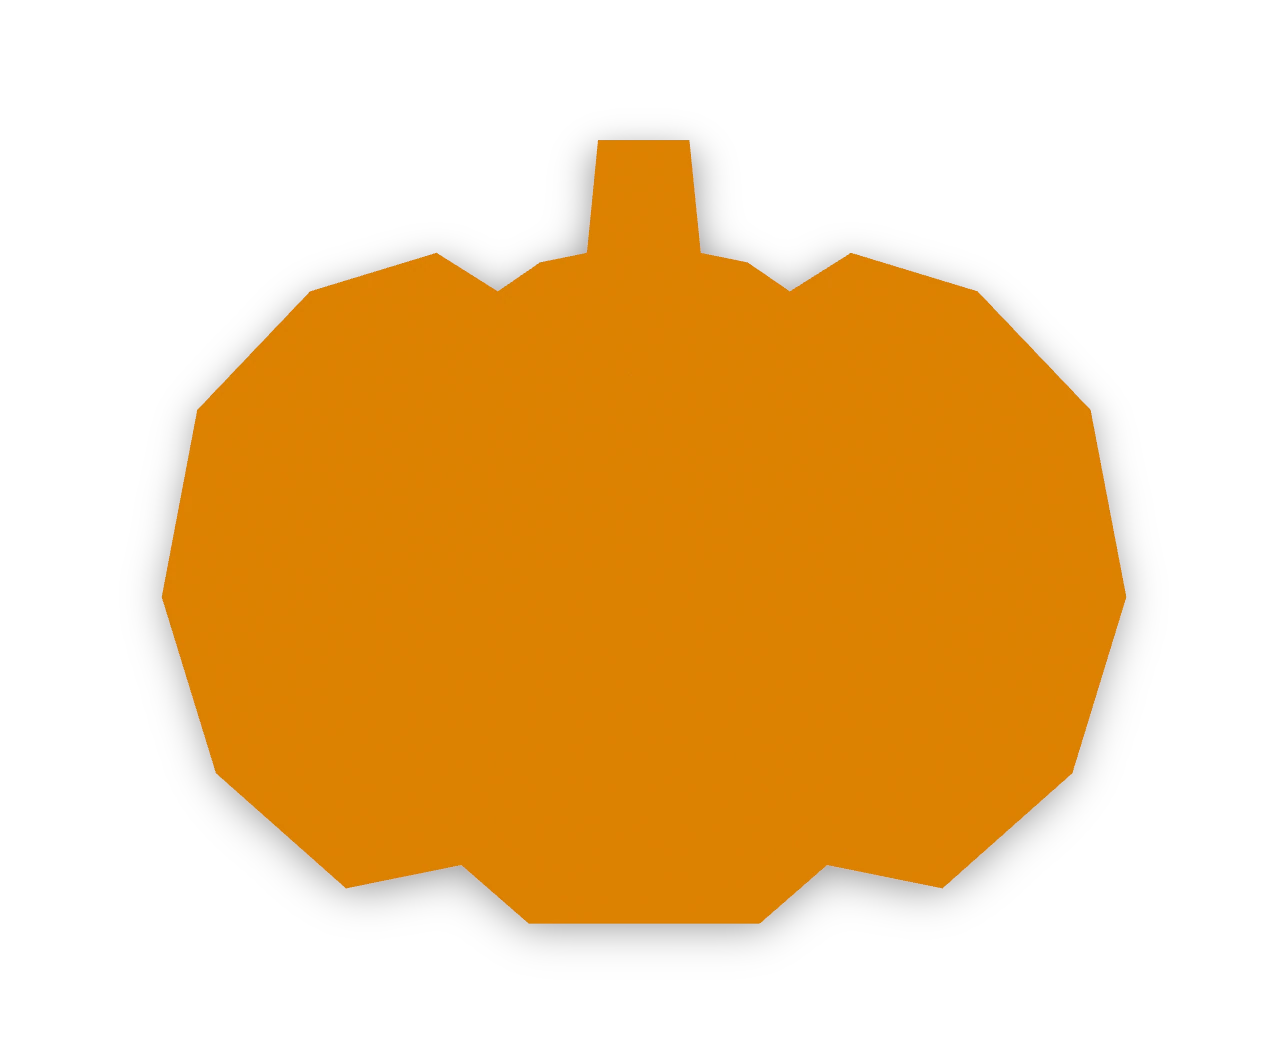
Fold-and-cut paper pumpkin ↗
An Origami Tutor pumpkin: fold a square in half, cut one scalloped outline through both layers, then open a round pumpkin with three lobes and a stem.

Fold-and-cut paper witch's hat ↗
An Origami Tutor witch's hat: fold a square in half, cut one outline through both layers, then open a tall pointed hat with a wide brim.