How to make a paper bunny cutout
Paper Bunny Cutout: try all 3 steps in the 3D player. Turn and replay every move. Print the complete diagram sheet or save it as PDF.
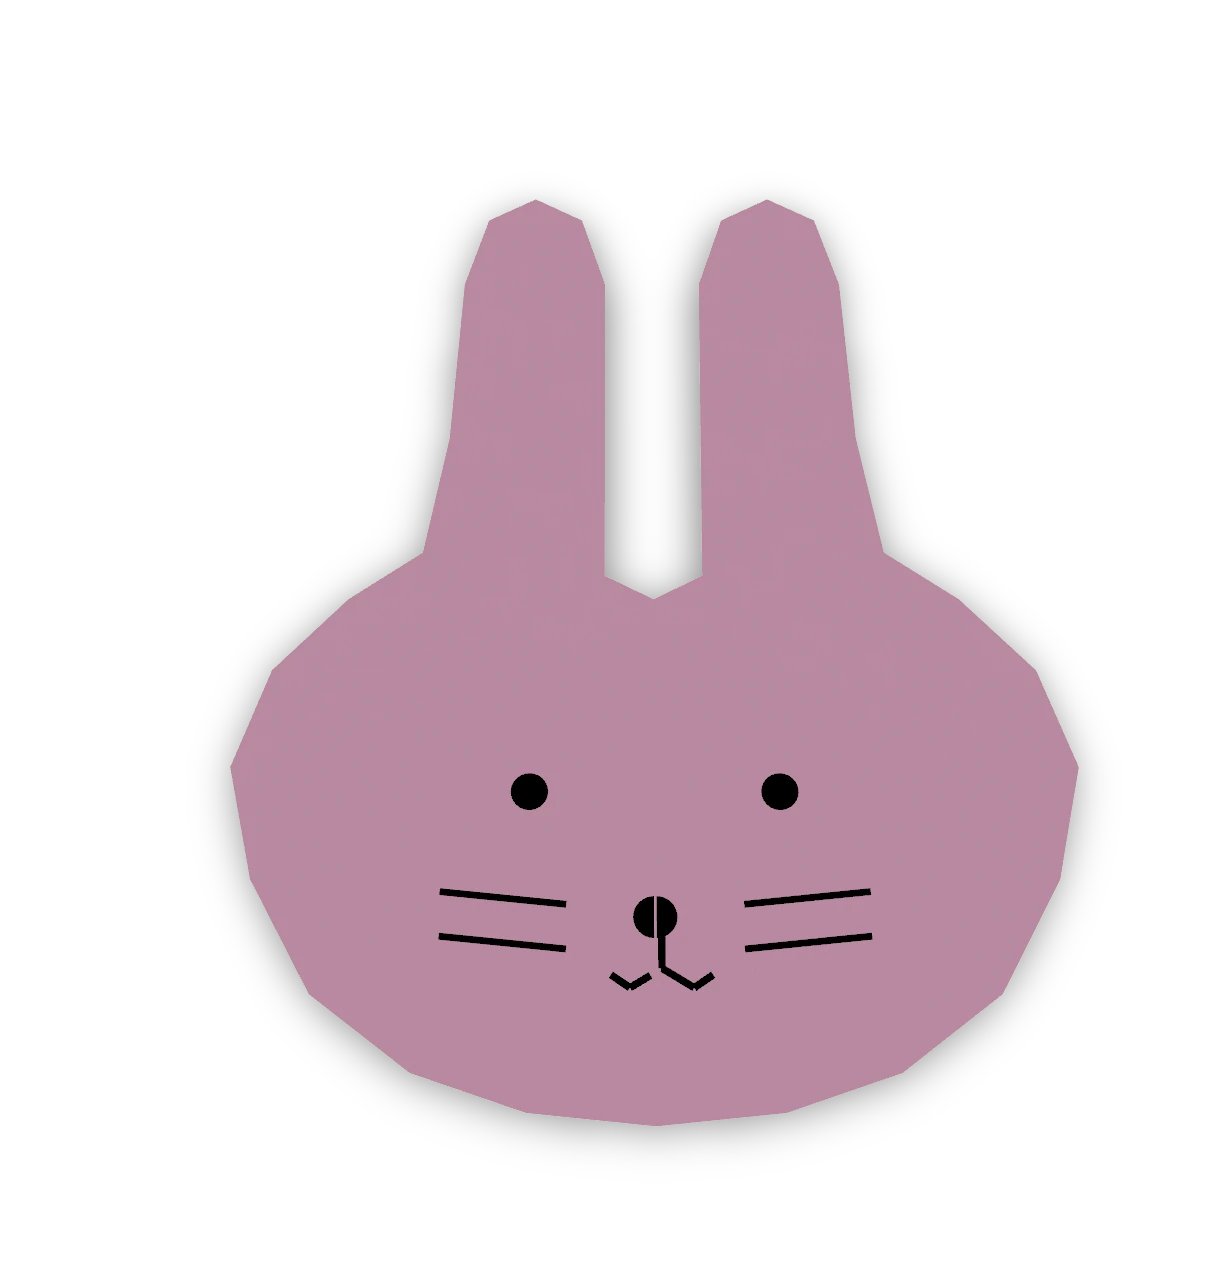
An Origami Tutor Easter bunny: fold a square in half, cut one joined outline through both layers, then open a front-facing bunny head with two long ears.
- You need
- Thin paper, a pencil, a ruler, scissors and a pen for the face.
- Start
- Begin with a 12 cm square of white, gray or pink paper, colored side up. Keep an edge at the top.
Draw the bunny’s face
Smooth the centre crease. Draw two dot eyes, a little nose and a smile. Add two short whiskers on each cheek. The finished paper bunny, with its two long ears above its face.

Step-by-step diagrams
- 1
Fold the square in half
Bring the left edge to the right edge. Match the corners and press the vertical fold. Keep the folded edge on the left.
- 2
Cut the bunny outline
Start on the folded edge at the notch between the ears. Cut up the inside of the ear, round its tip and down the outside, then round the cheek and in to the chin on the folded edge. Keep the half bunny beside the fold and throw away the paper round it.
- 3
Open the bunny
Open the centre fold gently. The two ears and the face are one sheet.
- ✓
Finish
Smooth the centre crease. Draw two dot eyes, a little nose and a smile. Add two short whiskers on each cheek. The finished paper bunny, with its two long ears above its face.
Fold next
Open box ↗
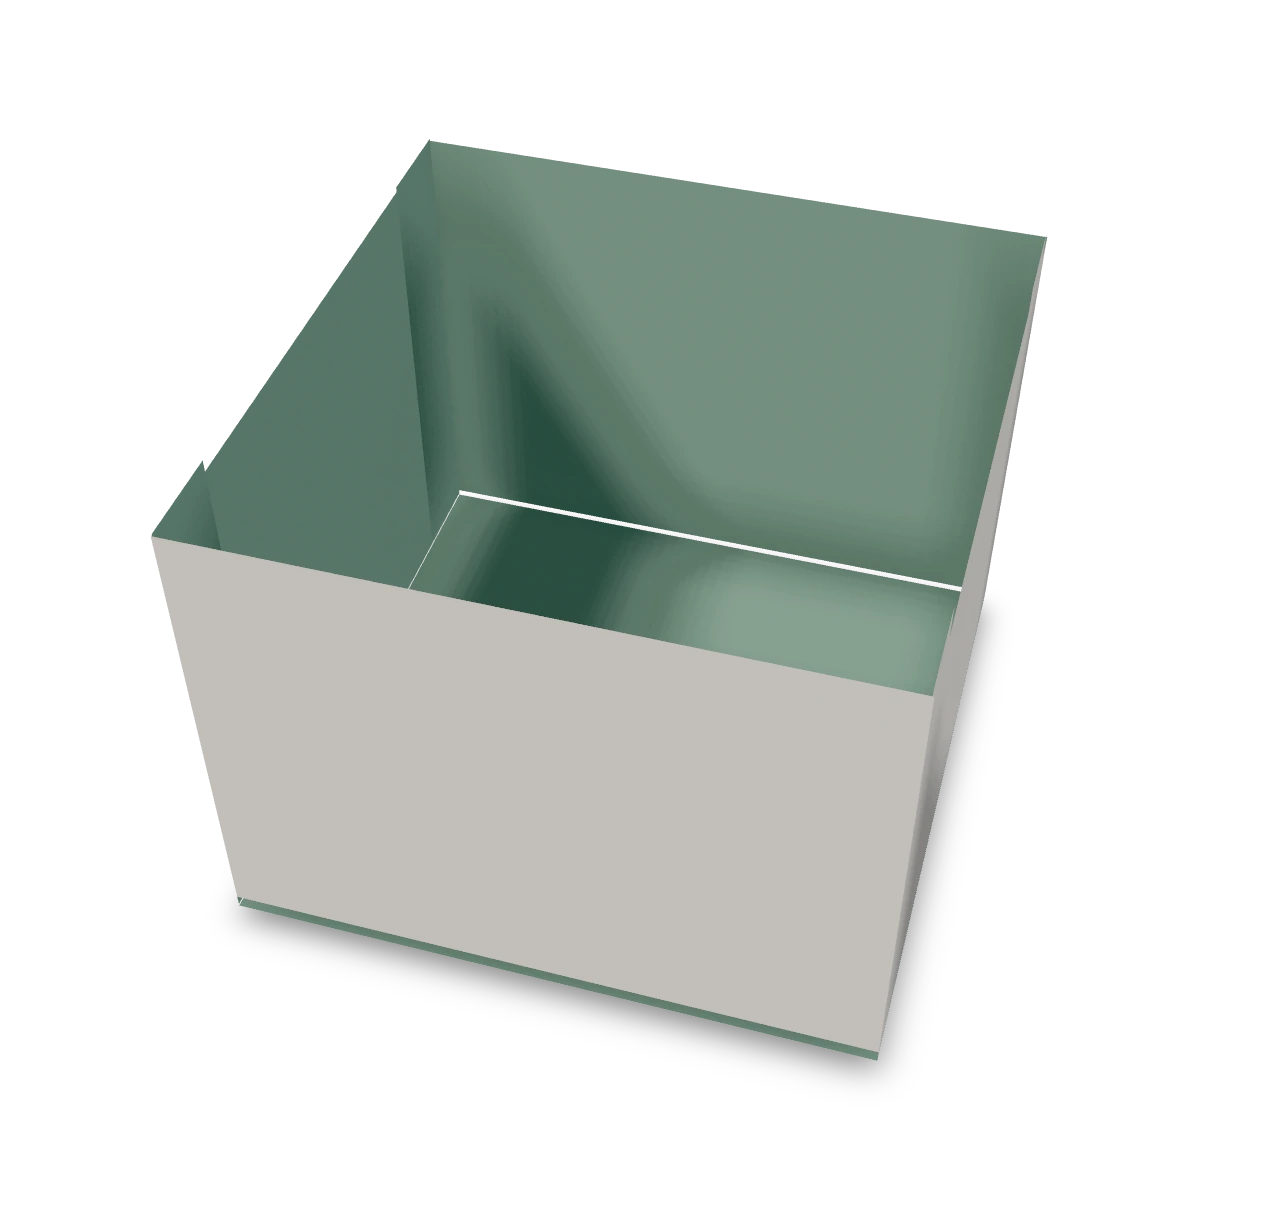
Cut and fold a small open box with a 4 × 4 cm base and 3 cm walls.
Tissue flower ↗
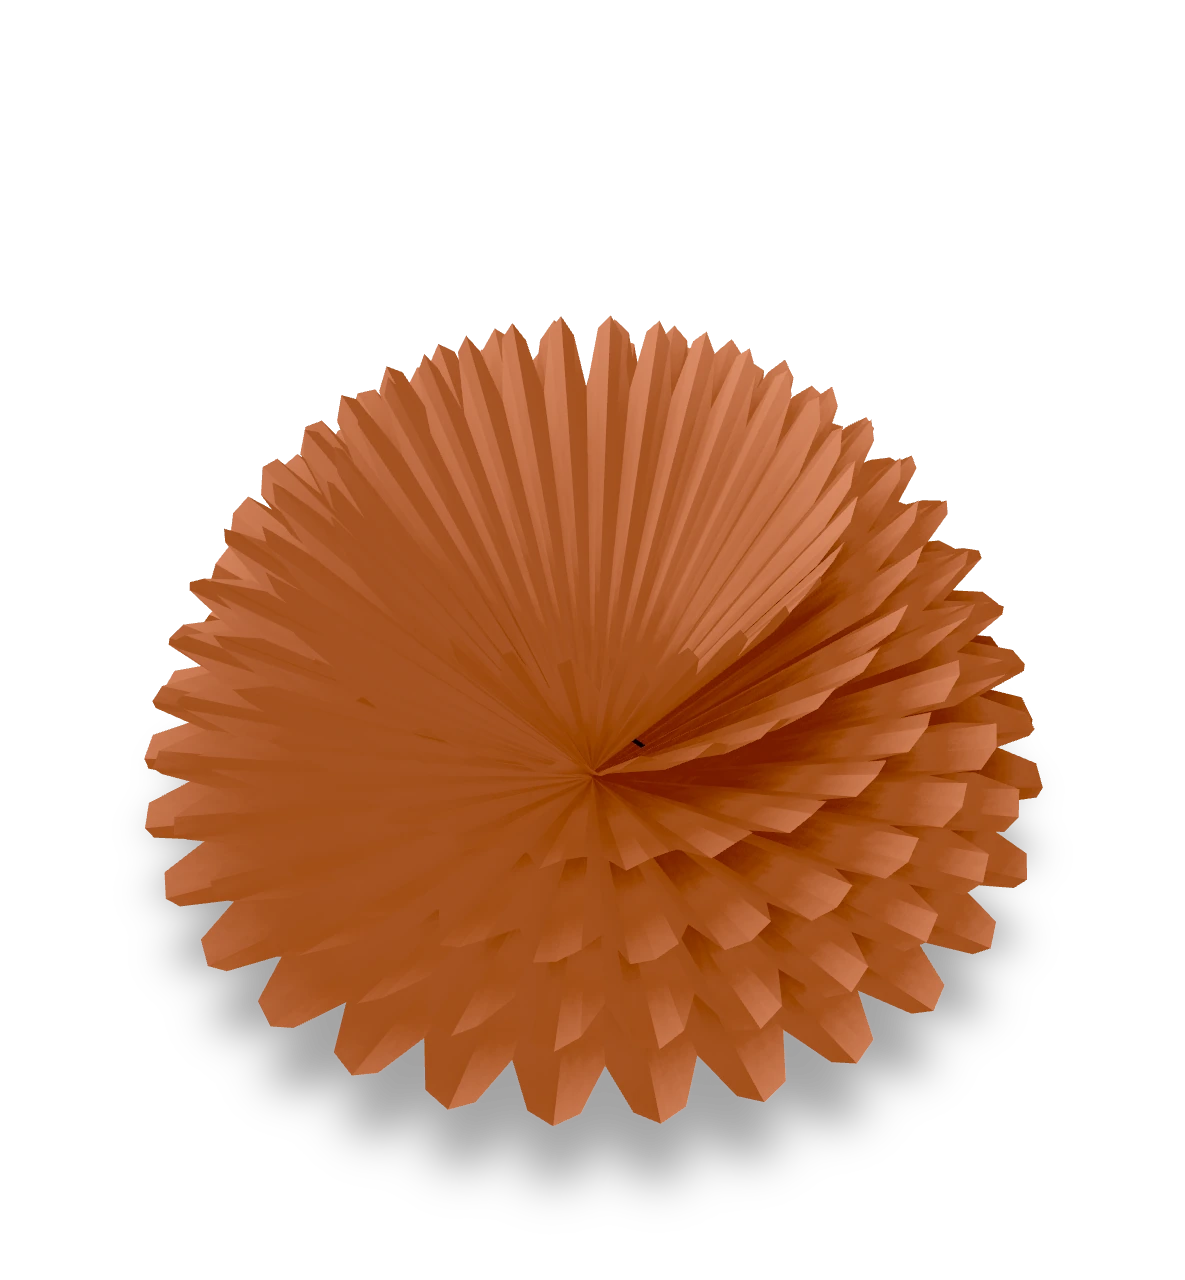
Pleat six tissue sheets, tie the center and lift the layers into a soft bloom.
Easter egg ↗
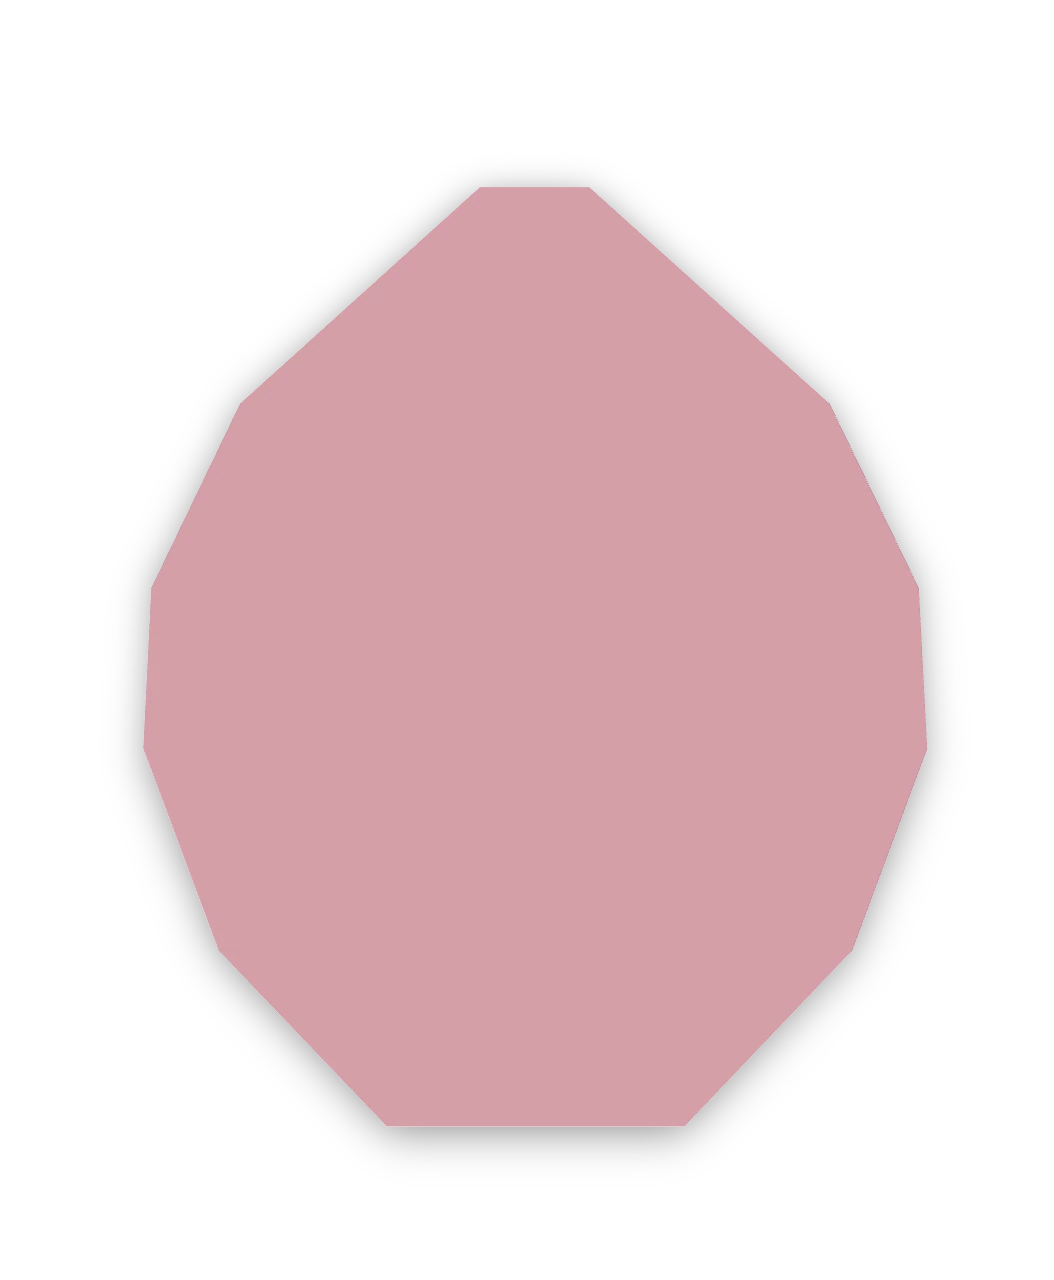
An Origami Tutor flat Easter egg from one square: the points and corners of a diamond fold behind it to round it into an egg, ready to decorate with stripes, dots and zigzags.

Carrot ↗
An Origami Tutor carrot in two pieces: an orange root with a flat top and a long point, and a green top with three leaves. Both fold from plain squares with simple valley folds, and a dab of glue joins them.