How to make an origami sparrow (chubby)
Origami Sparrow (Chubby): try all 21 steps in the 3D player. Turn and replay every move. Print the complete diagram sheet or save it as PDF.
An Origami Tutor presentation of the traditional Japanese chubby sparrow (fukura suzume), with broad wings, a short beak, a pointed tail and an inflated body.
- You need
- One square of thin origami paper. No glue or scissors.
- Start
- Start colored side up, with a corner pointing up. Thin paper makes the body easier to open at the end.
- Tips
- Keep the broad wing triangles separate from the two narrow lower points.
- The finished bird opens into a plump body; use soft, thin paper.
Your model is ready
The chubby sparrow is folded. Gently blow into the opening at the bottom to inflate the body, then spread its broad wings.

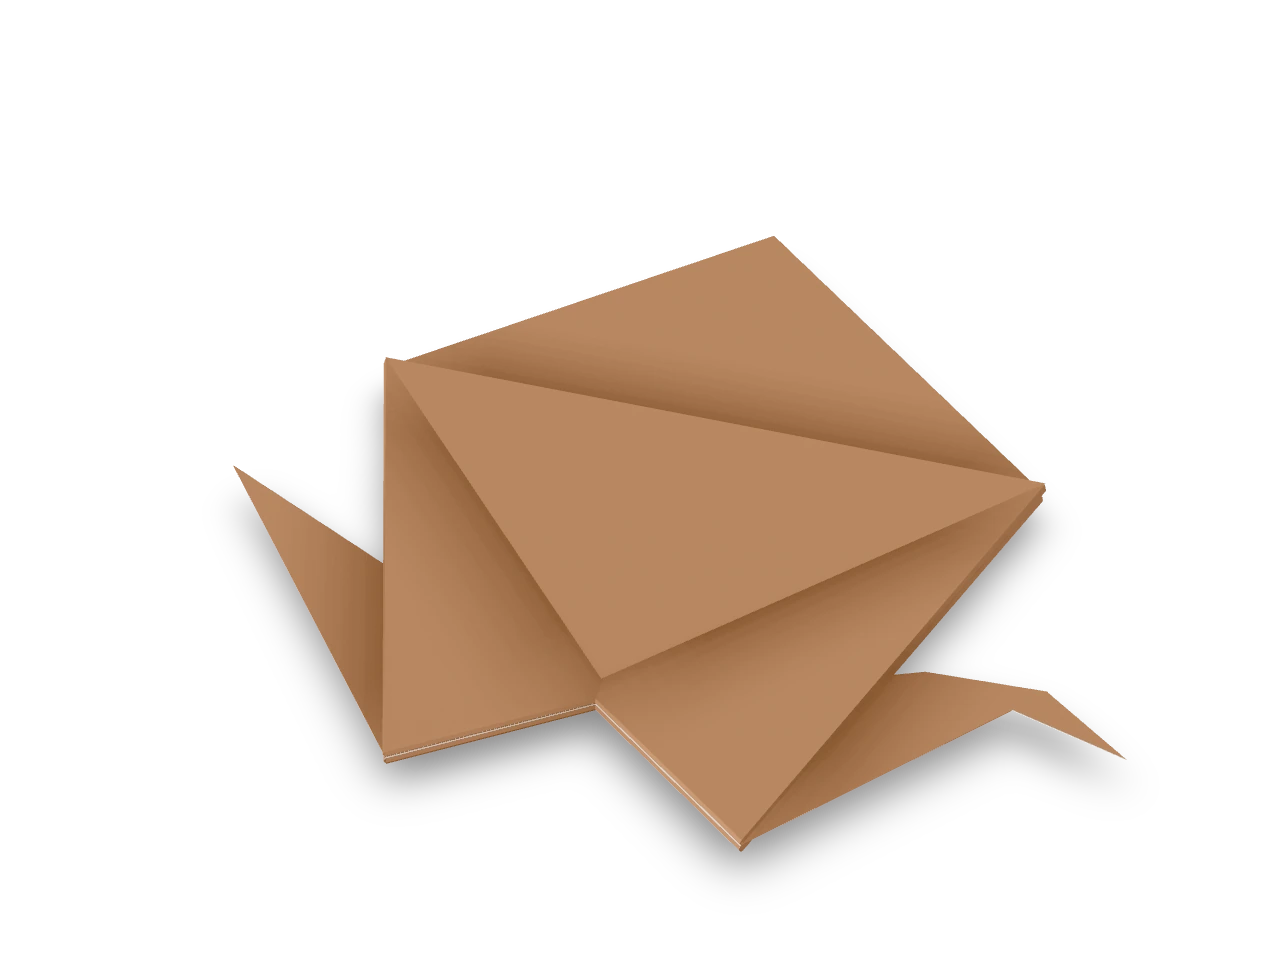
Step-by-step diagrams
Steps 1–6
- 1
Crease a diagonal
Bring the top corner down to the bottom corner, press, and open.
- 2
Crease the other diagonal
Bring the left corner to the right corner, press, and open.
- 3
Turn over
Turn the paper over, keeping a corner pointing up.
- 4
Crease edge to edge
Fold the bottom-left edge up to the top-right edge, press, and open.
- 5
Crease the other way
Fold the bottom-right edge up to the top-left edge, press, and open.
- 6
Turn back
Turn the paper back over, keeping a corner pointing up.
Steps 7–12
- 7
Collapse into a square
Hold the bottom corner. Push the left and right corners in and down so the paper collapses along the creases into a small square, open end at the bottom.
- 8
Raise a broad wing
Fold only the front loose bottom point up to the closed top point. Leave the inner points down.
- 9
Turn over
Turn the packet over, keeping the closed point at the top.
- 10
Raise a broad wing
Fold only the front loose bottom point up to the closed top point. Leave the inner points down.
- 11
Narrow the left point (front)
Fold the lower left edge to the middle crease, leaving the broad raised triangle open above it.
- 12
Narrow the right point (front)
Fold the lower right edge to the middle crease in the same way.
Steps 13–18
- 13
Turn over
Turn the packet over to the other pair of lower edges.
- 14
Narrow the left point (back)
Fold the lower left edge to the middle crease, leaving the broad raised triangle open above it.
- 15
Narrow the right point (back)
Fold the lower right edge to the middle crease in the same way.
- 16
Raise the head
Open the layers around the left narrow point. Push it up and out between them, then close the body around its root.
- 17
Raise the tail
Reverse the other narrow point outward on the right, matching the height of the head point.
- 18
Form the beak
Open the head point a little and push its tip down inside between its layers, making a short beak.
Steps 19–21
- 19
Lower the front wing
Fold the front wing down along the line between its side corners.
- 20
Turn over
Turn the bird over to lower the other wing.
- 21
Lower the back wing
Fold the back wing down to match.
- ✓
Finish
The chubby sparrow is folded. Gently blow into the opening at the bottom to inflate the body, then spread its broad wings.
Fold next

Crane ↗
The crane begins with a square base. Two petal folds turn it into a bird base with separate points for the neck and tail; the broad flaps become the wings. Work through one side of the body before repeating the narrowing folds on the back.
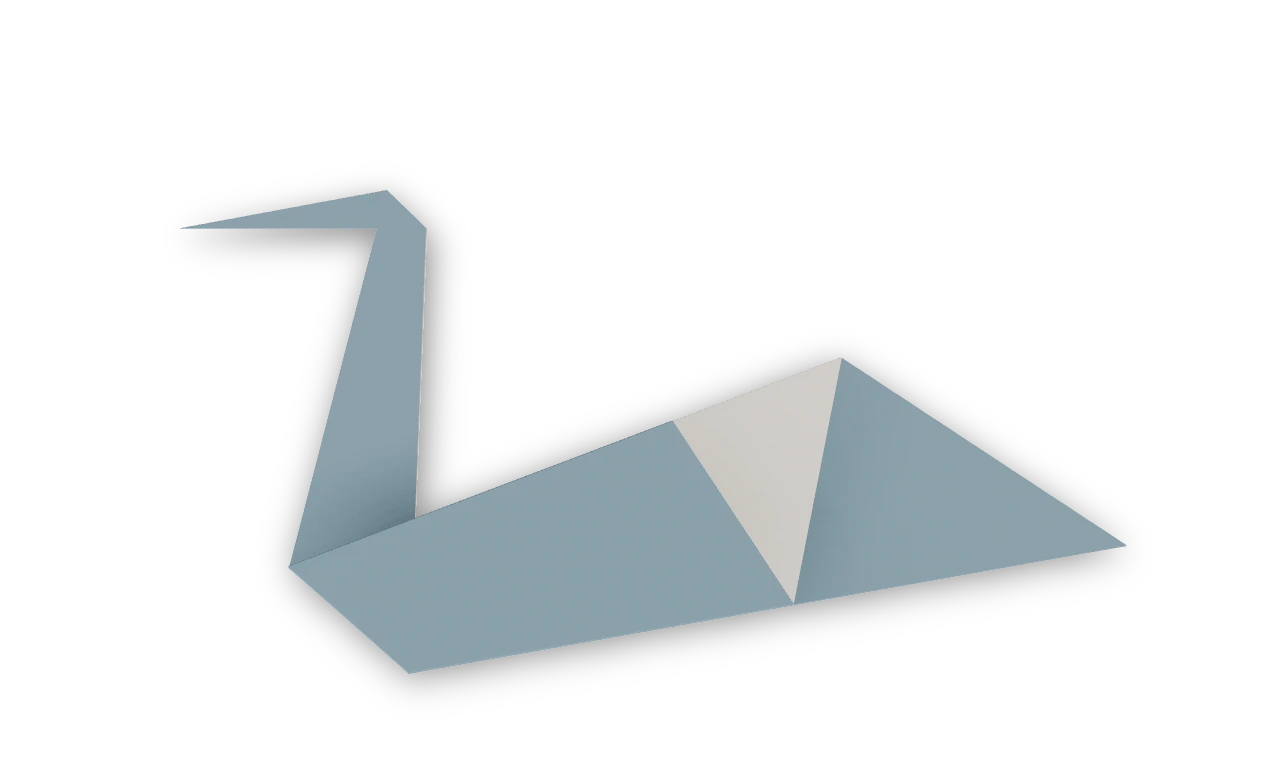
Swan ↗
The traditional kite-base swan, with a pointed tail, a long neck and a small head.
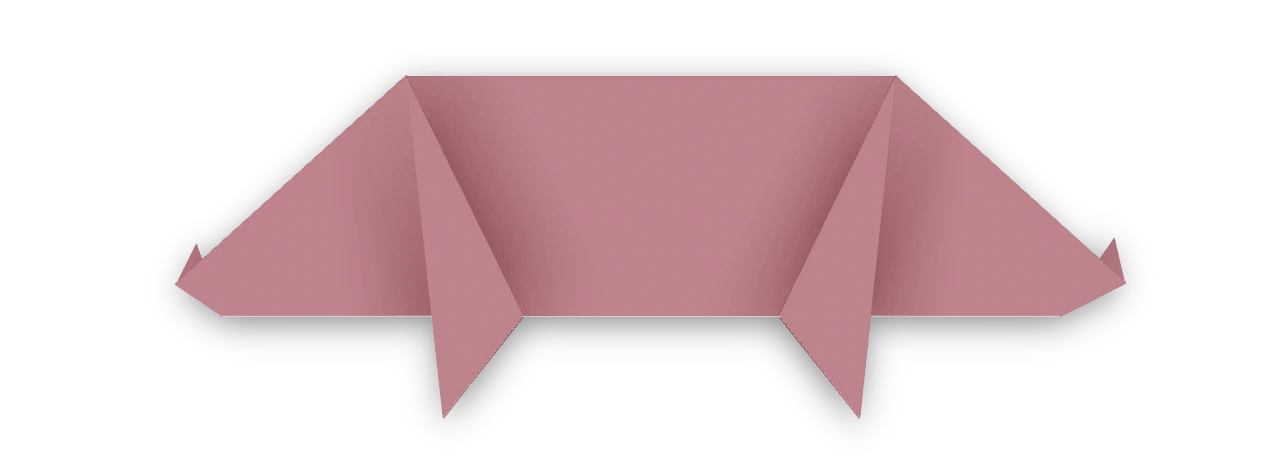
Pig ↗
The traditional kindergarten pig, recorded in 1863. It stands on four pointed feet, with a raised tail and a short snout.
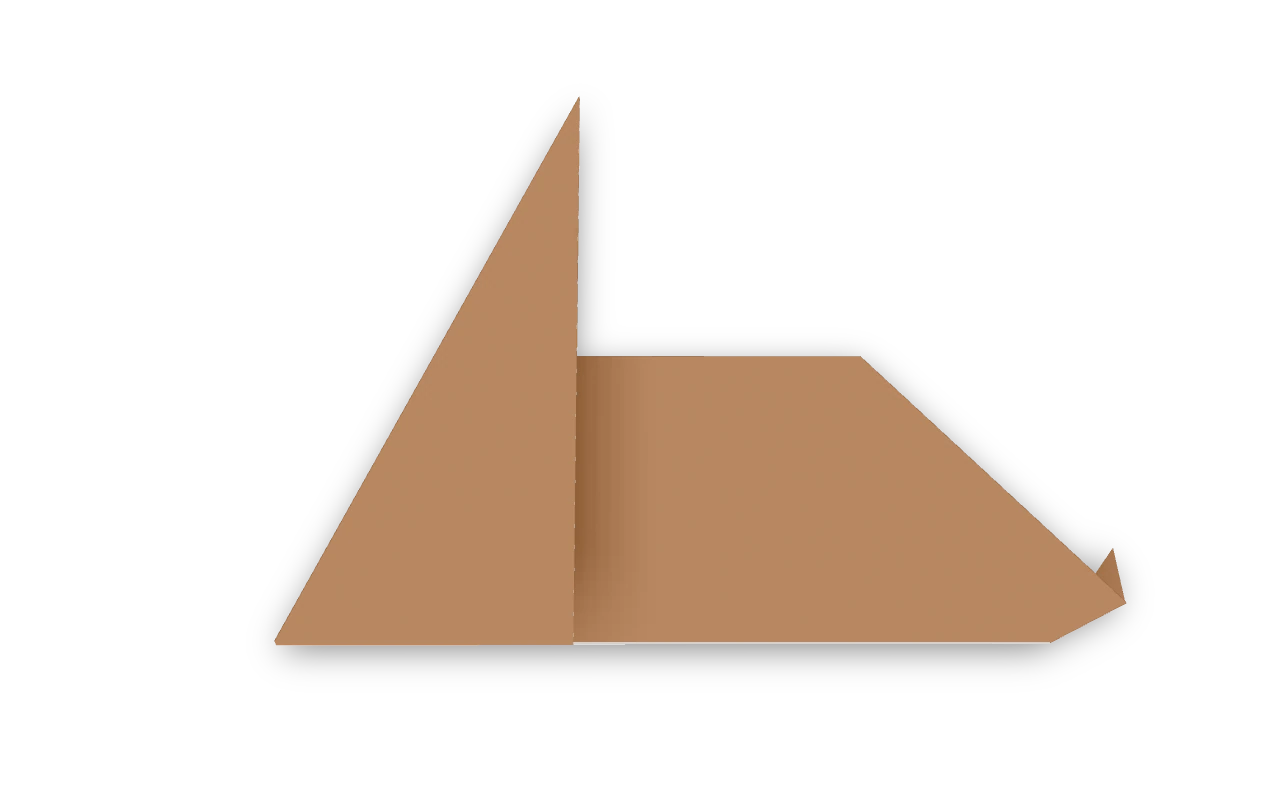
Japanese rabbit ↗
The cupboard-base Japanese rabbit recorded in 1935, with long ears and a small turned-up tail. Fold its broad head, narrow ears, body and reversed tail.