How to make an origami crab
Origami Crab: try all 18 steps in the 3D player. Turn and replay every move. Print the complete diagram sheet or save it as PDF.
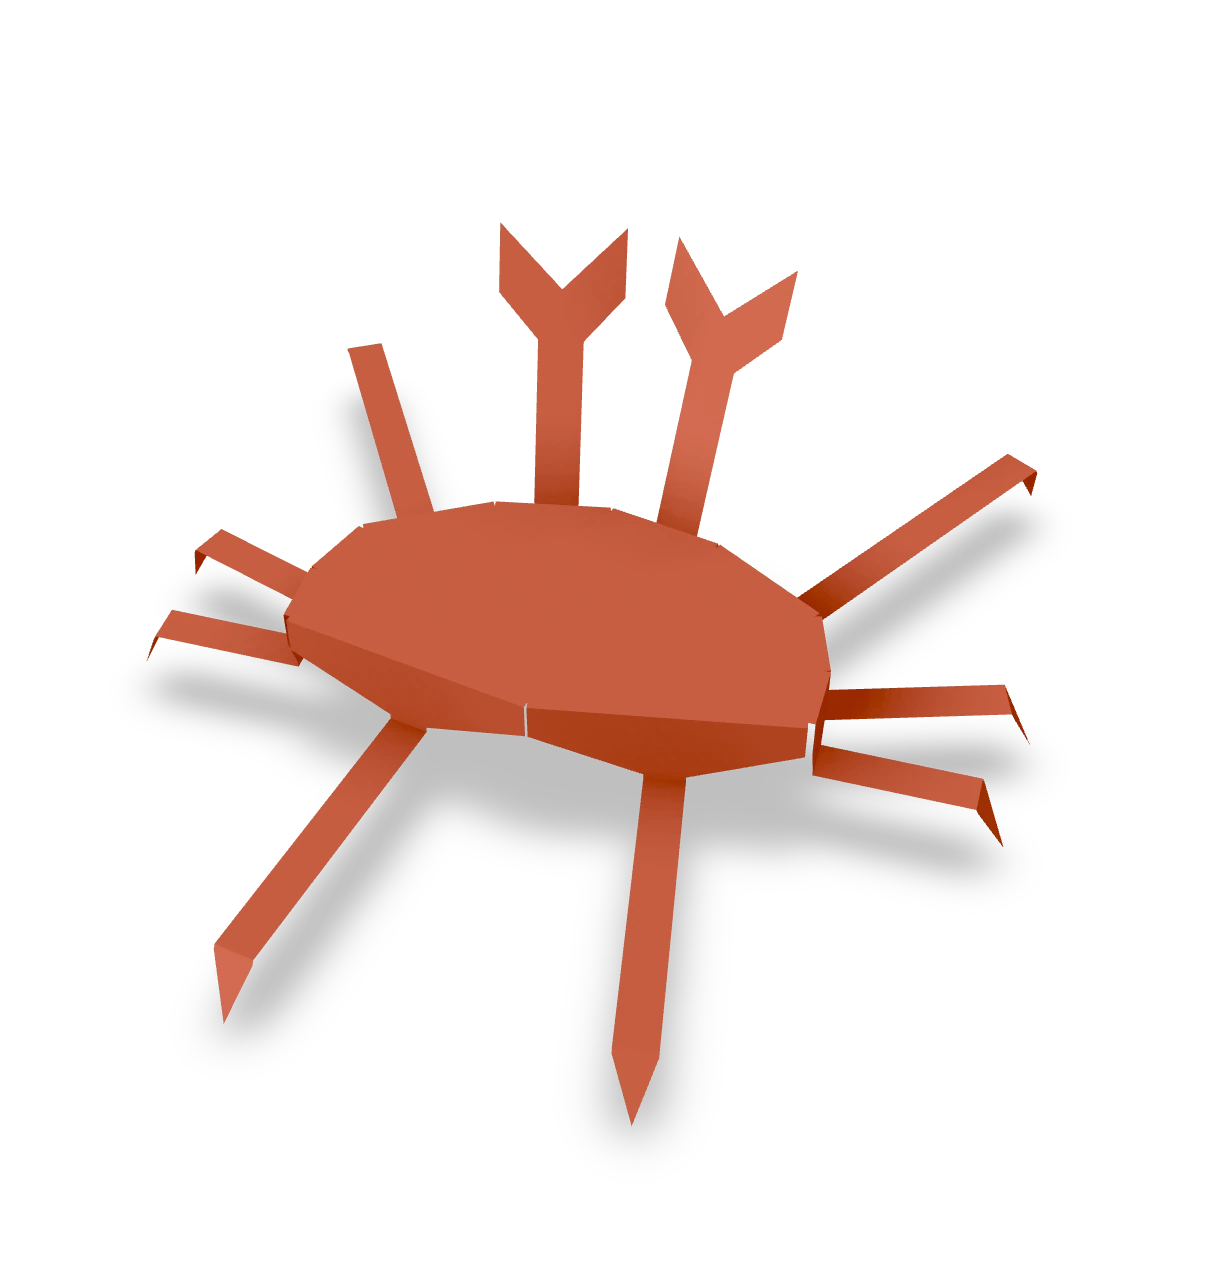
An Origami Tutor fold-and-cut crab with a raised carapace, eight jointed walking legs and two open pincers, all joined to one square.
- You need
- One square of thin paper colored alike on both sides, a pencil, ruler and scissors. A pen for eyes is optional. No glue.
- Start
- Start with an edge at the top. Trace the broad middle and ten strips shown in the cutting diagram. The two strips at the front have forked ends.
- Tips
- Keep the central shell whole while cutting between the strips.
- The eight narrow strips are walking legs; only the two forked front strips become pincers.
Your model is ready
The crab has eight walking legs and two raised pincers. Keep the carapace level and add two small eyes near its front edge if you like. The finished crab, with its broad shell raised over eight bent legs and its two pincers in front.

Step-by-step diagrams
Steps 1–7
- 1
Prepare the first side guide
Before cutting, fold the right edge inward along the marked upright line. Press and open the square flat again.
- 2
Cut outline 1
Cut from one marked edge point to the next around the limb outline. Keep the broad middle and every strip joined to it. Lift away only the outside scrap.
- 3
Cut outline 2
Cut from one marked edge point to the next around the limb outline. Keep the broad middle and every strip joined to it. Lift away only the outside scrap.
- 4
Cut outline 3
Cut from one marked edge point to the next around the limb outline. Keep the broad middle and every strip joined to it. Lift away only the outside scrap.
- 5
Cut outline 4
Cut from one marked edge point to the next around the limb outline. Keep the broad middle and every strip joined to it. Lift away only the outside scrap.
- 6
Cut outline 5
Cut from one marked edge point to the next around the limb outline. Keep the broad middle and every strip joined to it. Lift away only the outside scrap.
- 7
Cut outline 6
Cut from one marked edge point to the next around the limb outline. Keep the broad middle and every strip joined to it. Lift away only the outside scrap.
Steps 8–14
- 8
Cut outline 7
Cut from one marked edge point to the next around the limb outline. Keep the broad middle and every strip joined to it. Lift away only the outside scrap.
- 9
Cut outline 8
Cut from one marked edge point to the next around the limb outline. Keep the broad middle and every strip joined to it. Lift away only the outside scrap.
- 10
Cut outline 9
Cut from one marked edge point to the next around the limb outline. Keep the broad middle and every strip joined to it. Lift away only the outside scrap.
- 11
Cut outline 10
Cut from one marked edge point to the next around the limb outline. Keep the broad middle and every strip joined to it. Lift away only the outside scrap.
- 12
Fold the first body side
Keep the broad carapace flat. Fold the first strip down at its root to make one short side beneath the shell.
- 13
Fold the first pincer root
Fold the first forked strip down beside the front of the carapace.
- 14
Bring the first pincer forward
Fold the first forked strip out and upward at its joint. Keep it clear of the other strips as the body closes.
Steps 15–18
- 15
Fold the remaining body sides
Fold the remaining eight strips down at the edges of the carapace. The shell stays broad above the hanging limbs.
- 16
Spread the eight walking legs
Fold the eight narrow strips outward at their upper joints. Four legs now spread from each side of the body; leave the two forked strips at the front.
- 17
Bend the leg ends down
Fold each pointed leg end downward at its short outer line. Keep all eight legs spread apart.
- 18
Raise the other pincer
Fold the second forked strip out and upward to match the first pincer. Both open forks face away from the shell.
- ✓
Finish
The crab has eight walking legs and two raised pincers. Keep the carapace level and add two small eyes near its front edge if you like. The finished crab, with its broad shell raised over eight bent legs and its two pincers in front.
Fold next

Crane ↗
The crane begins with a square base. Two petal folds turn it into a bird base with separate points for the neck and tail; the broad flaps become the wings. Work through one side of the body before repeating the narrowing folds on the back.
Swan ↗
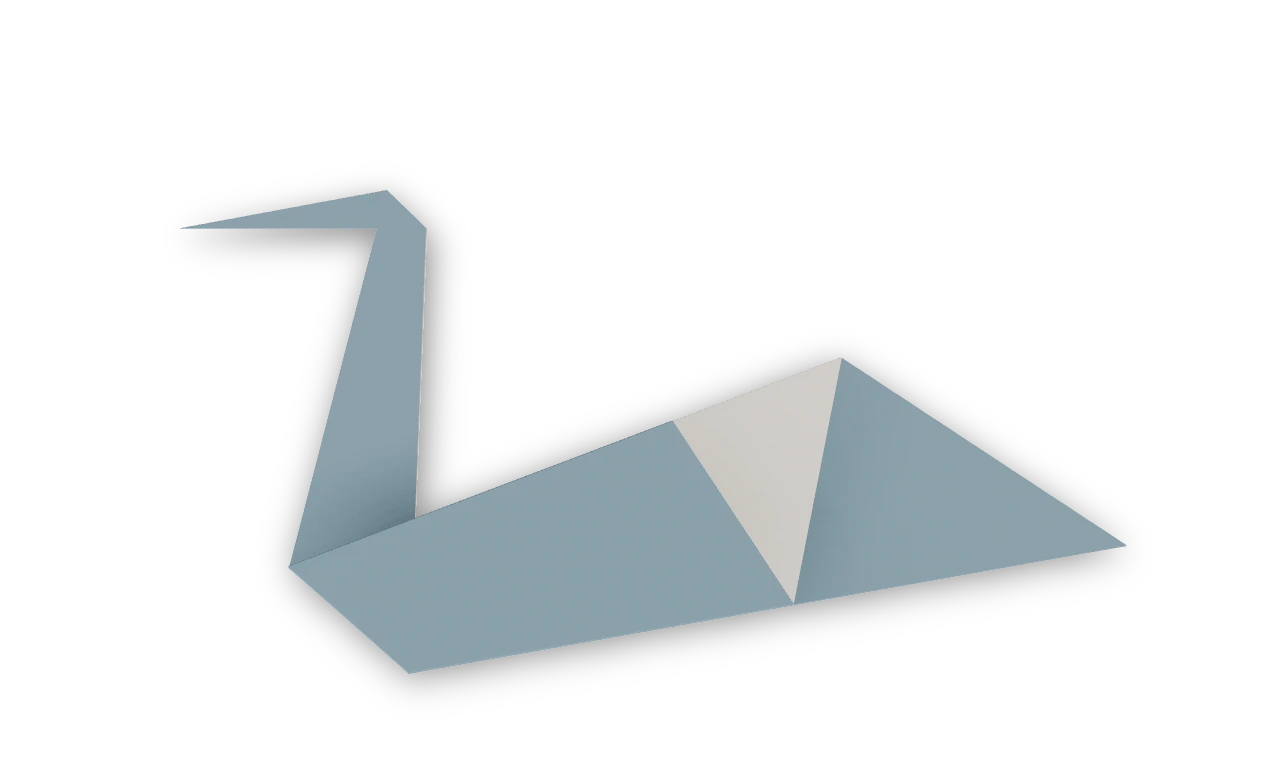
The traditional kite-base swan, with a pointed tail, a long neck and a small head.
Pig ↗
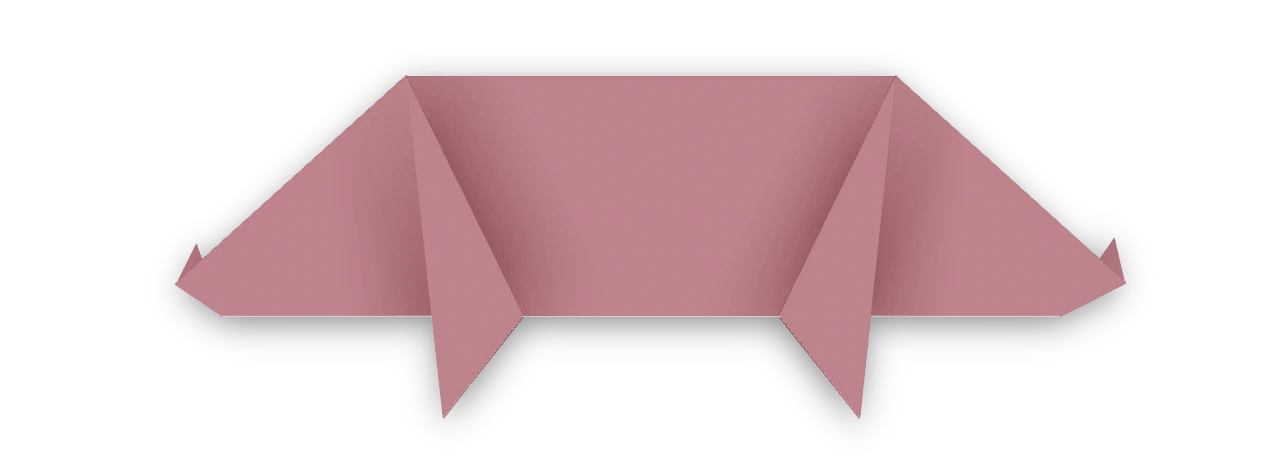
The traditional kindergarten pig, recorded in 1863. It stands on four pointed feet, with a raised tail and a short snout.
Japanese rabbit ↗
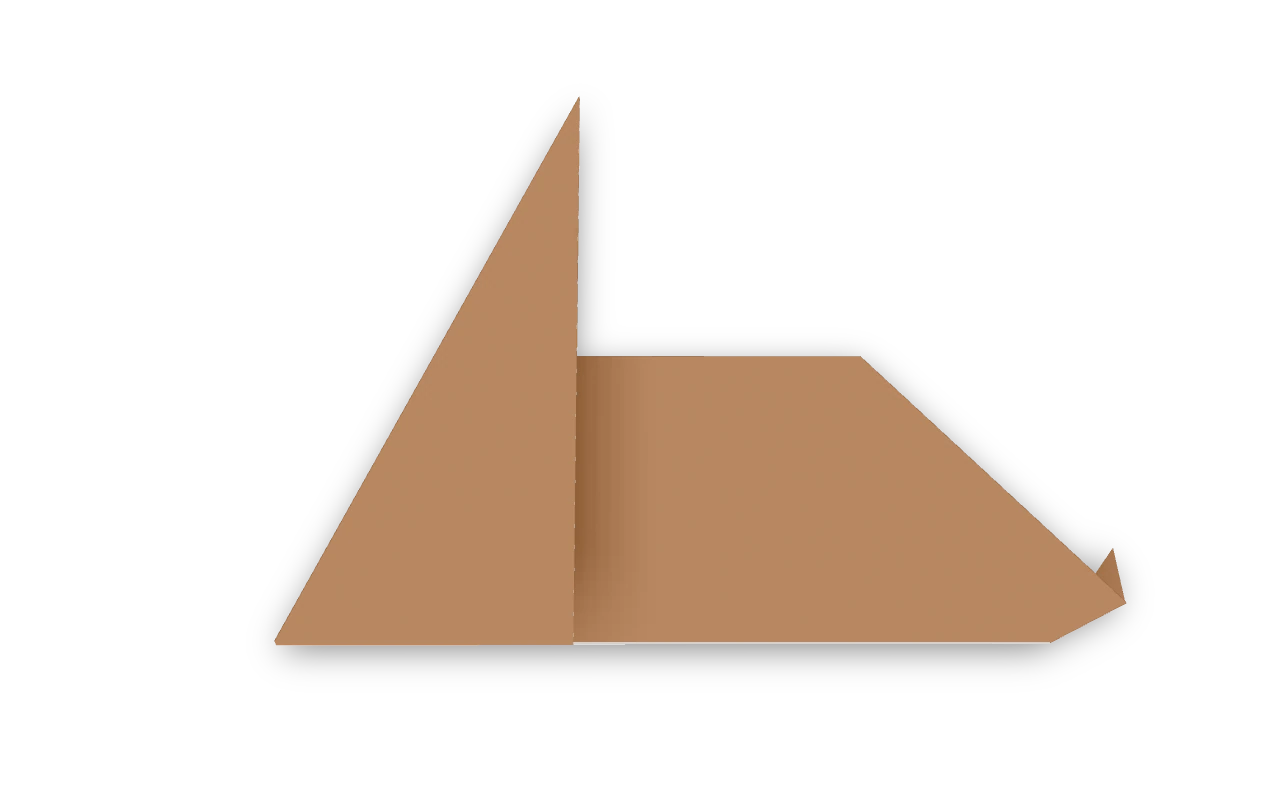
The cupboard-base Japanese rabbit recorded in 1935, with long ears and a small turned-up tail. Fold its broad head, narrow ears, body and reversed tail.