How to make a dollar origami shirt
Dollar Origami Shirt: try all 11 steps in the 3D player. Turn and replay every move. Print the complete diagram sheet or save it as PDF.
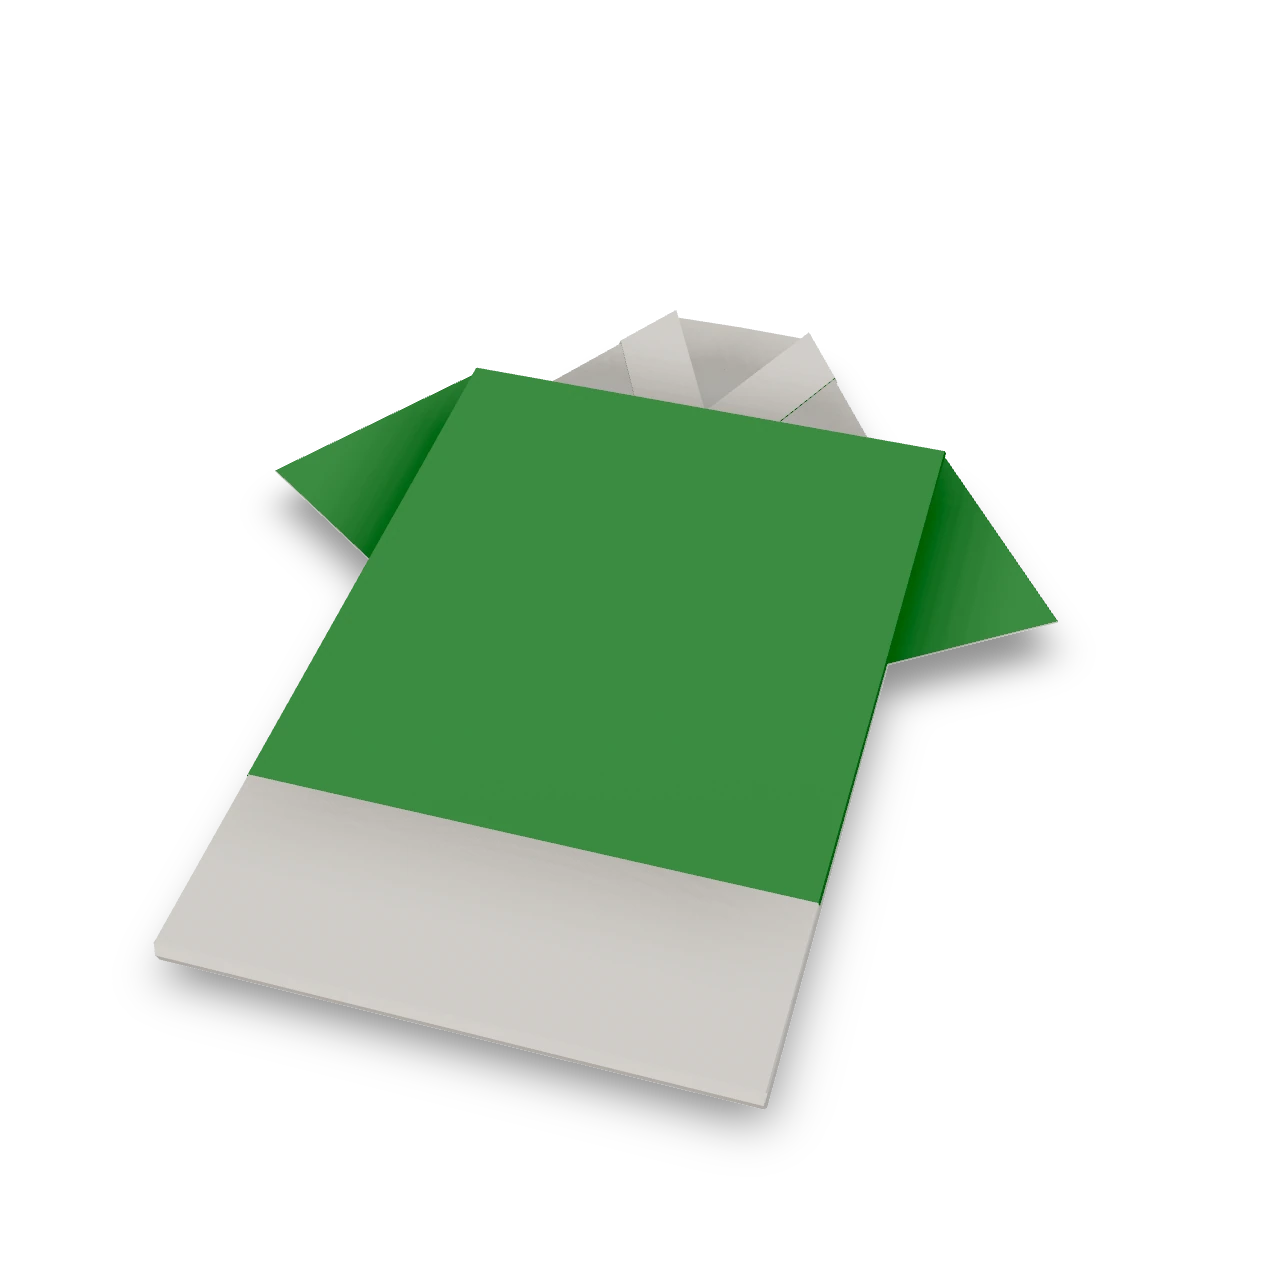
An Origami Tutor dollar shirt with a compact body, two flared sleeves and a folded collar. Fold one end behind to shorten the body, then form the shirt from a lengthwise band. No cuts or glue.
- You need
- One dollar bill (156 × 66 mm), or any rectangle of that size. No glue or scissors.
- Start
- Lay a flat bill with its long edges horizontal, the side you want on the body facing up. A paper rectangle 156 × 66 mm works the same way.
- Tips
- Keep the long folded edges touching along the middle.
- Make the sleeve slants match so the shoulders sit evenly.
Your model is ready
The shirt is ready. Press the hem and match the two sleeves. It makes a small flat ornament for a card or cash gift. The finished dollar shirt, with its short sleeves, collar and compact body.

Step-by-step diagrams
Steps 1–6
- 1
Shorten the body
Fold the right quarter of the bill behind along the marked line. Keep this flap closed as you make the lengthwise band.
- 2
Mark the long middle
Bring the lower long edge to the upper one, press, and open again.
- 3
Fold the upper edge in
Bring the upper long edge to the middle crease, including the shortened end behind it.
- 4
Fold the lower edge in
Bring the lower long edge to meet it, making a narrow band.
- 5
Turn the collar edge back
Fold a narrow border at the left end behind. This small doubled edge supports the collar.
- 6
Fold the upper collar point
Bring the upper left corner diagonally toward the middle of the band. Press the short slanted collar crease.
Steps 7–11
- 7
Fold the lower collar point
Bring the lower left corner to the same middle point, matching the first collar fold.
- 8
Flare the first sleeve
At the right end, peel only the upper front flap outward along the slant. Its inner edge swings past the side of the band to make a sleeve.
- 9
Flare the second sleeve
Peel the lower front flap outward in the same way. Match both sleeves before pressing their diagonal creases.
- 10
Bring the body to the collar
Fold the sleeved end toward the collar. The body edge meets the two collar points, and both sleeves remain visible at the sides.
- 11
Turn the shirt upright
Turn the shirt so the collar is at the top and the straight hem is at the bottom.
- ✓
Finish
The shirt is ready. Press the hem and match the two sleeves. It makes a small flat ornament for a card or cash gift. The finished dollar shirt, with its short sleeves, collar and compact body.
Fold next
Dollar heart ↗
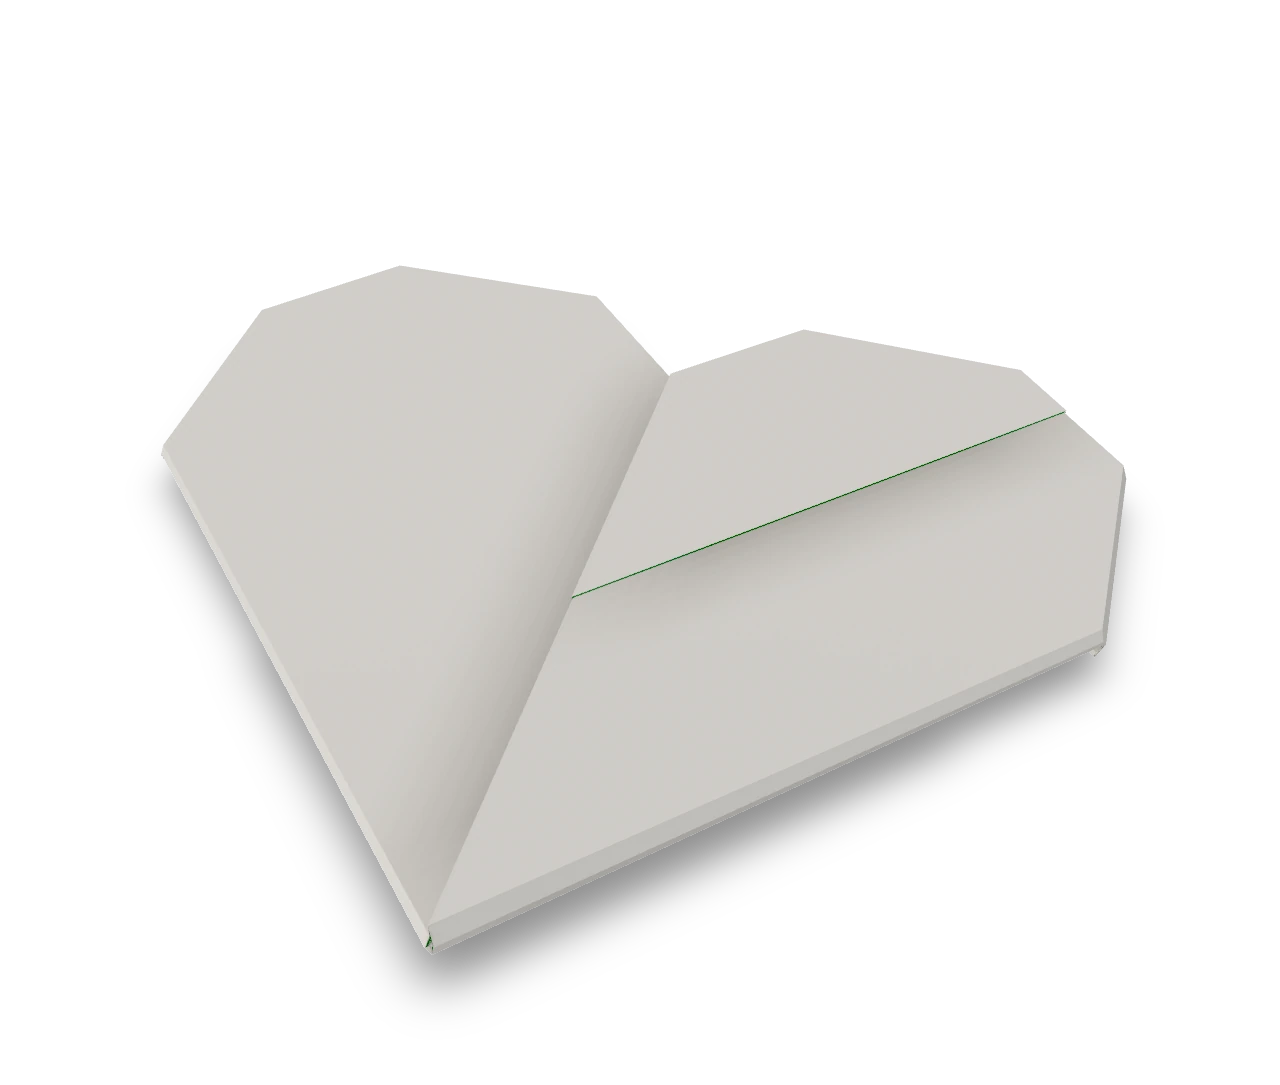
A small two-sided heart folded from one dollar bill, with no cuts and no glue. Fold the bill into a square, turn it onto a corner and shape the heart.
Heart ring ↗
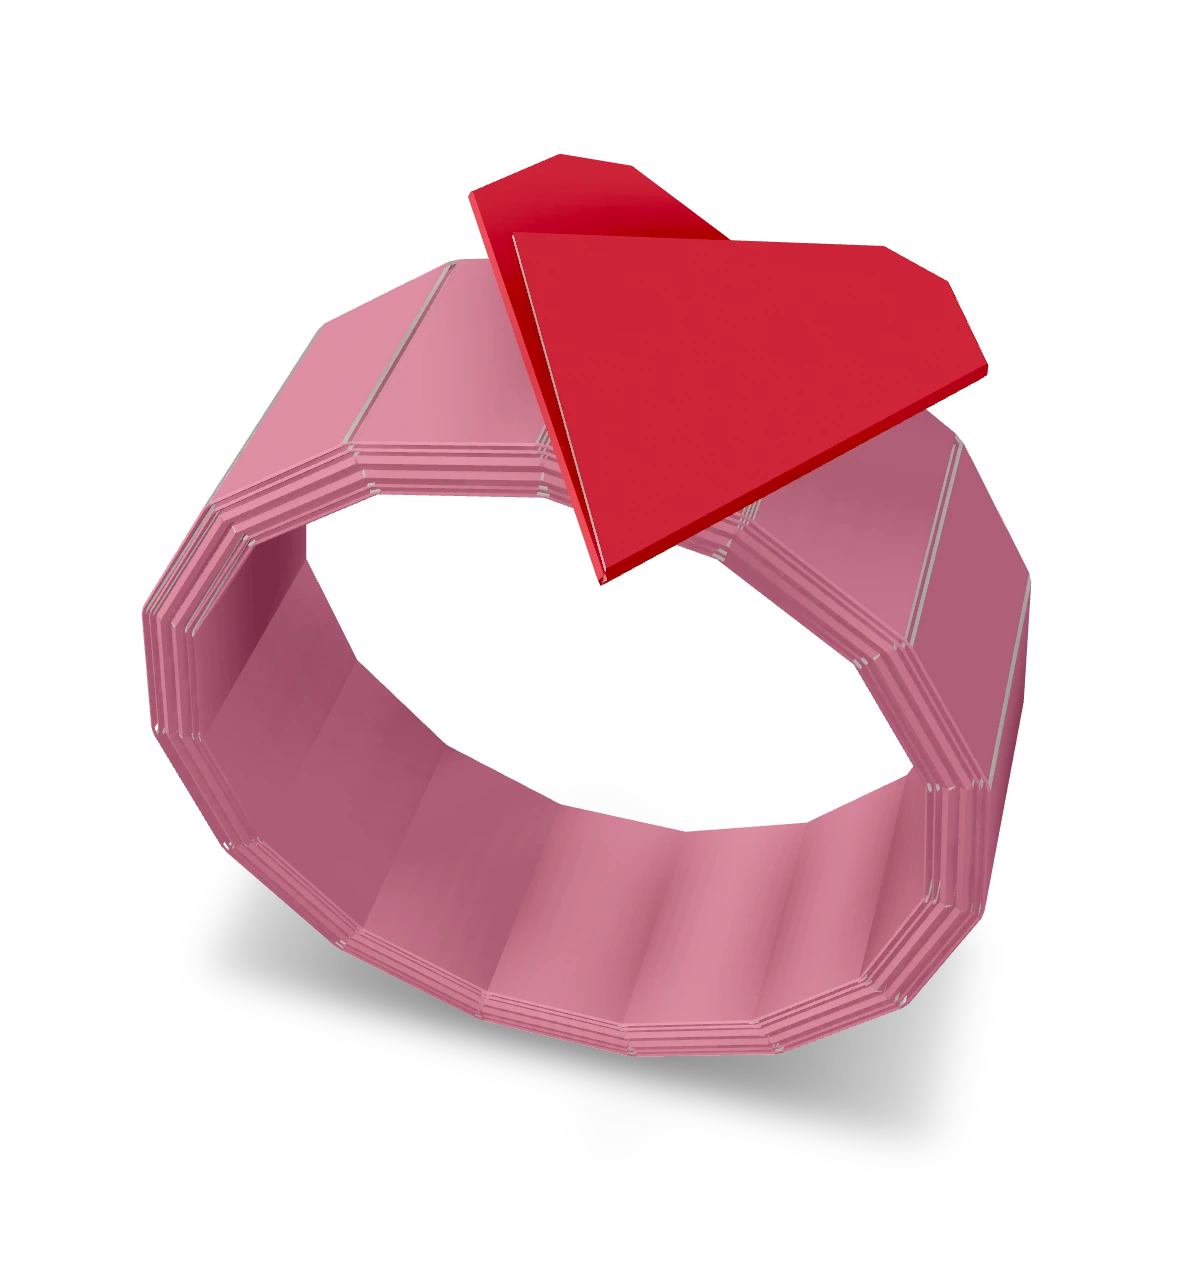
An Origami Tutor ring in two pieces: a narrow folded band closes into a loop, then a small red heart glues to its outside. The band and heart both stay folded while you assemble them.
Dollar ring ↗
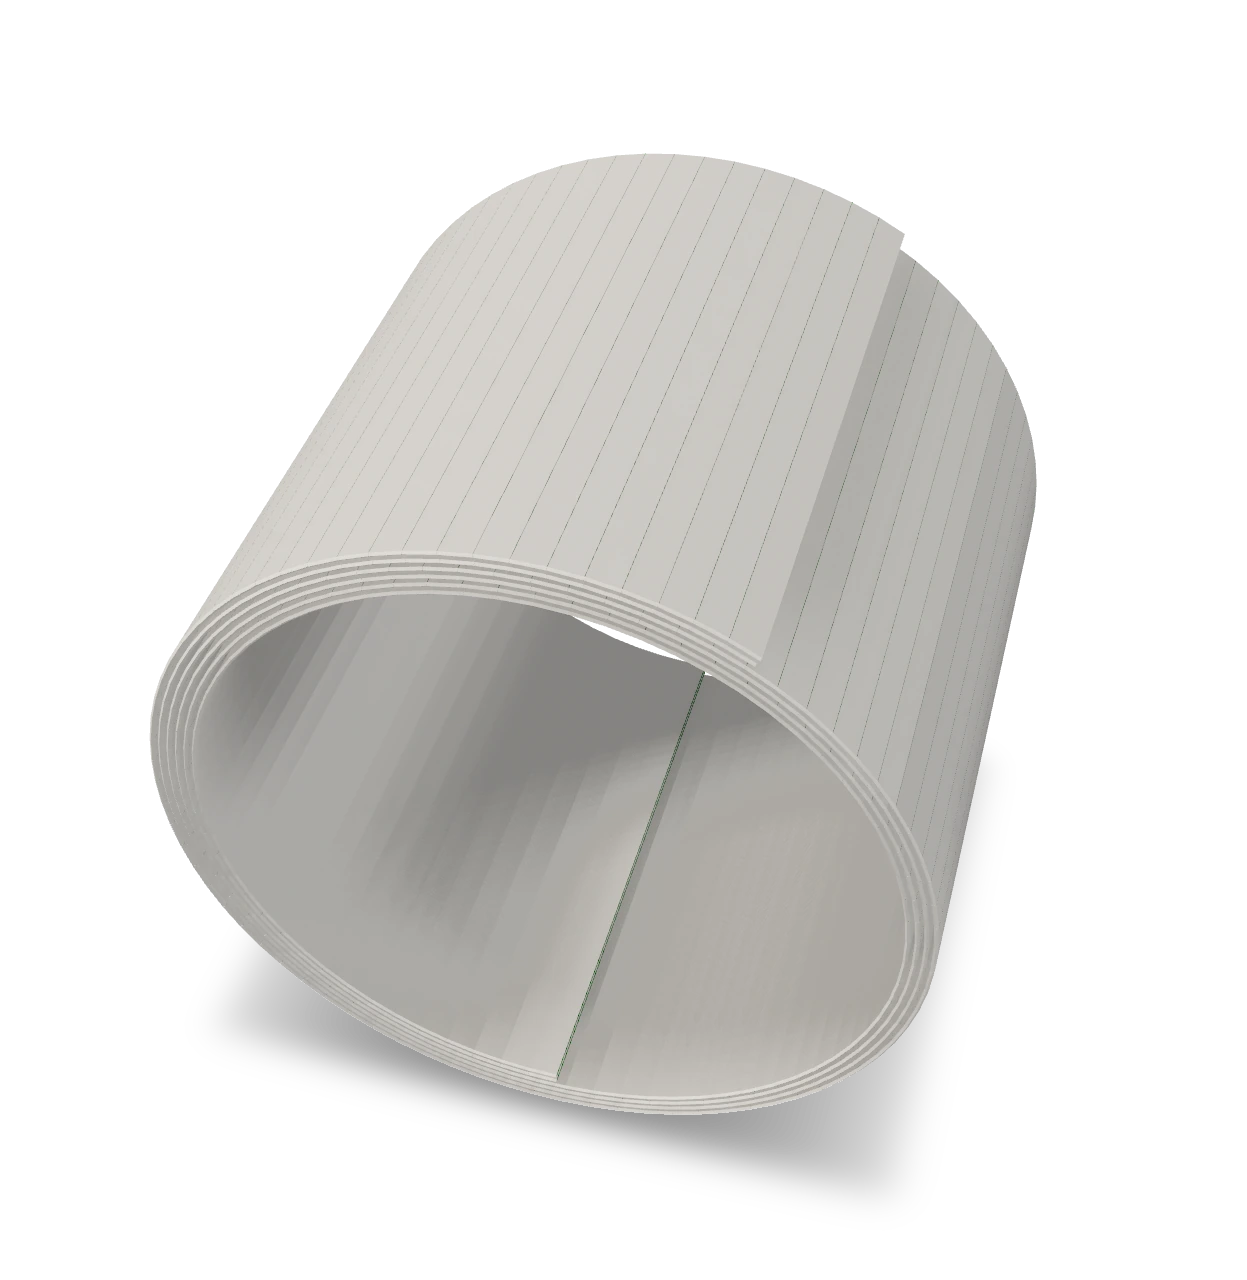
An Origami Tutor ring folded from one dollar bill: a narrow four-layer band rolled round your finger into a snug ring. Tuck the loose outer end under to lock it.
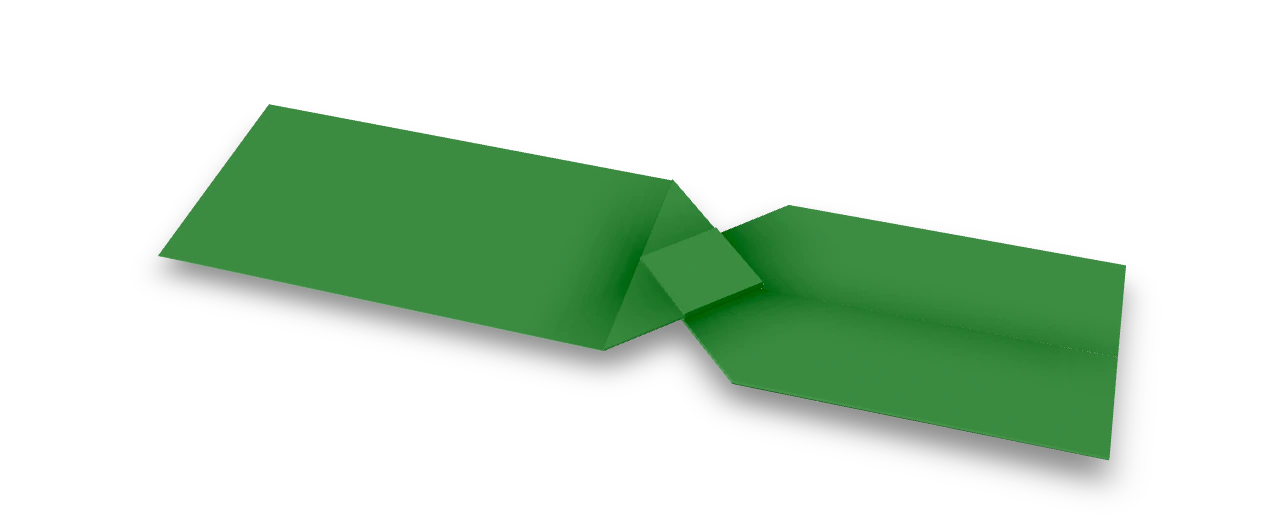
Dollar bow tie ↗
An Origami Tutor bow tie from one dollar bill. Two broad wings taper toward a small folded square at the center. Use a crisp bill so the tucked corners hold their shape.