How to make an origami dove
Origami Dove: try all 29 steps in the 3D player. Turn and replay every move. Print the complete diagram sheet or save it as PDF.
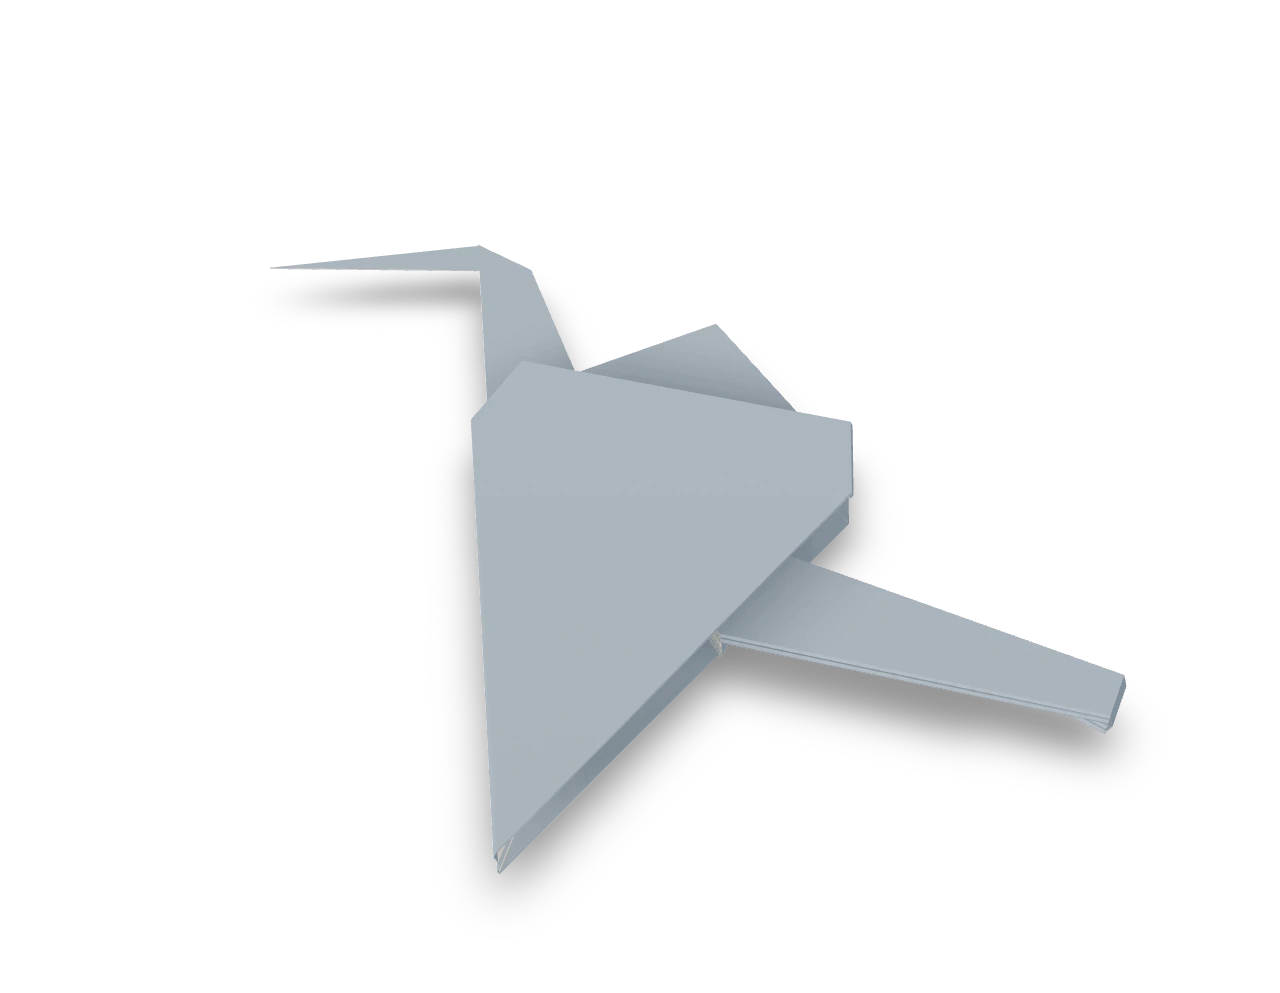
A compact Origami Tutor dove with a short neck, a small bent head, a shortened tail and two broad wings raised in a V. Folded from one square without cuts.
- You need
- One square of thin origami paper. No scissors or glue.
- Start
- Start colored side up, with one corner pointing up. Pale paper suits a dove; thin paper makes the layers easier to fold.
- Tips
- Line the lower edges up carefully with the middle crease before pressing.
- Keep the head fold short: only the last small part of the neck bends.
Your model is ready
The dove is folded. Press the folds flat, then lift both wings up into a wide V and keep the head low. Its short neck and shortened tail give it a compact outline.

Step-by-step diagrams
Steps 1–6
- 1
Crease a diagonal
Bring the top corner down to the bottom corner, press, and open.
- 2
Crease the other diagonal
Bring the left corner to the right corner, press, and open.
- 3
Turn over
Turn the paper over, keeping a corner pointing up.
- 4
Crease edge to edge
Fold the bottom-left edge up to the top-right edge, press, and open.
- 5
Crease the other way
Fold the bottom-right edge up to the top-left edge, press, and open.
- 6
Turn back
Turn the paper back over, keeping a corner pointing up.
Steps 7–12
- 7
Collapse into a square
Hold the bottom corner. Push the left and right corners in and down so the paper collapses along the creases into a small square, open end at the bottom.
- 8
Crease the left kite
Fold the lower left edge of the top flap to the center line, press, and open.
- 9
Crease the right kite
Fold the lower right edge of the top flap to the center line, press, and open.
- 10
Crease across the top
Fold the top down along the line joining the tops of the two kite creases, press, and open.
- 11
Petal fold
Lift the bottom corner of the top layer up along the crease across the top. The sides fold in along the kite creases and meet in the middle. Press flat.
- 12
Turn over
Turn the model over, keeping the open end at the bottom.
Steps 13–18
- 13
Crease the left kite
Fold the lower left edge of the top flap to the center line, press, and open.
- 14
Crease the right kite
Fold the lower right edge of the top flap to the center line, press, and open.
- 15
Crease across the top
Fold the top down along the line joining the tops of the two kite creases, press, and open.
- 16
Petal fold
Lift the bottom corner of the top layer up along the crease across the top. The sides fold in along the kite creases and meet in the middle. Press flat.
- 17
Narrow the front left edge
Fold the lower left edge to the middle line, taking two front layers together. This also tapers one body corner.
- 18
Narrow the front right edge
Fold the lower right edge to the middle line to match.
Steps 19–24
- 19
Turn over the base
Turn over, keeping the two lower points down.
- 20
Narrow the back left edge
Fold the lower left edge to the middle on this face.
- 21
Narrow the back right edge
Fold the lower right edge to the middle. Both body corners now taper inward.
- 22
Raise the neck
Open the left point slightly from below. Push it up and out to the left between its layers along the slanted line, then close the layers and press flat.
- 23
Bend the head
Open the neck's layers a little, about halfway along. Push the end down and to the left between them to make a short head with a small beak. Close the layers and press flat.
- 24
Shorten the tail
Fold the end of the remaining lower point up along the horizontal line. This makes the dove's tail shorter than a crane's.
Steps 25–29
- 25
Sweep the tail back
Fold the right point out to the right along the slanted line, so the shortened tail trails behind the body just below level. Keep the neck and the broad upper points still.
- 26
Fold a wing down
Fold the broad front point down across the line at the top of the body.
- 27
Turn over
Turn the dove over to reach its other wing.
- 28
Fold the other wing down
Fold the second broad point down the same way.
- 29
Turn back
Turn the dove back so its head faces left.
- ✓
Finish
The dove is folded. Press the folds flat, then lift both wings up into a wide V and keep the head low. Its short neck and shortened tail give it a compact outline.
Fold next
Crane ↗
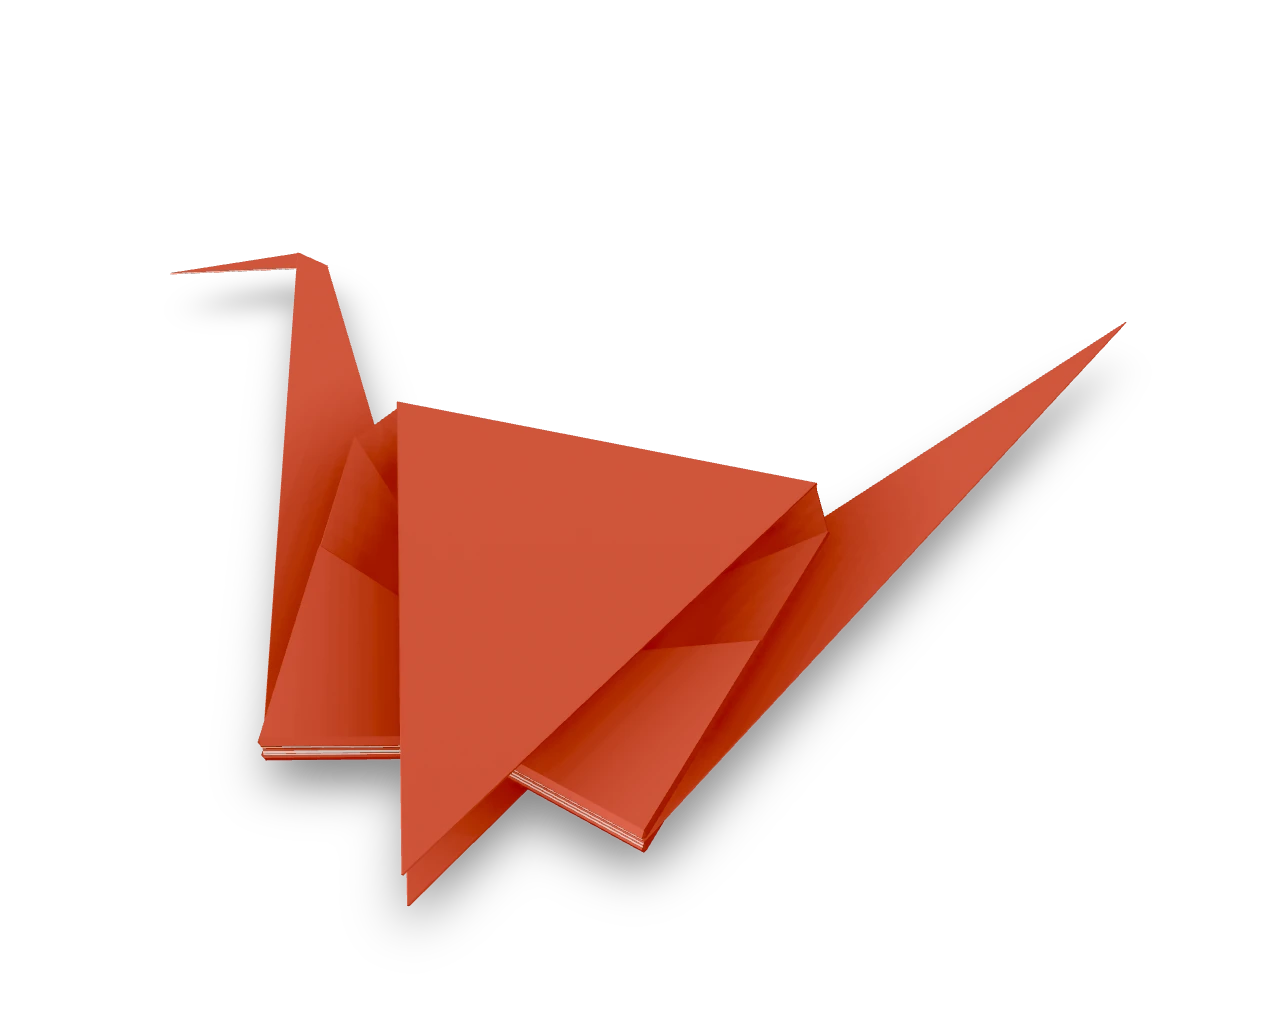
The crane begins with a square base. Two petal folds turn it into a bird base with separate points for the neck and tail; the broad flaps become the wings. Work through one side of the body before repeating the narrowing folds on the back.
Swan ↗
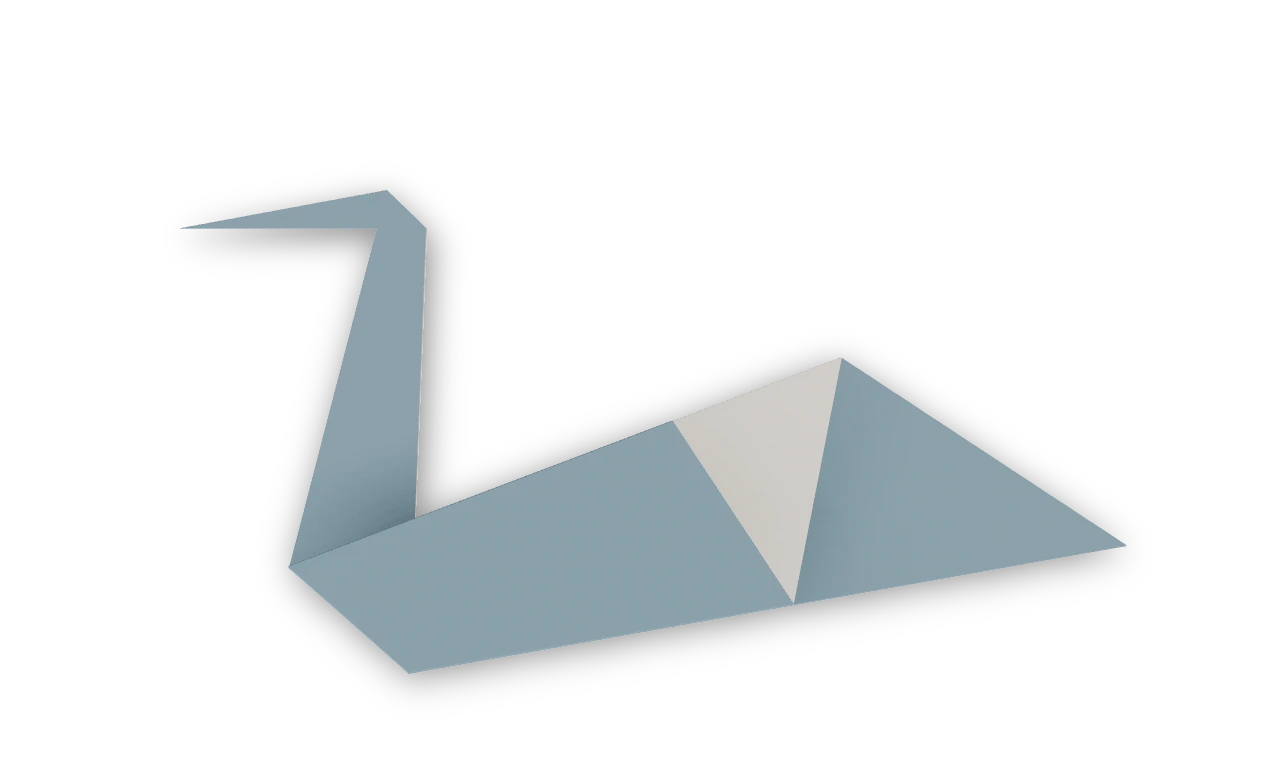
The traditional kite-base swan, with a pointed tail, a long neck and a small head.
Pig ↗
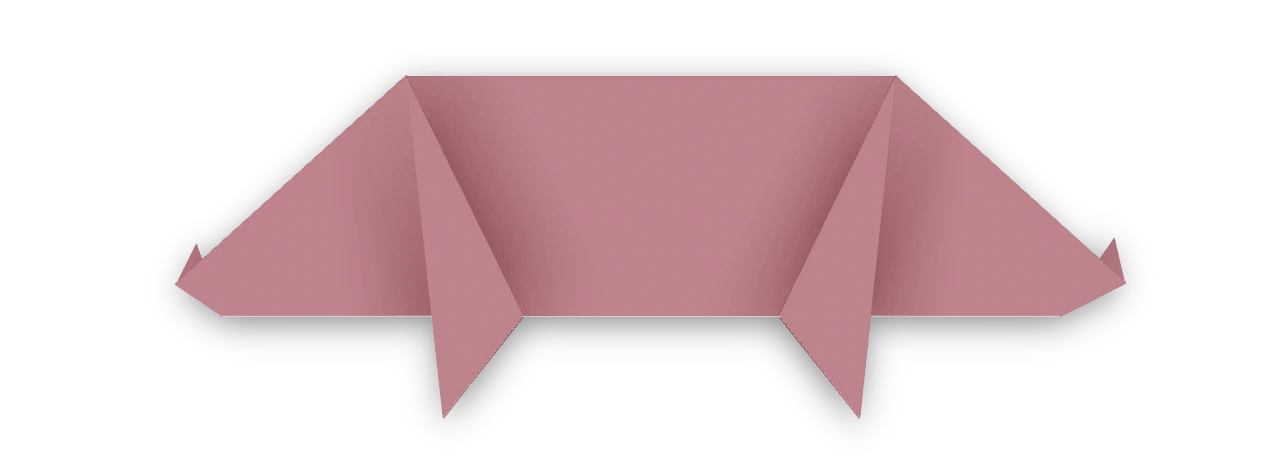
The traditional kindergarten pig, recorded in 1863. It stands on four pointed feet, with a raised tail and a short snout.
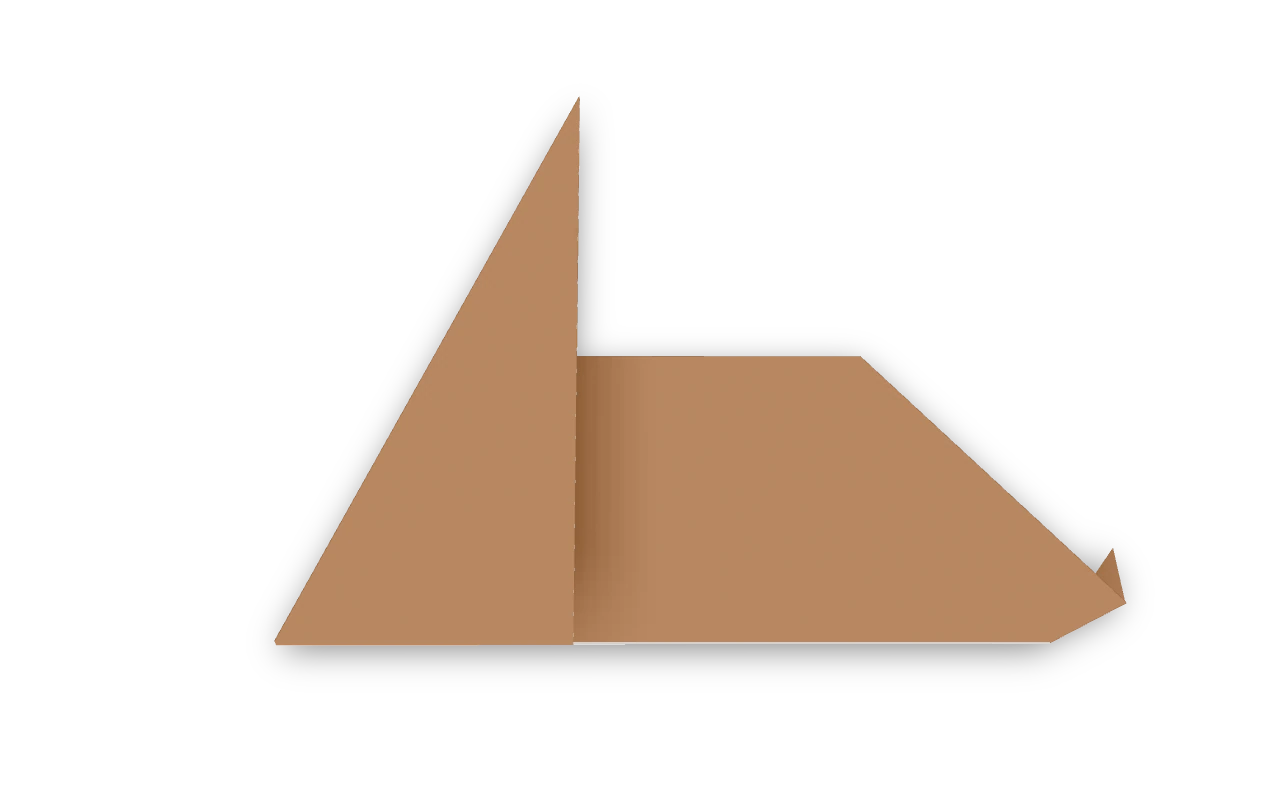
Japanese rabbit ↗
The cupboard-base Japanese rabbit recorded in 1935, with long ears and a small turned-up tail. Fold its broad head, narrow ears, body and reversed tail.