How to make a paper nurse's cap
Paper Nurse's Cap: try all 13 steps in the 3D player. Turn and replay every move. Print the complete diagram sheet or save it as PDF.
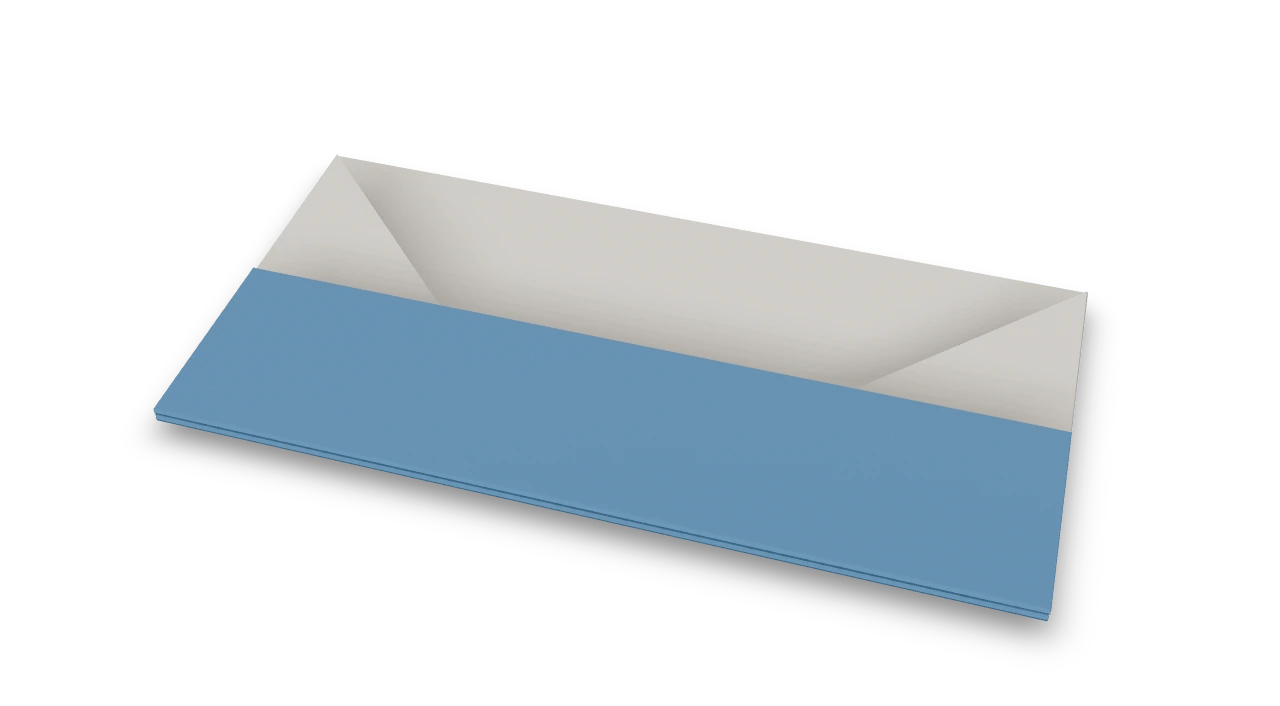
The traditional house-derived paper cap, with a broad folded brim. Kept closed, the same fold makes a simple wallet.
- You need
- One square of thin paper. No glue or scissors.
- Start
- Start colored side up, with an edge at the top. The white side will show around the opened cap.
- Tips
- Keep the lower side folds still while opening each roof pocket.
- Roll the brim evenly on both faces.
Your model is ready
Separate the lower edges gently and open the cap. Keep the broad brim folded, and ease the top into its shallow cap shape.

Step-by-step diagrams
Steps 1–7
- 1
Fold in half
Fold the top edge down to the bottom edge.
- 2
Crease the middle
Fold the left edge to the right edge, press, and open again.
- 3
Fold the left side in
Fold the left edge to the middle crease, through both layers.
- 4
Open the left roof pocket
Open the closed upper end of the left pocket. Bring its upper edge onto the vertical side crease and press the corner flat into a sloping roof.
- 5
Fold the right side in
Fold the right edge to the middle crease, through both layers.
- 6
Open the right roof pocket
Open the closed upper end of the right pocket. Bring its upper edge onto the vertical side crease and press the corner flat into a sloping roof.
- 7
Fold the left wall behind
Fold the left wall of the house behind along its vertical crease, taking the sloping roof end with it.
Steps 8–13
- 8
Fold the right wall behind
Fold the right wall behind the same way, making a narrow rectangle.
- 9
Fold the front brim in half
Fold only the front bottom edge up to the middle horizontal line, beneath the point of the roof.
- 10
Raise the front brim
Fold that strip up again along the middle line, carrying its first fold with it.
- 11
Turn over
Turn the cap over to reach the other loose bottom edge.
- 12
Fold the back brim in half
Fold only the front bottom edge up to the middle horizontal line, beneath the point of the roof.
- 13
Raise the back brim
Fold that strip up again along the middle line, carrying its first fold with it.
- ✓
Finish
Separate the lower edges gently and open the cap. Keep the broad brim folded, and ease the top into its shallow cap shape.
Fold next
King's crown ↗
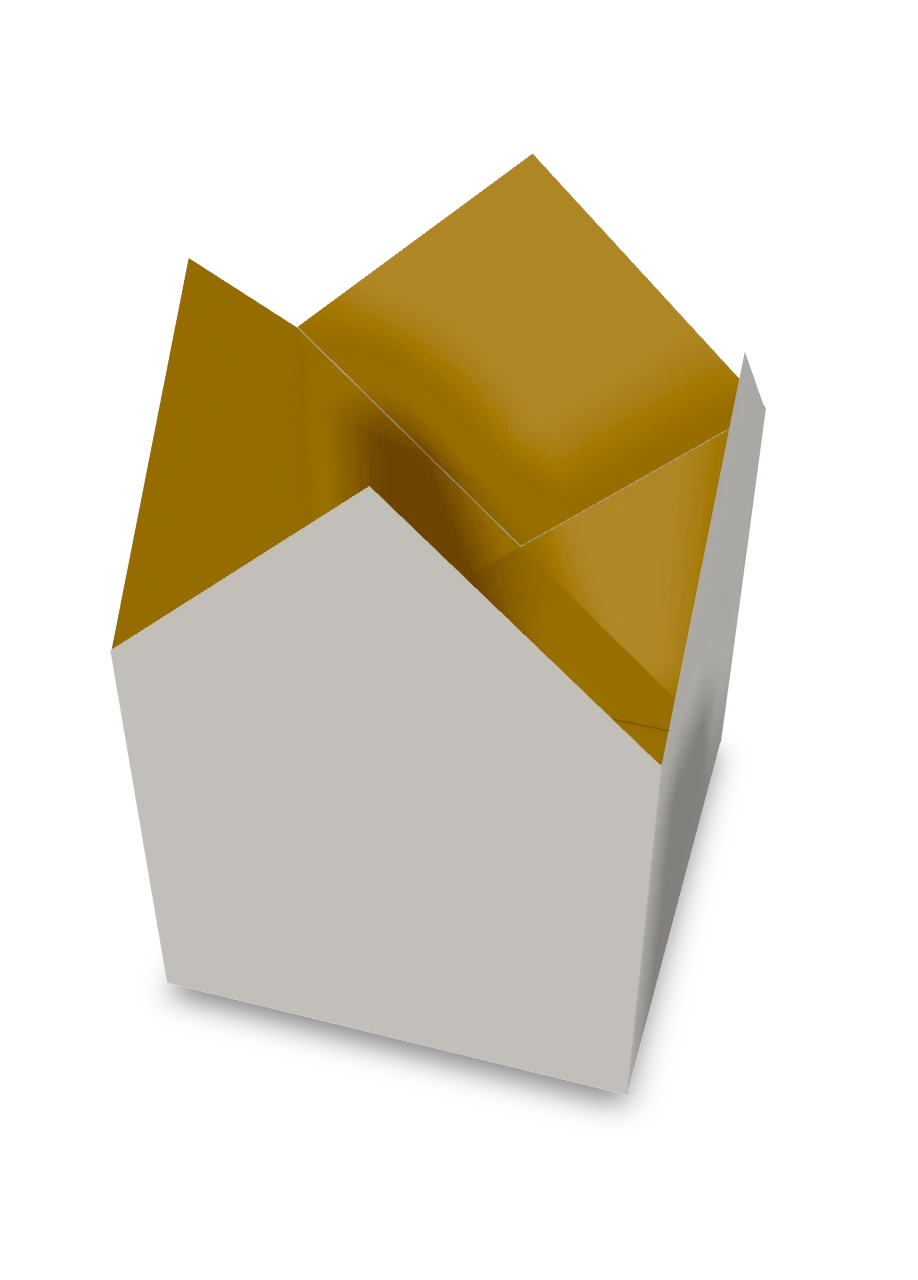
The traditional four-point paper crown, with a square band.
Soldier's cap ↗
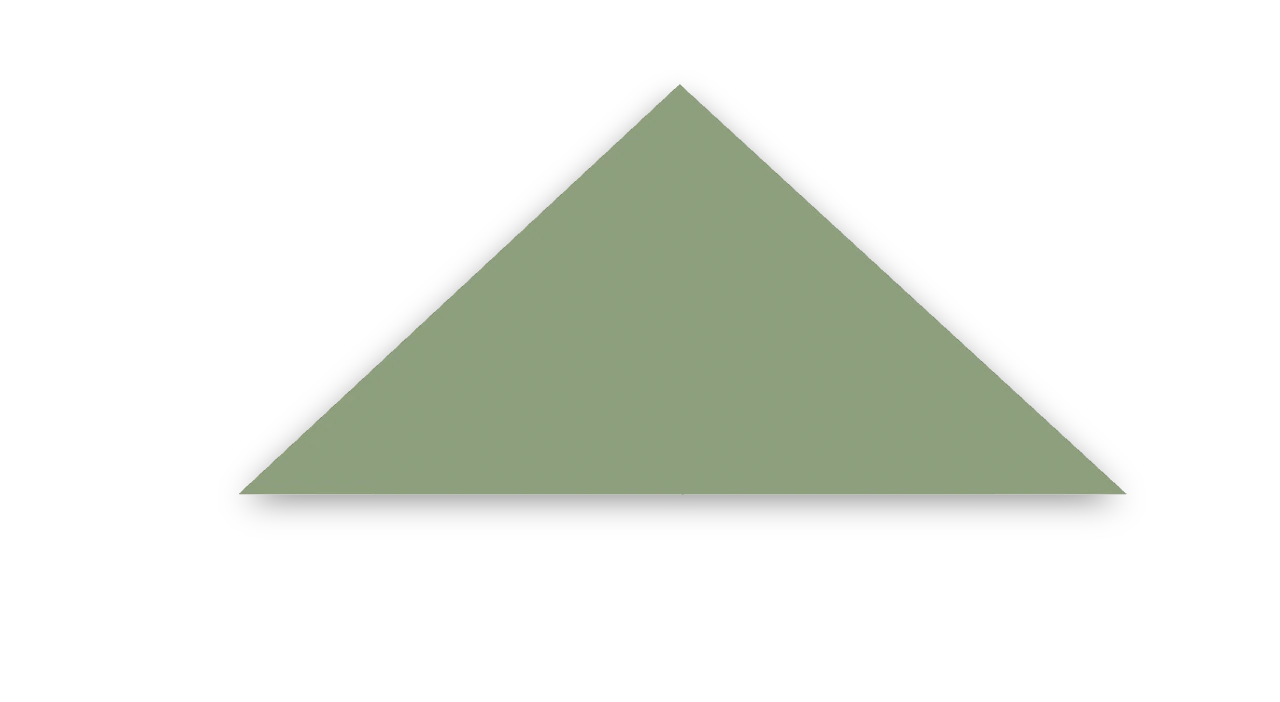
The traditional cap made by locking the front half of a waterbomb base and leaving the back as a triangle.
Bishop's mitre ↗
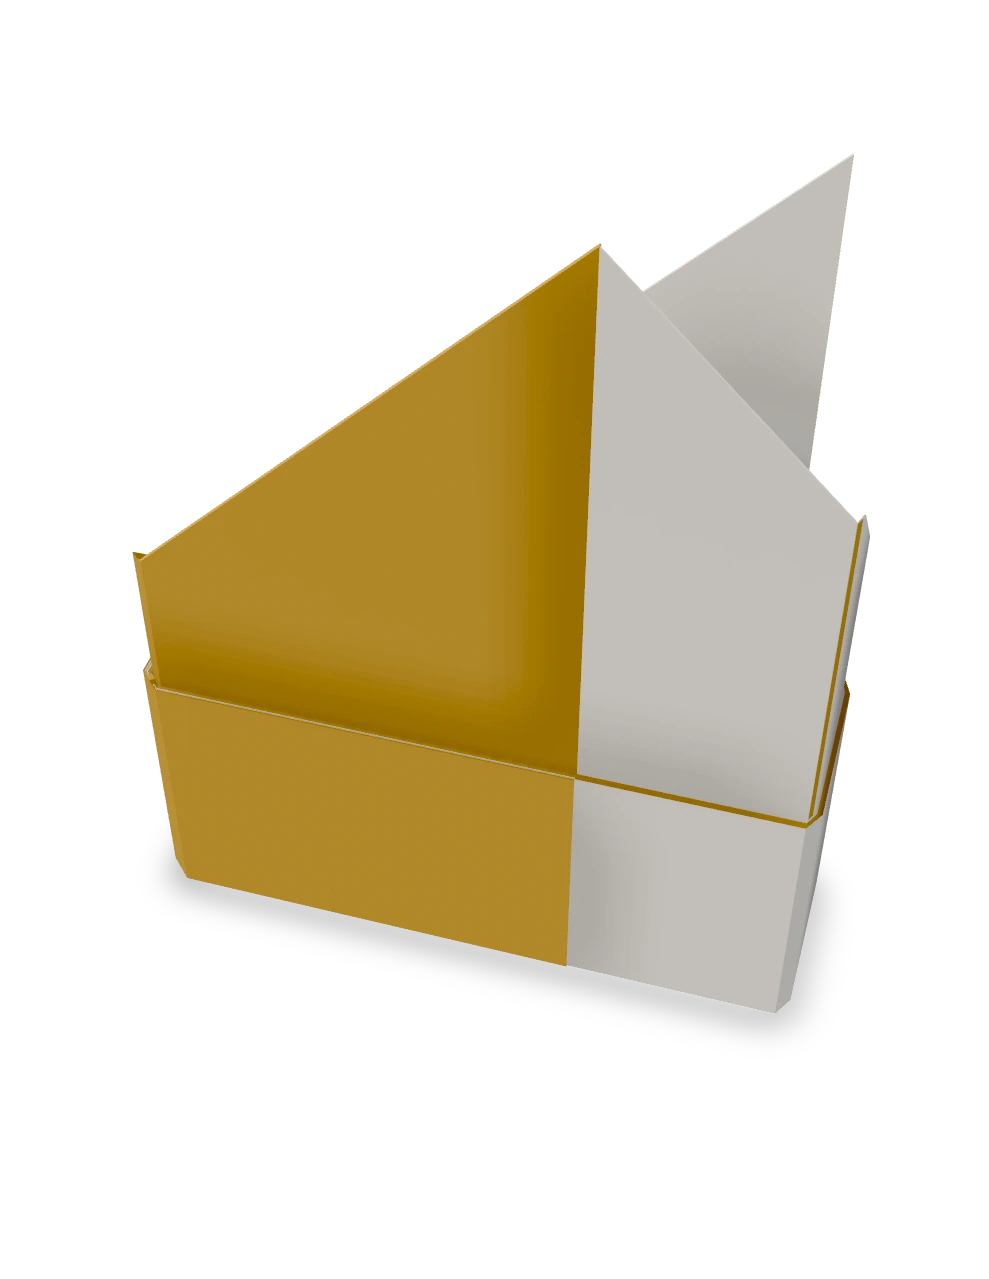
Our one-square bishop's hat opens into two upright peaks above a returned cuff. Two free ends tuck into separate pockets to close the band.
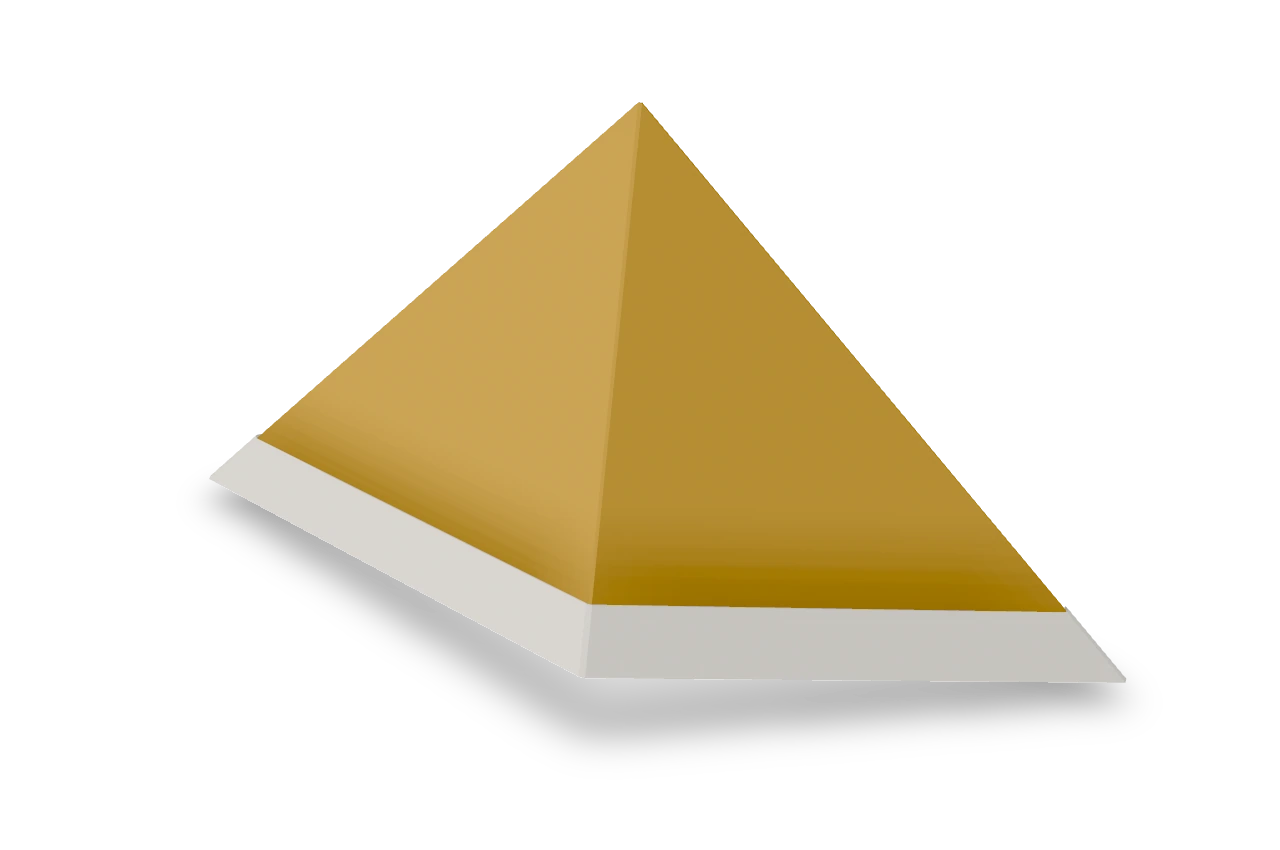
Newspaper hat ↗
The folded paper hat from a sheet of newspaper: a peak, a brim, and it fits a child's head from a full newspaper page.