How to make a paper soldier hat
Paper Soldier Hat: try all 11 steps in the 3D player. Turn and replay every move. Print the complete diagram sheet or save it as PDF.
The traditional cap made by locking the front half of a waterbomb base and leaving the back as a triangle.
- You need
- One square of thin origami paper. No glue or scissors.
- Start
- Start colored side up, with an edge at the top, so the finished cap shows the color.
- Tips
- Fold only the front flaps after making the waterbomb base; leave the back triangle alone.
- Slide each tip under its pocket lip gently, then press the lock flat.
Your model is ready
Gently separate the untouched back triangle from the locked front to open the cap. Spread the opening gently to fit.


Step-by-step diagrams
Steps 1–6
- 1
Crease a diagonal
Fold the bottom left corner behind to the top right corner, press, and open.
- 2
Crease the other diagonal
Fold the bottom right corner behind to the top left corner, press, and open.
- 3
Crease across the middle
Bring the top edge down to the bottom edge, press, and open.
- 4
Make the waterbomb base
Push the side middles inward. Bring the top edge down to the bottom edge and press into a triangle.
- 5
Raise the left front corner
Fold just the front left corner up to the top point.
- 6
Raise the right front corner
Fold just the front right corner up to the top point, making a diamond on the front.
Steps 7–11
- 7
Fold the left side in
Fold the left corner of the front diamond to its center.
- 8
Fold the right side in
Fold the right corner of the front diamond to its center.
- 9
Lock the left tip
Fold the free upper tip on the left down to the center and slip it beneath the left pocket lip.
- 10
Lock the right tip
Fold the free upper tip on the right down the same way and slip it beneath the right pocket lip.
- 11
Show the back
Turn the cap over to see its untouched triangular back.
- ✓
Finish
Gently separate the untouched back triangle from the locked front to open the cap. Spread the opening gently to fit.
Fold next
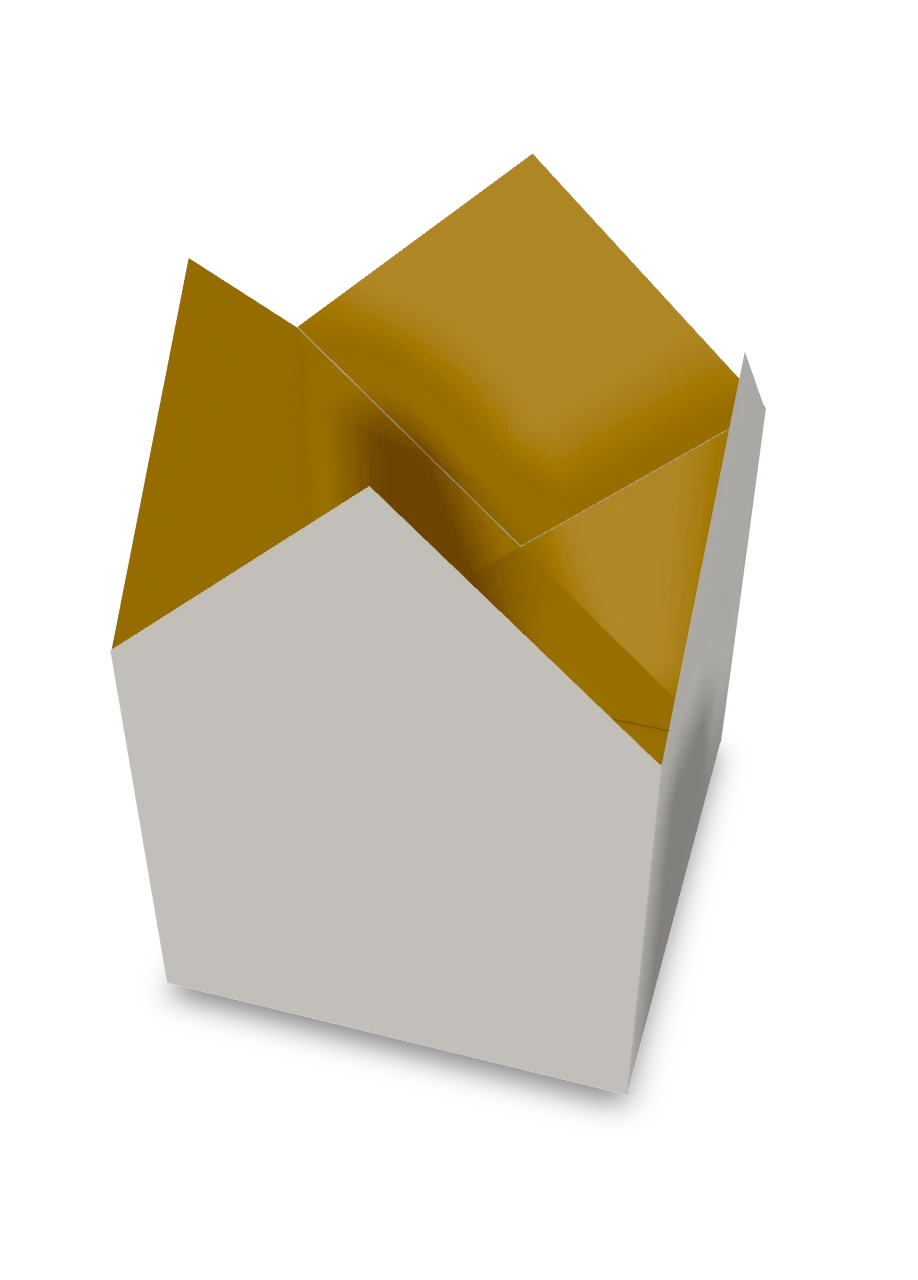
King's crown ↗
The traditional four-point paper crown, with a square band.

Bishop's mitre ↗
Our one-square bishop's hat opens into two upright peaks above a returned cuff. Two free ends tuck into separate pockets to close the band.
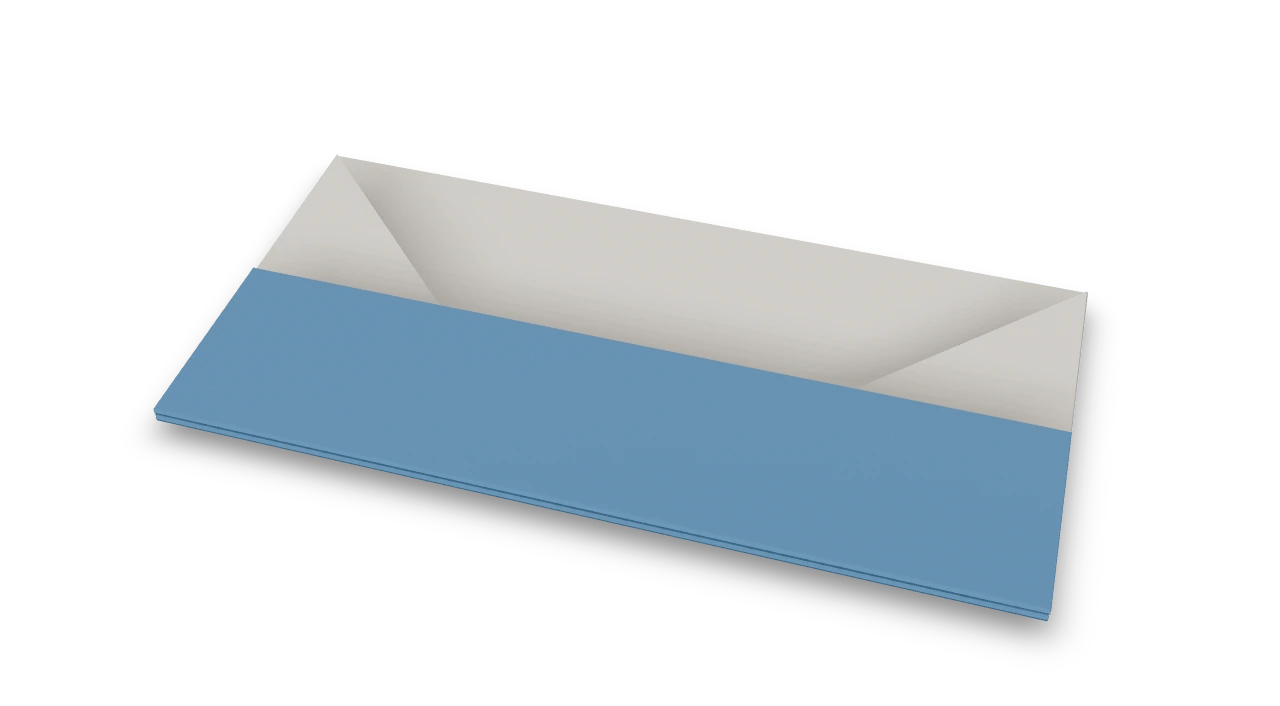
Nurse's cap ↗
The traditional house-derived paper cap, with a broad folded brim. Kept closed, the same fold makes a simple wallet.
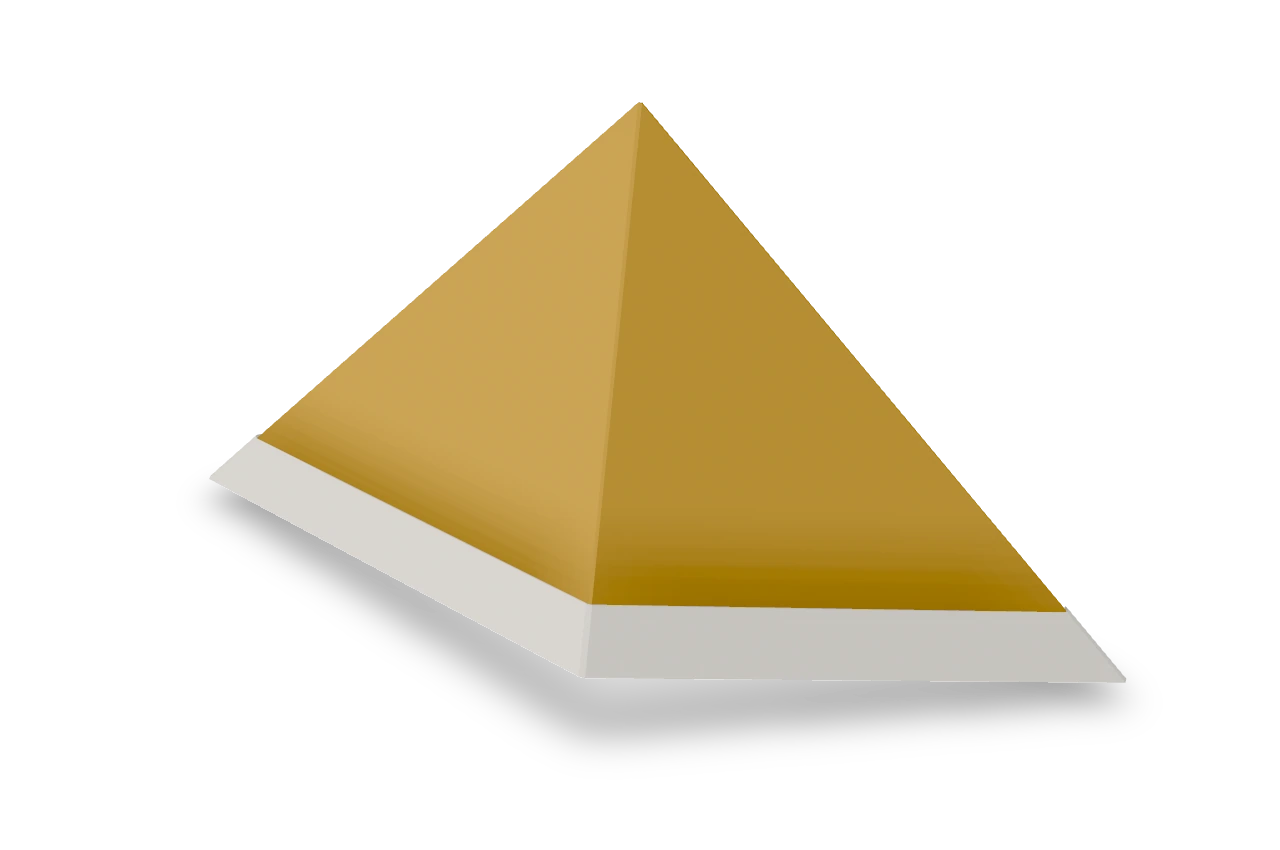
Newspaper hat ↗
The folded paper hat from a sheet of newspaper: a peak, a brim, and it fits a child's head from a full newspaper page.