How to make a paper basket with a handle
Paper Basket With A Handle: try all 13 steps in the 3D player. Turn and replay every move. Print the complete diagram sheet or save it as PDF.
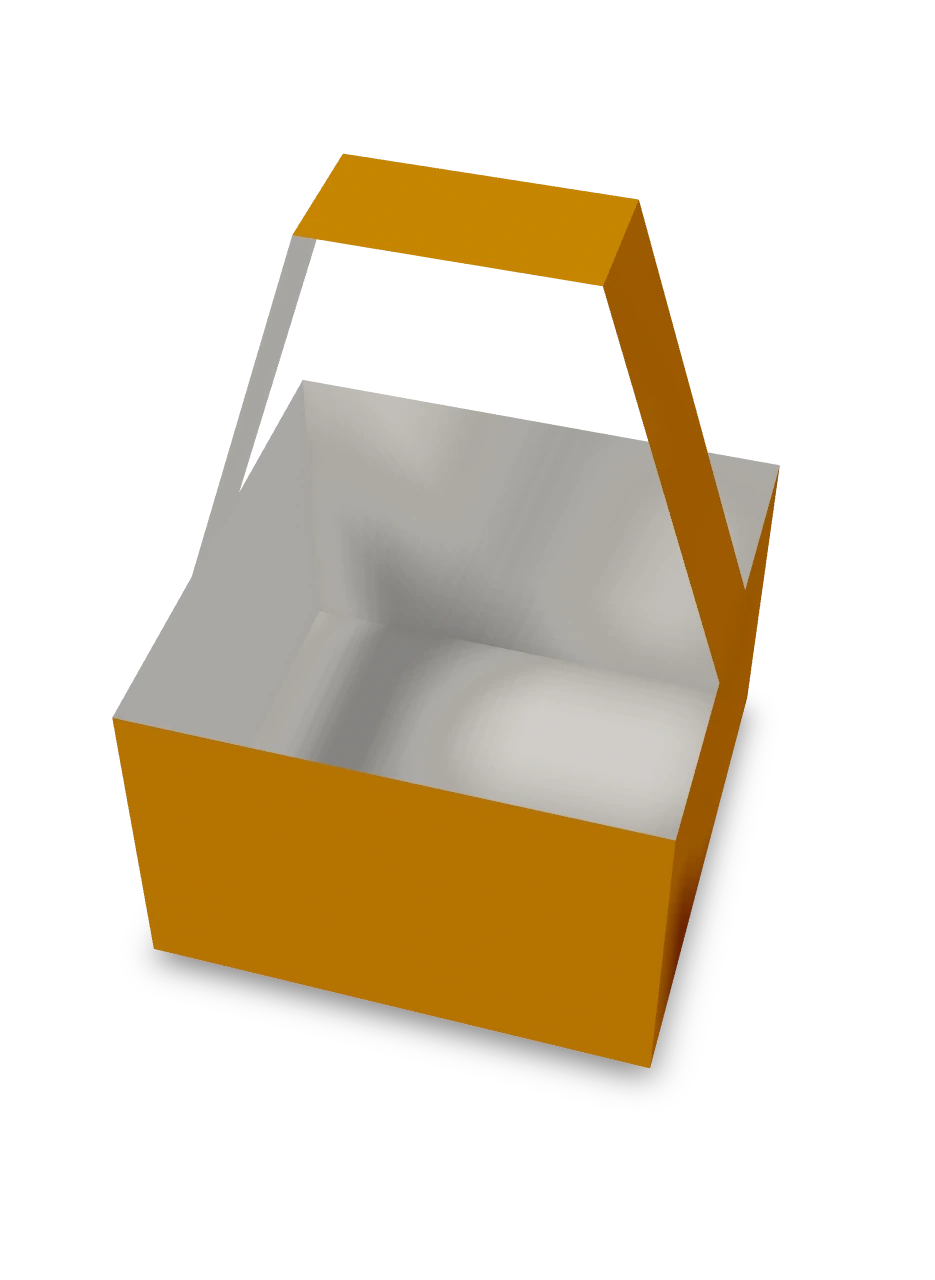
A small gift basket with an arched handle, cut from one sheet of card. Cut a cross for the box, leave a narrow strip hanging from one wall, and bend it into an arch that lands on the opposite wall.
- You need
- One sheet of card, 27 × 14 cm, a ruler and pencil, scissors and tape.
- Start
- Use a sheet of card, 27 × 14 cm, white side up, with its long edge across. From the left, mark the handle's three lengths of 5, 3 and 5 cm, then a 4 cm wall, a 6 cm floor and a 4 cm wall. Mark the rows from the top as a 4 cm wall, the 6 cm floor and a 4 cm wall.
- Tips
- Measure the three lengths of the handle carefully: the two legs must be the same length.
- Score each crease lightly with a ruler and a dull pencil point first.
- A strip of tape on each corner keeps the walls upright.
Your model is ready
The basket is done. Tape the end of the handle inside the top of the right wall, and tape the four corners of the walls. The finished basket, with its arched handle over the top.

Step-by-step diagrams
Steps 1–7
- 1
Crease the left wall
Fold the left wall up along its edge with the floor. Press the crease and open it flat.
- 2
Crease the right wall
Fold the right wall up along its edge with the floor. Press the crease and open it flat.
- 3
Crease the back wall
Fold the back wall forward along the top of the floor. Press the crease and open it flat.
- 4
Crease the front wall
Fold the front wall up along the bottom of the floor. Press the crease and open it flat.
- 5
Crease the handle's first leg
Fold the handle's first leg over along the line where it joins the wall. Press the crease and open it flat.
- 6
Crease the top of the handle
Fold the end of the handle over along the line 8 cm from the left. Press the crease and open it flat.
- 7
Crease the second leg
Fold the handle's end over along the line 5 cm from the left. Press the crease and open it flat.
Steps 8–13
- 8
Cut away the top left corner
Cut down from the top edge, 17 cm from the left, as far as the 4 cm line. Turn left and cut along that line for 4 cm, then down 2.25 cm along the wall's outer edge, then left along the line 6.25 cm from the top to the edge. The corner lifts away and leaves the top of the handle strip.
- 9
Cut away the top right corner
Cut down from the top edge, 23 cm from the left, as far as the 4 cm line, then right along that line to the edge.
- 10
Cut away the bottom left corner
Cut up from the bottom edge, 17 cm from the left, as far as the 10 cm line. Turn left and cut along that line for 4 cm, then up 2.25 cm along the wall's outer edge, then left along the line 7.75 cm from the top to the edge. The handle is now a strip 1.5 cm wide.
- 11
Cut away the bottom right corner
Cut up from the bottom edge, 23 cm from the left, as far as the 10 cm line, then right along that line to the edge. You are left with a cross, with the handle strip reaching out from the left wall.
- 12
Raise the four walls
Stand the four walls up at right angles to the floor. The handle stands up straight from the top of the left wall.
- 13
Bend the handle into an arch
Lean the first leg in over the basket, lay the top flat across, and bring the end down to the top of the right wall.
- ✓
Finish
The basket is done. Tape the end of the handle inside the top of the right wall, and tape the four corners of the walls. The finished basket, with its arched handle over the top.
Fold next
Easter egg ↗
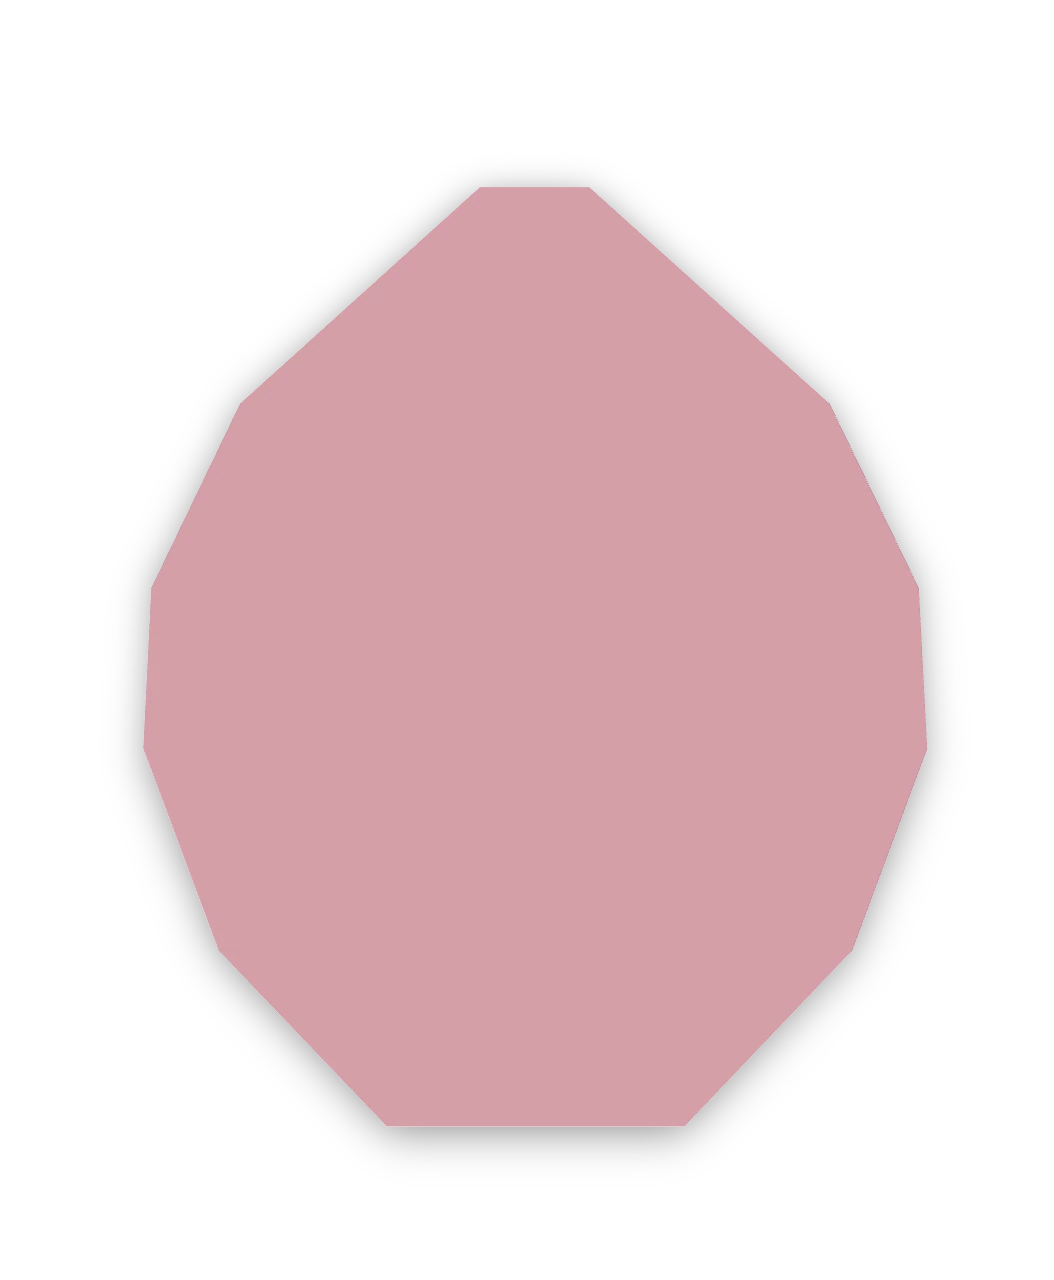
An Origami Tutor flat Easter egg from one square: the points and corners of a diamond fold behind it to round it into an egg, ready to decorate with stripes, dots and zigzags.
Carrot ↗
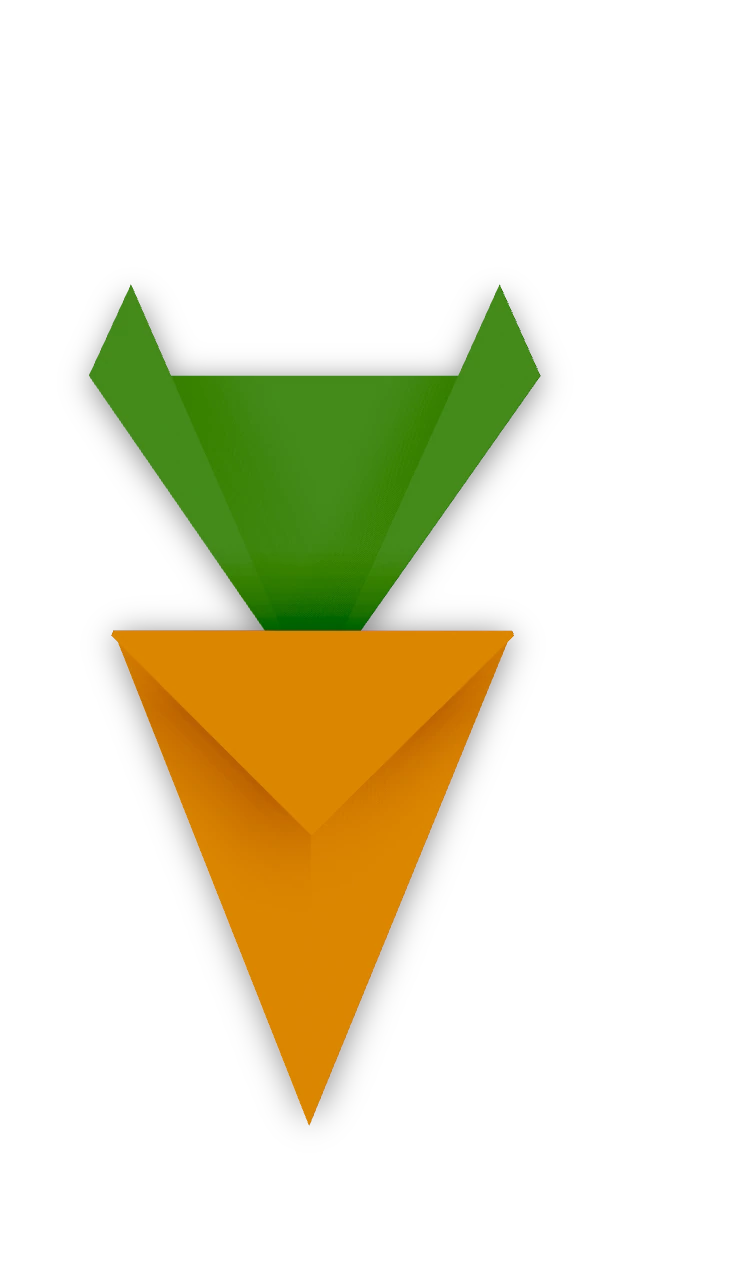
An Origami Tutor carrot in two pieces: an orange root with a flat top and a long point, and a green top with three leaves. Both fold from plain squares with simple valley folds, and a dab of glue joins them.
Rabbit face ↗
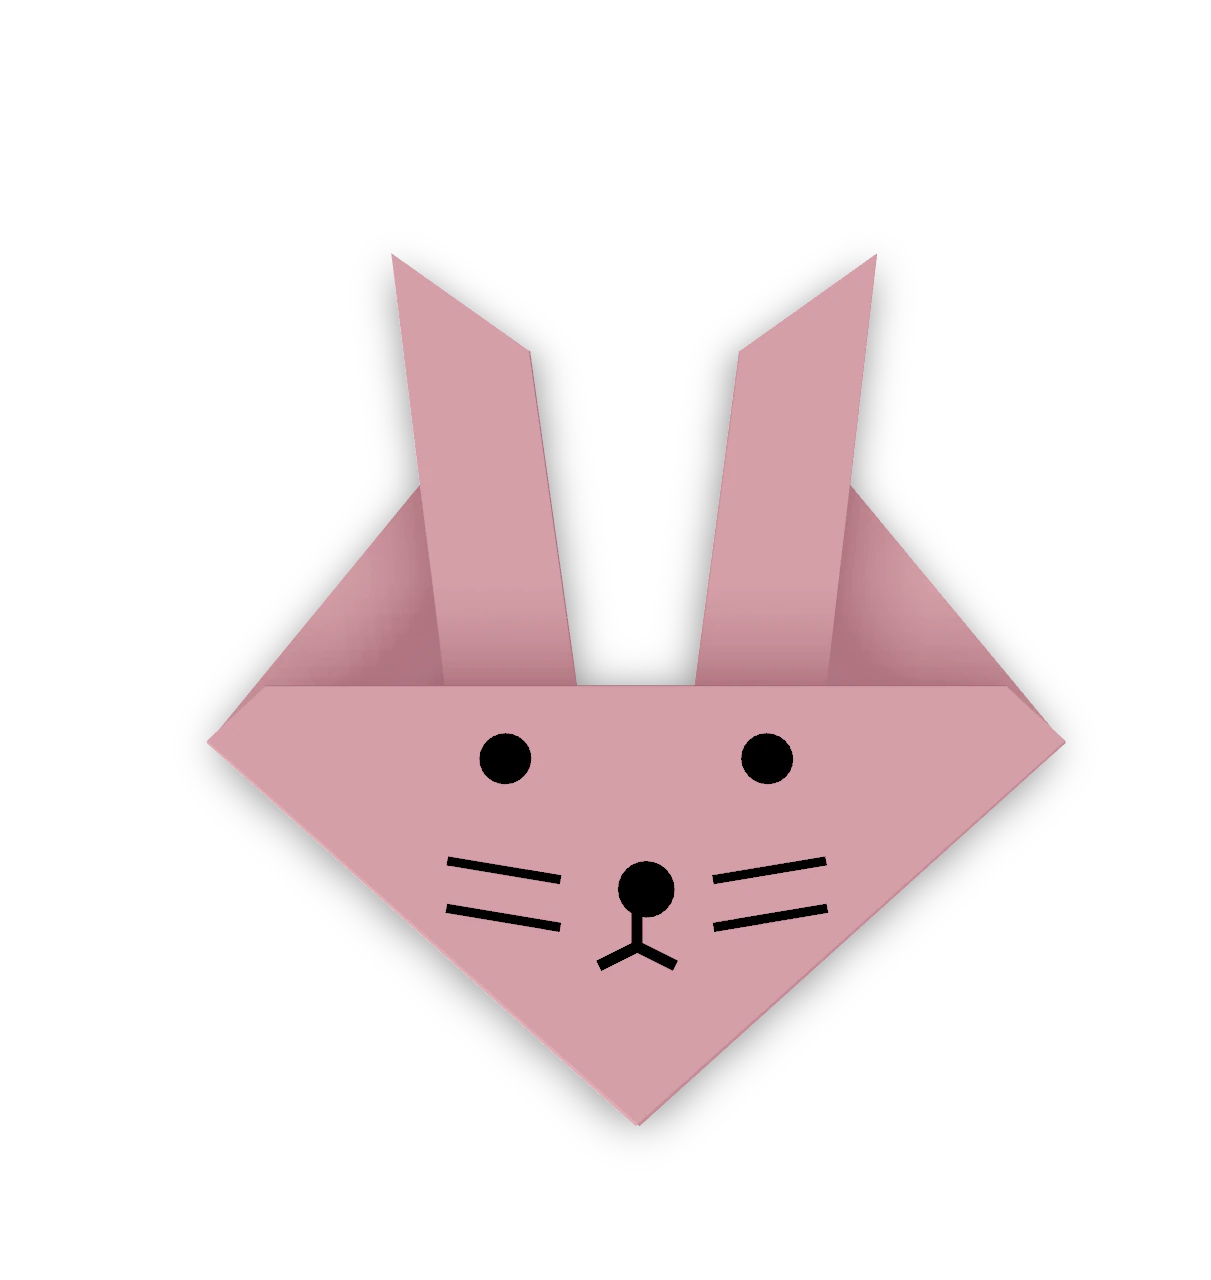
An Origami Tutor bunny face with two tall ears, folded from one square in five easy folds. A thin band along the bottom edge turns into the ears.
Easter bunny ↗
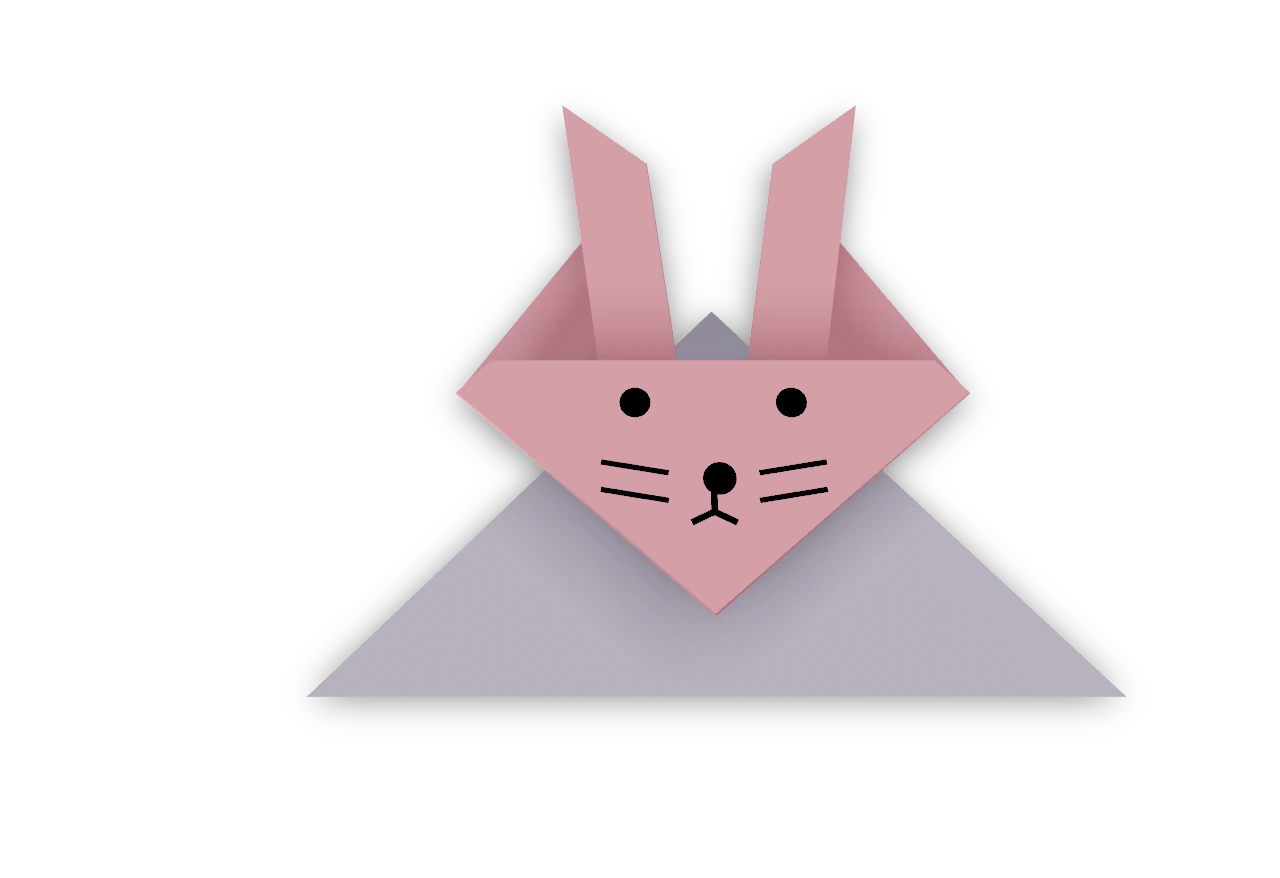
An Origami Tutor Easter bunny sitting up: a rabbit face with two tall ears on a triangle body, from two squares and a dab of glue.